I posted a time lapse of me sewing loggers, and I got a lot of questions about how I did the cuffs and the bands. So I’m going to show you guys what I did.
Video tutorial
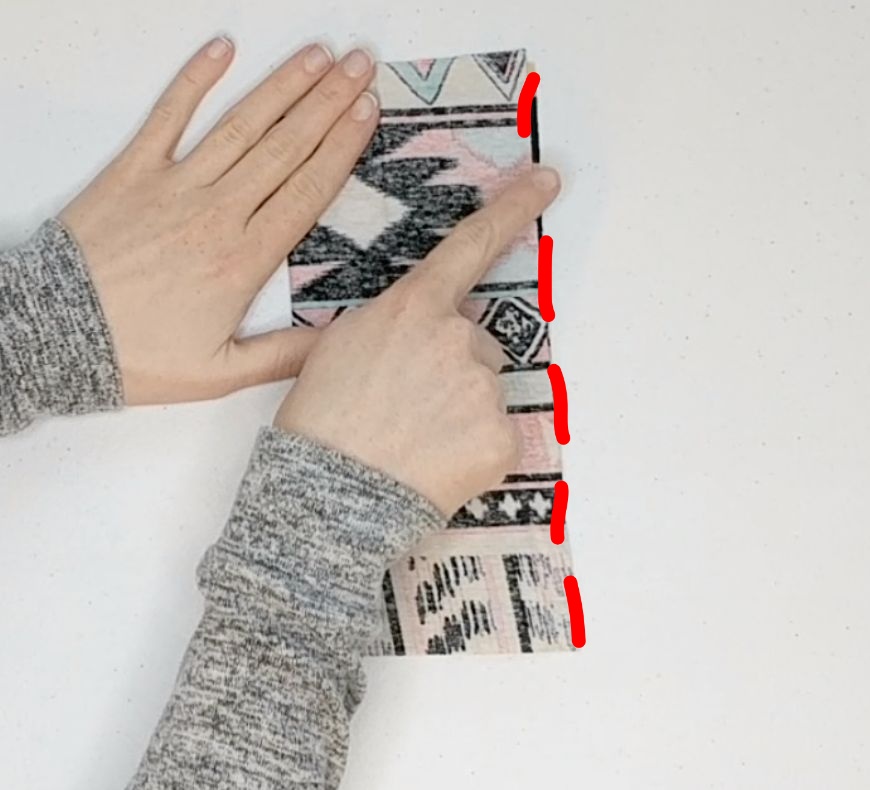
First you take your rectangle and fold it over once just like the directions tell you to.
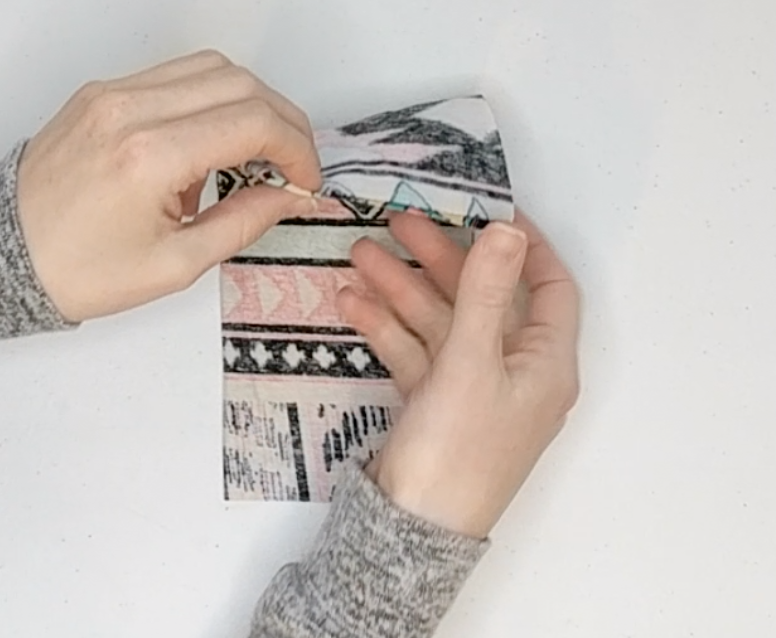
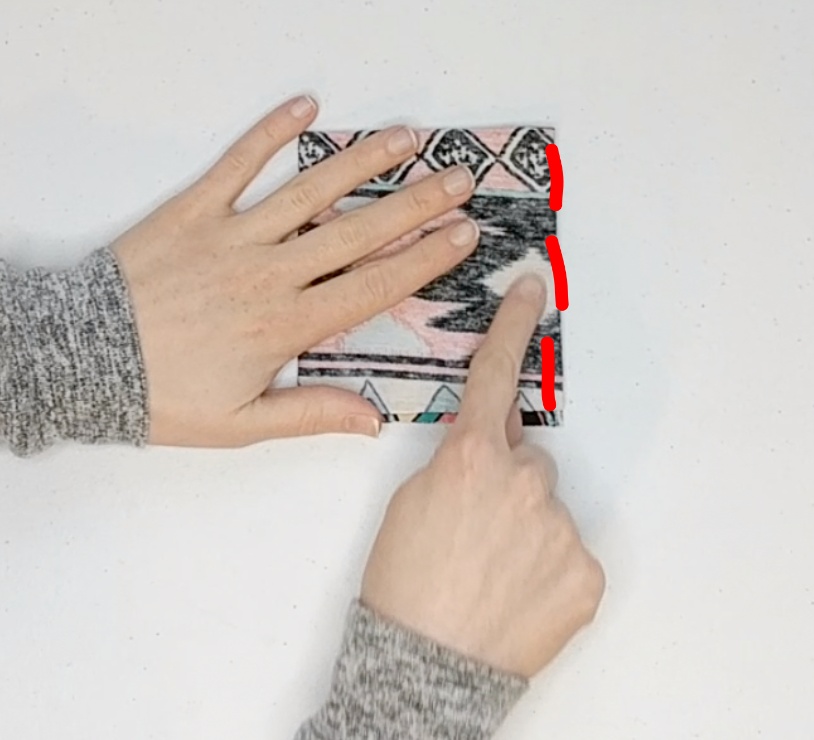
At that point you would normally sew right across the dotted line (see fig 1), but instead of doing that I folded it down one more time (top to bottom) and then sewed that same line. (see fig 3)


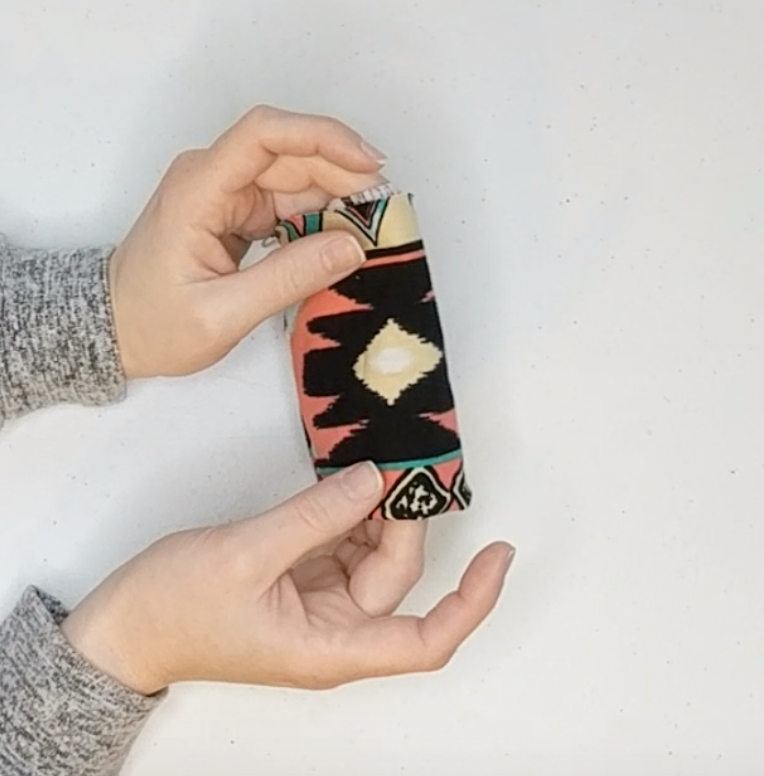
After you’ve sewn it, turn it right side out and it becomes your cuff. It generally keeps its shape and you can just slip it into whatever sleeve or leg hole you need. Then just line up the points to attach.

I’ve heard people say that this method of sewing cuffs/bands can reduce the bulk of the seam. I don’t know if that’s necessarily true because the seam is always going to be bulky. That’s just the nature of four layers of fabric sewn together. However, I find that for me, this method is just so much faster and easier to assemble. It keeps the layers more aligned when I sew one seam on four layers vs. One seam on two layers.
There are more cool sewing hacks here you can check out. Like this awesome pockets on leggings tutorial, or learn how to add drawstring into a side seam.
There you have it! That is what I did in the logger time lapse video. It’s not some crazy magic, it’s just another way of sewing the seam.
Thanks for reading! <3
