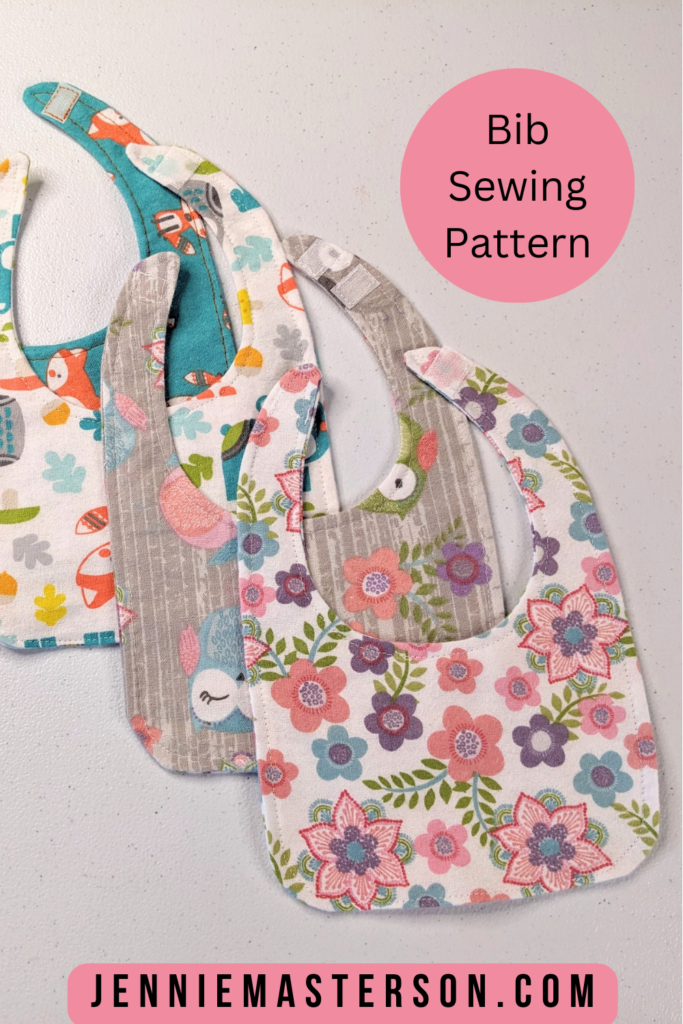
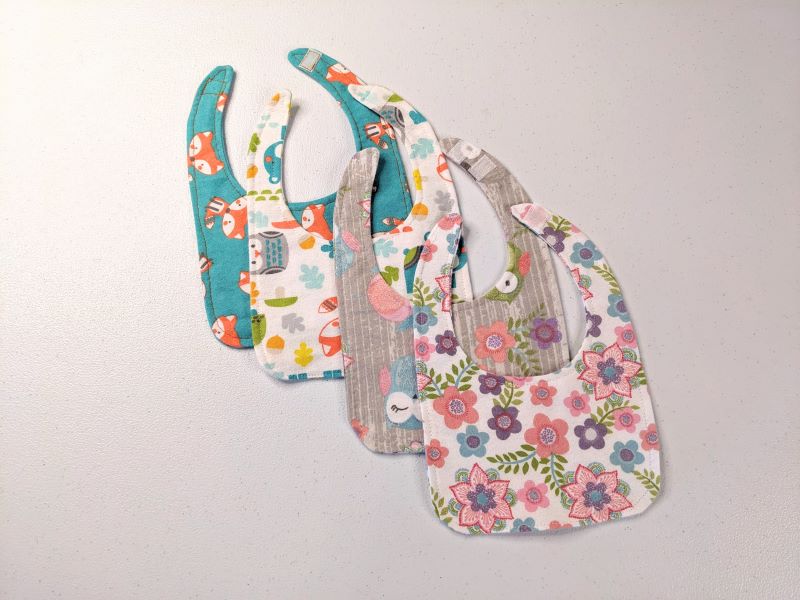
Sewing baby bibs is such a fun and fulfilling project! I’m going to walk you through the process of creation, step by step, so you can learn to make adorable and functional bibs for the little ones in your life.
*This post contains affiliate links
Things to know before you start
- Finished measurements are approximately 9.5“ long by 6.5“ wide″.
- This bib can fit infants and toddlers.
- I suggest reading through the entire pattern to get familiar with the steps before you start sewing.
- Don’t forget to backstitch at the start and stop of each seam.
- This Pattern is for personal and commercial (up to 50 times) use only. You may not re-sell or re-distribute this pattern. Only Items made using this pattern can be sold.
Supplies for Making a Baby Bib
- 1/4 yard Fabric
- 1/4 Yard Contrasting fabric (optional)
- Thread
- Scissors
- Pins or clips
- Iron
- Ironing board
- Turning tool or chop stick
- 3/4 inch Velcro – cut one piece 1 inch long. (you should have both sides, the rough side and the soft side.)
- Pattern – You can grab that in my Etsy shop here.
When cutting the fabric, I like to use a rotary cutter for clean, straight edges, but good fabric scissors work just as well.


Fabric Types
I would suggest using flannel as any mess won’t leak through the way cotton will. Terry cloth could also be used.
Pattern Assembly
This is a no trim pattern. Just line up each page to the gray line of the other page and tape or glue it together. (Pattern found here.)
Sewing Prep
Prewash and iron the fabric before cutting to eliminate any wrinkles or folds.
Cut your fabric using the pattern pieces. When you are done cutting you should have two main pieces.
All seam allowances are 3/8″ unless otherwise stated.
Remember to backstitch at the start and stop of each seam.
Cut 1/2 inch of Velcro for the bib closure. (1 each, rough side and soft side.) If making the adjustable bib, cut 1 more rough side for a total of 2 rough sides and 1 soft side.
Step 1
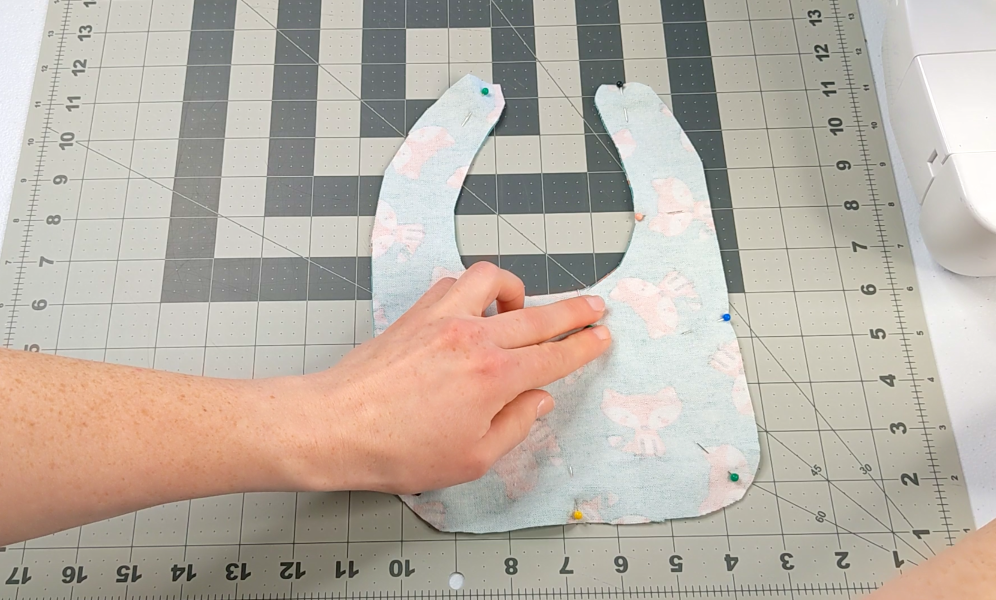
Lay the bib pieces one on top of the other with right sides together.
Step 2
Starting in the middle of one side, sew all the way around leaving a 2-3 inch gap at the end for turning. Remember to backstitch at the start and stop of the seam.
Step 3
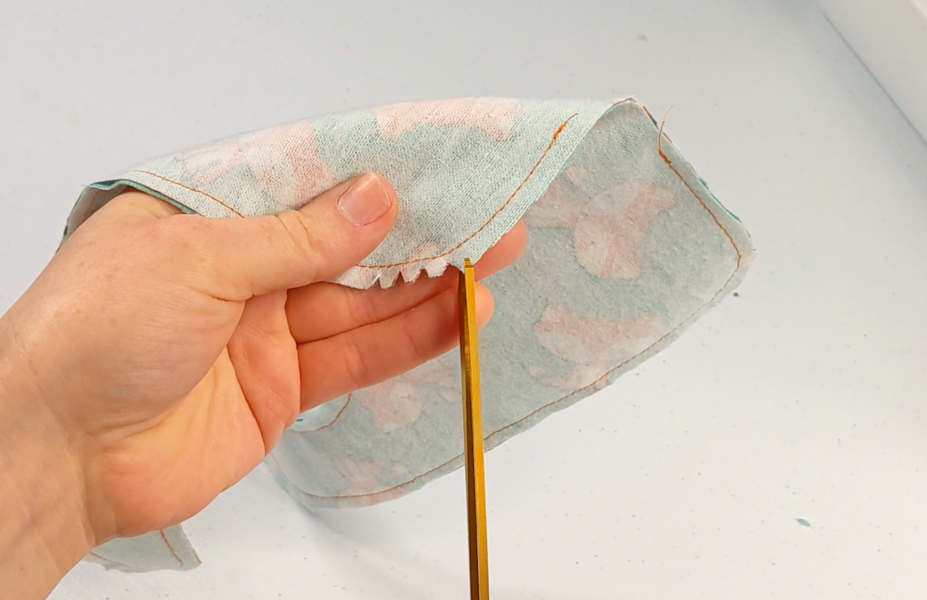
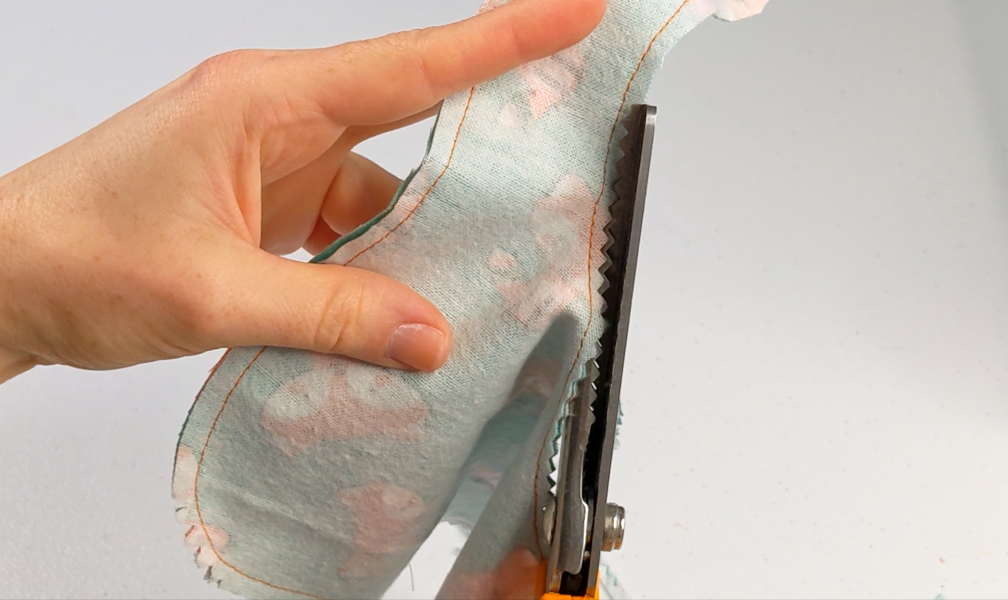
Cut notches in the seam allowance around all curves. Pinking Shears would also work here. (Make sure you don’t clip through any stitching.)
You may also choose to trim the seam allowance down to 1/4 inch to help reduce bulk.
Step 4
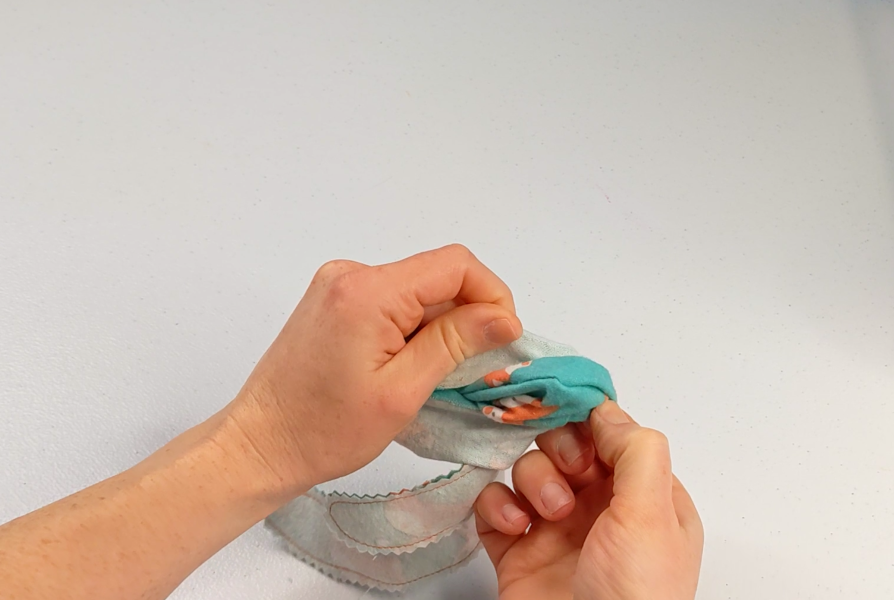
Reach into the gap you left from sewing and turn the bib right side out. Push fabric in the corners and the neck straps until the fabric takes the shape of a bib.
Step 5
Iron the Bib down so the seams lay flat. Make sure the seam allowance from the gap is tucked in and aligns with the seams before ironing in place.
Step 6
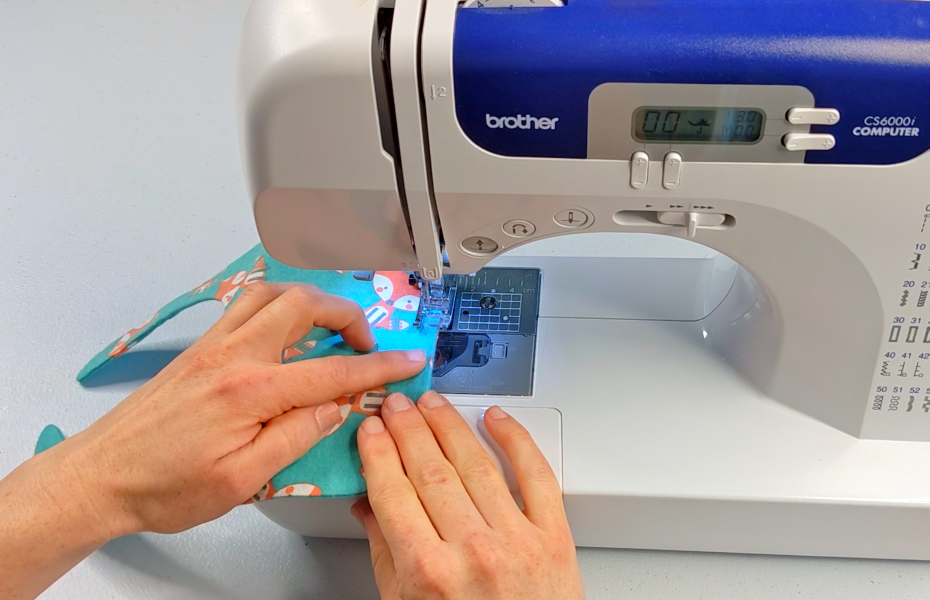
Using 1/4 inch seam allowance, topstitch all the way around the bib. Don’t forget to back stitch and the start and stop of the seam. This will close the gap that was left from turning.
Topstitching not only gives your bib a professional finish, but it also reinforces the seams, making the bib more durable. Plus, it’s an opportunity to add a decorative touch with contrasting thread if you’d like.
Step 7
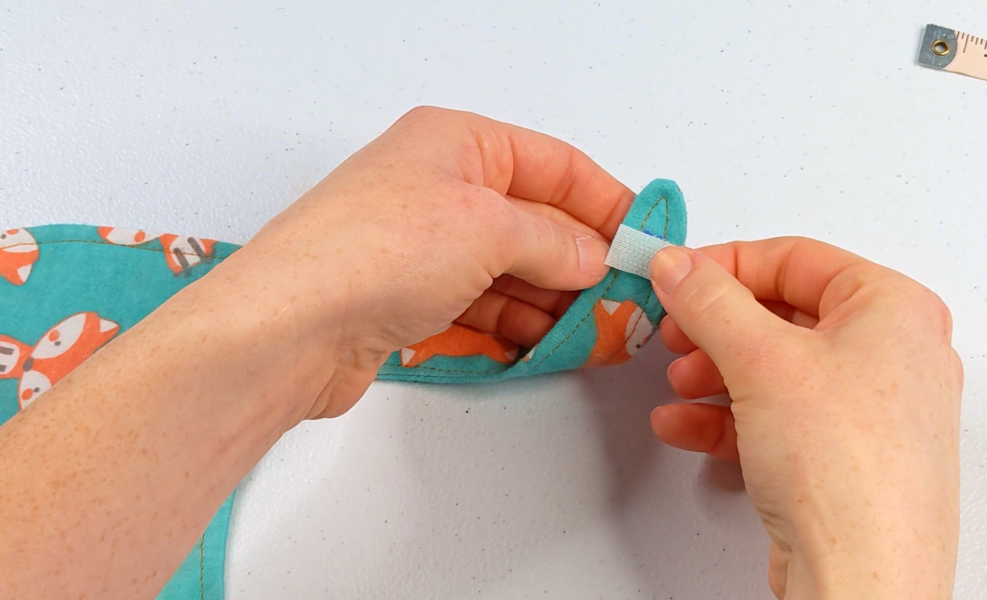
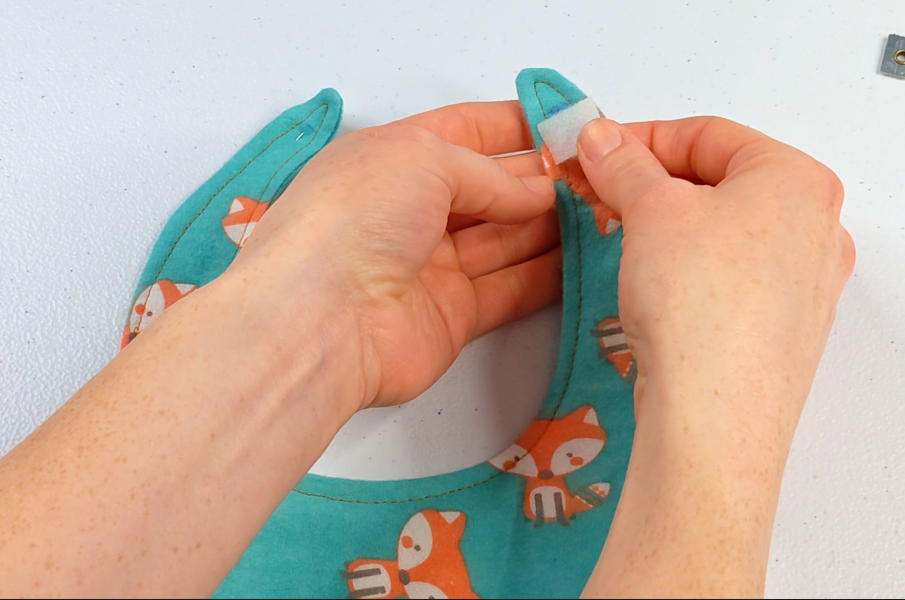
Measure and mark 1/2 inch down from the top of the more curved neck strap on the under side of the bib.
Align the top of the rough Velcro piece with the mark you made. The Velcro here should be facing down. Sew it in place by stitching around each side of the Velcro.
A little tip: When sewing Velcro, go slowly and make sure your needle is penetrating through the Velcro evenly. Reinforce the stitching by going around the edges twice, as this will help the Velcro withstand frequent use.
Step 8
Measure and mark 1/2 inch down from the top of the less curved neck strap on the under side of the bib.
Align the top of the soft Velcro piece with the mark you made. The Velcro here should be on the top side of the bib. Sew it in place by stitching around each side of the Velcro.
Your Velcro pieces should be on opposite sides of each strap now. One facing up, one facing down.
Step 9
Optional Step (make it adjustable.) Measure and mark 1/2 inch down from the from the rough Velcro piece that’s been sewn in place on the more curved side of the bib.
Pin and sew an additional piece of rough Velcro, aligning it with the top of the mark. (This Velcro Piece is 1/2 inch long)
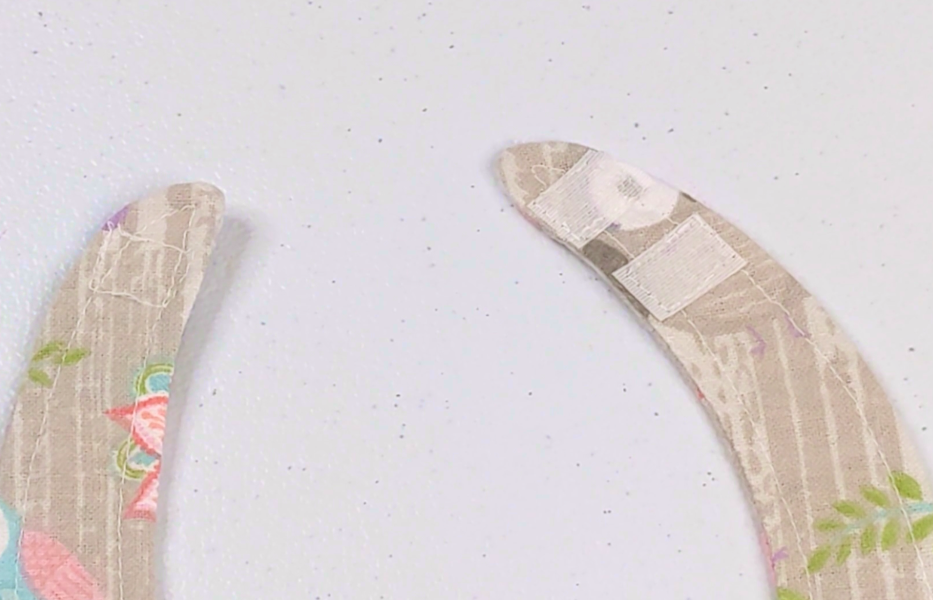
That’s it, You’re all done! Be sure to trim any lose threads.
Care Instructions
Washing Tips
To keep your handmade bibs looking their best, machine wash them in cold water on a gentle cycle. I like to use a mild detergent, especially for items that will be close to a baby’s skin. Tumble dry on low or hang to dry to preserve the fabric and Velcro.
Velcro Maintenance
Velcro can sometimes catch on other items in the wash, so I recommend closing the Velcro tabs before washing the bibs. This simple step will prevent the Velcro from snagging on other clothing and keep it working properly.
Conclusion
And there you have it—a simple, step-by-step guide to sewing your own baby bibs with Velcro! Whether you’re making them for your little one, as a gift for a baby shower, or just because you love to sew, these bibs are a practical and thoughtful project.
Don’t forget to grab the pattern here and get started on your sewing adventure. Happy sewing!
P.S. If you like this bib pattern, you may also like some of my other baby sewing patterns. Check out my easy receiving blanket pattern, or this simple burp cloth pattern. This full coverage nursing pattern is one of my top rated patterns.
Pin it for later.
