DIY Burp Cloth Tutorial
Learn how to make an easy burp cloth for babies with a free pattern! This post has a PDF pattern you can print, and it list’s the measurements for those who prefer them. This sewing pattern is very beginner friendly and quick to make.
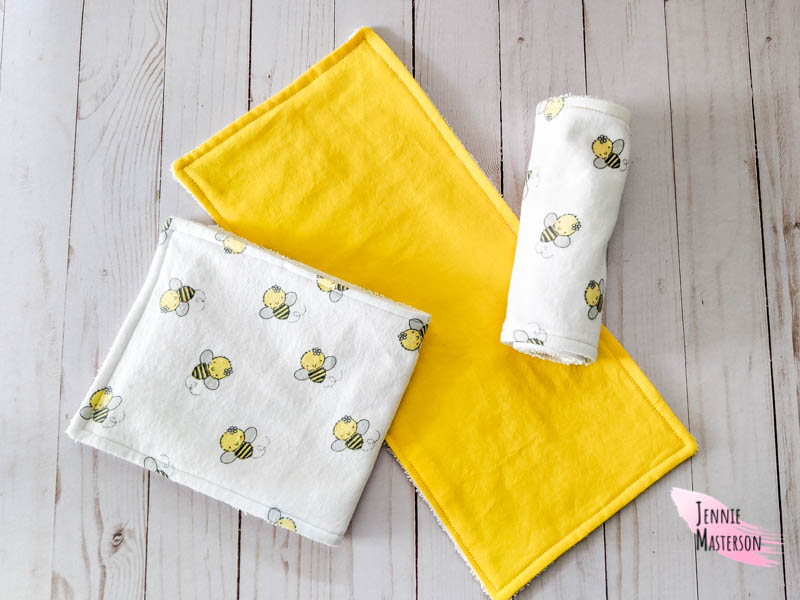
We all adore babies, but also know they’re a bit messy. Burp cloths are one way we can help contain the mess, and hand made burp cloths give better protection and absorb more spit up than store bought ones.
What are baby burp cloths used for?
Babies are notorious for spitting up all over an outfit. Burp cloths are used to catch spit up when burping a baby. You simply put the burp cloth over your shoulder before bringing the baby up to burp and your outfit has a smaller chance on needing to be changed. That extra protection makes a big difference when the baby is on your shoulder. I know I need all the help I can get when it comes to keeping spit up off of my clothes, if only just to keep an outfit on for more than just a minute!
Do babies need burp cloths?
The quick and easy answer in my opinion is yes. I can’t even tell you how happy I’ve been when a burp cloth has caught all the spit up that would have been on my clothes. Can you get by without them? Perhaps, but I would never want to! They are too helpful! Especially when you’re away from home and don’t have the ability to run to your closet and change clothes.
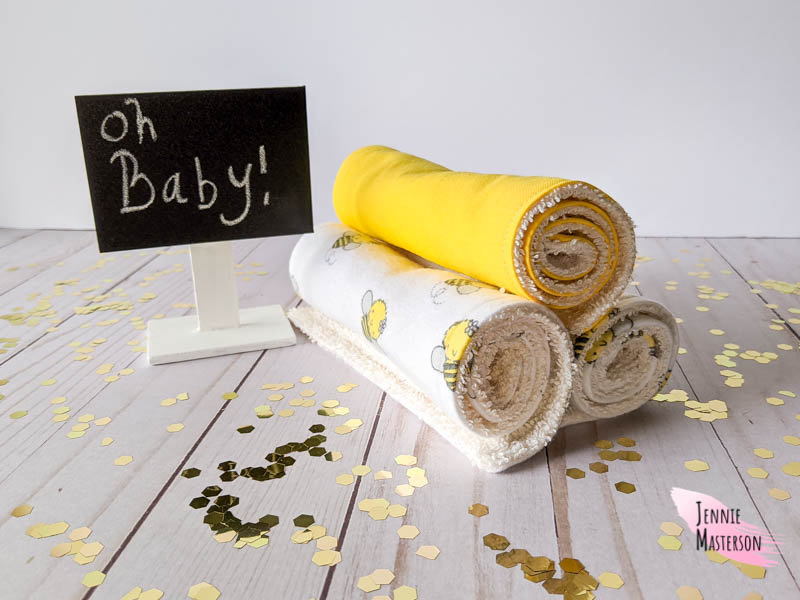
Burp cloths are a really easy and quick sewing project. They make for perfect gifts for expecting mothers and are fun to give at baby showers.
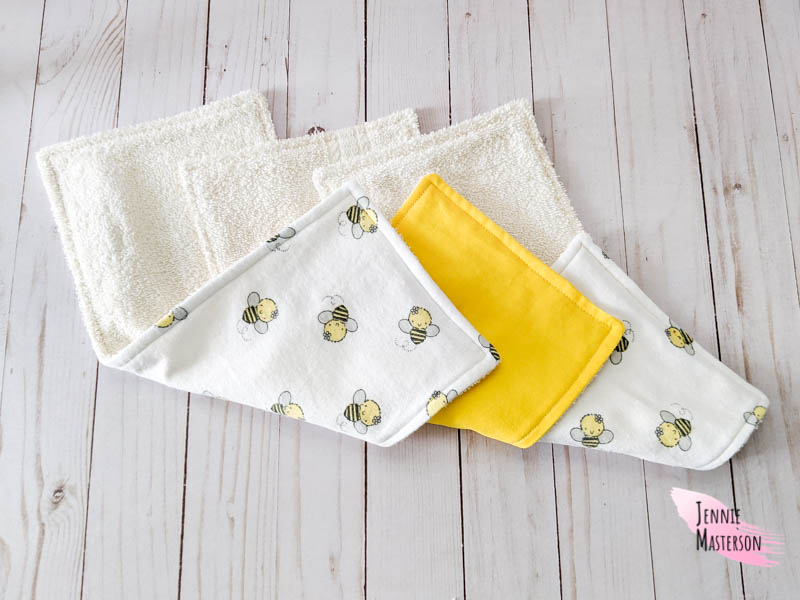
How do you make a baby burp cloth?
I’m going to show you how quick and easy it is to make your own baby burp cloths at home, but first you’ll need supplies. Here are some details you need before you get started.
*This post contains affiliate links.
Burp Cloth Supplies
- Fabric (1/2 yard main, 1/2 yard of terry cloth. See the fabric types section for more info.)
- Matching thread
- Scissors
- Iron / Ironing board
- Pins or Clips
What fabric is best for baby burp cloths?
For the top of the burp cloth, which will be the pretty side, you can use flannel, cotton, denim, PUL, or pretty much any woven fabric. I wouldn’t suggest anything silky or the cloth will just fall off your shoulder. My personal favorite is flannel because it seems to cling well to my shoulder and not slide around.
For the bottom of the burp cloth, which will be the side that catches all the yuck, you’ll want to use terry cloth. (That’s what towels are made out of.) An easy and inexpensive way to get some terry cloth for this is to up cycle an old towel you don’t need anymore, or go to Wal-Mart (or Target) and buy the least expensive (yet still soft) bath hand towels. That is what I used and it worked like a charm. I found I can get three burp cloths out of one bath hand towel. Be sure it’s a bath hand towel though. They are much softer than kitchen towels which may be too rough for a baby’s delicate skin.
Get the Free Pattern Here
Click the black button above to download the free sewing pattern. Or if you prefer to go off of measurements, you’ll want to cut your fabric 8″ X 16″
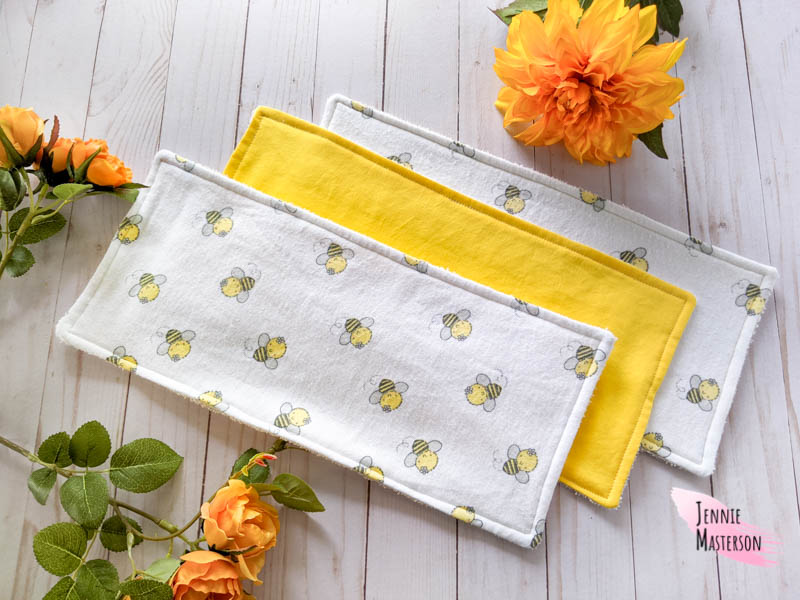
Finished measurements are approximately 7″ X 15″.
Don’t like the ads? Get the ad free version of this pattern in my Etsy shop here. Or go big with my baby bundle that includes 5 baby sewing patterns for a 15% discount!
*This pattern is for personal and commercial (up to 50 times) use only.
Pattern Assembly Instructions
This is a no trim pattern. Just line up each page to the black line of the next page and tape or glue it together.
Sewing Prep
Prewash all fabrics before using them. The terry cloth shouldn’t need to be ironed, but the other fabrics may need to be. Go ahead and iron them now to eliminate any wrinkles before cutting. Once it’s ironed and ready to go, cut out your fabric. After everything is cut, you will have one piece of the main fabric (your pretty fabric) and one piece of the terry cloth.
Assembling the Burp Cloth
*Use a seam allowance of 1/2 inch.
Pro tip: If your main fabric is a different color than your terry cloth but you want your threads to match, use a different color thread in the bobbin to match the bottom layer of fabric.
Lay the main fabric on top of the terry cloth with right sides together. Pin or clip together.
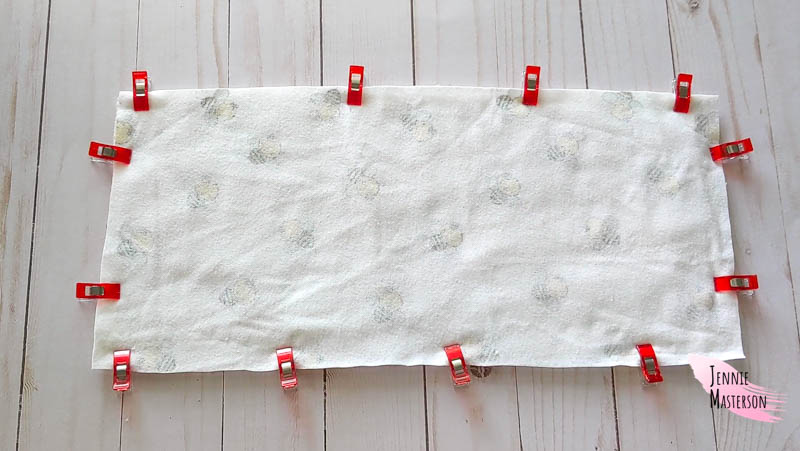
Starting in the middle of one side, sew all the way around leaving a 2-3 inch gap at the end for turning. Remember to backstitch at the start and stop of the seam.
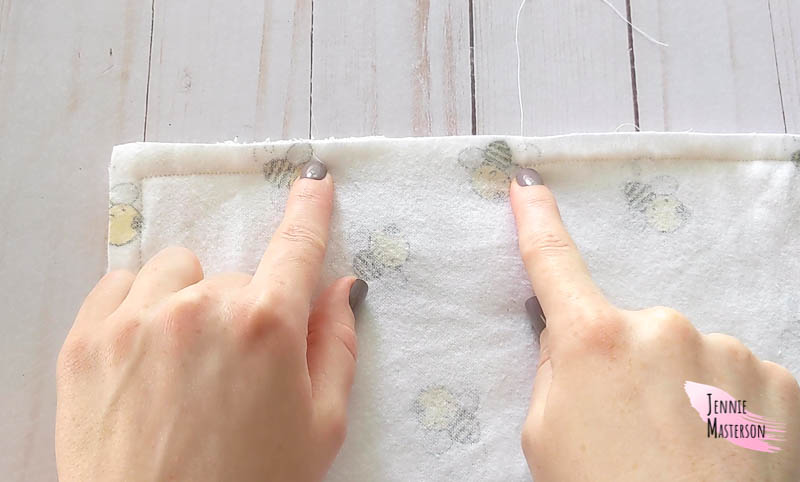
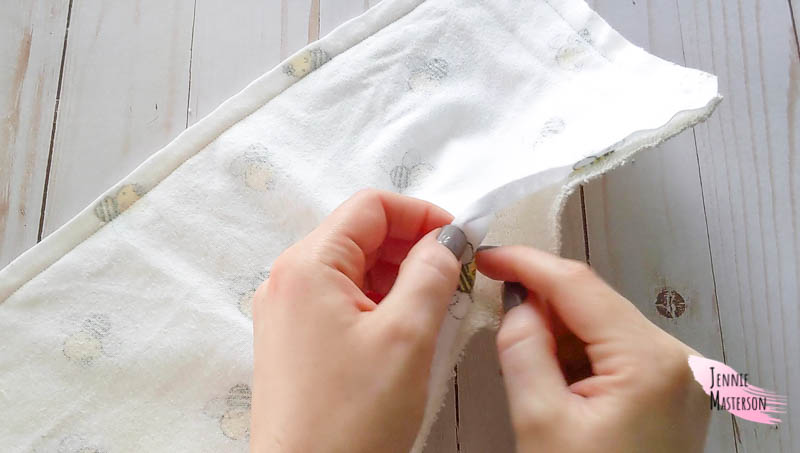
Clip the corners. Make sure you don’t clip through any stitching.
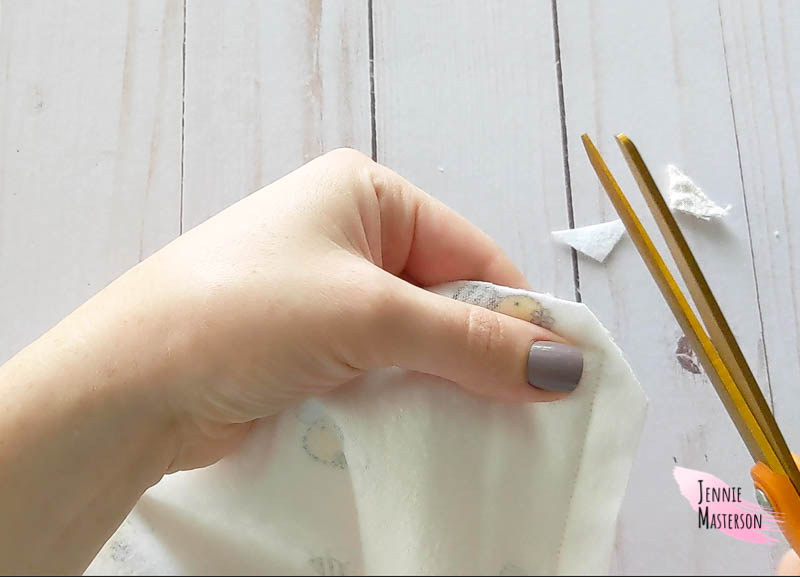
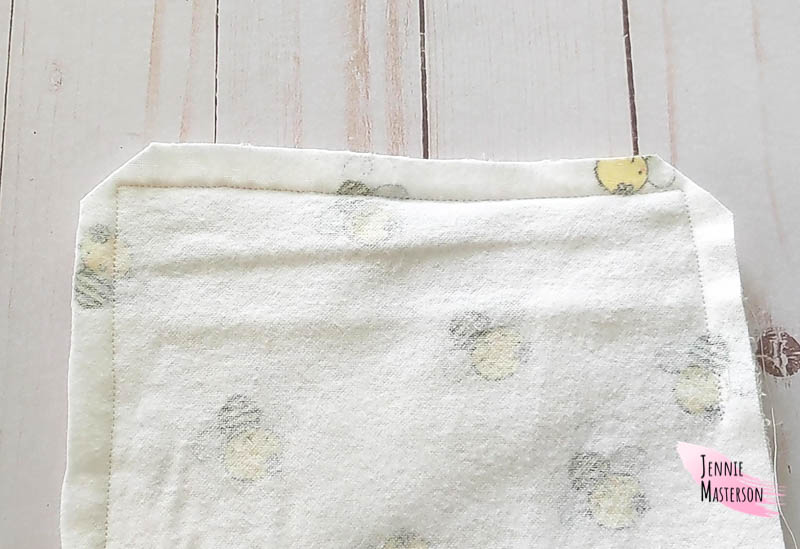
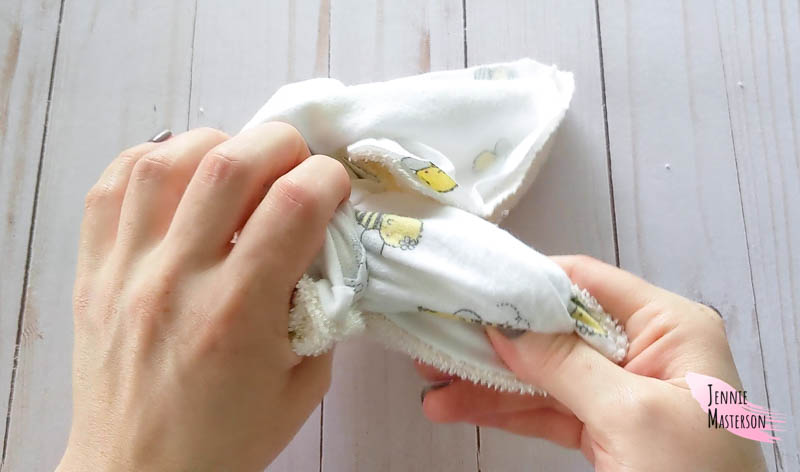
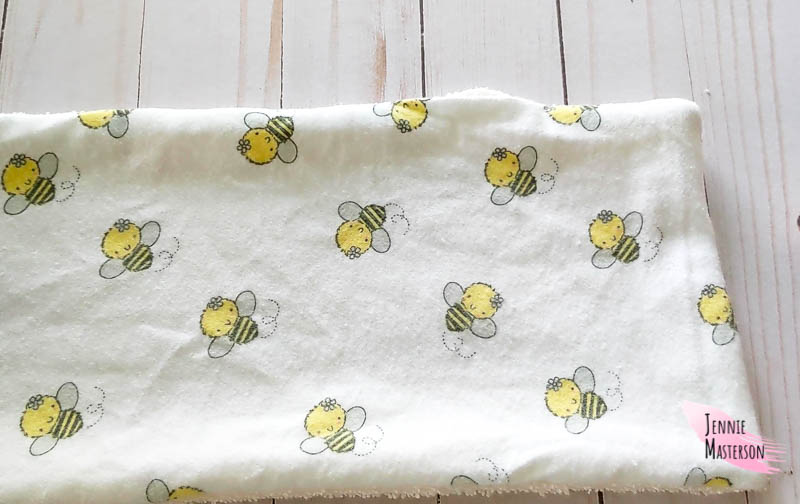
Reach into the gap you left from sewing and turn the burp cloth right side out.
Finishing the Burp Cloth
Iron the burp cloth down so the seams lay flat. Make sure the seam allowance from the gap is tucked in and aligns with the seams before ironing in place.
Using 1/4 inch seam allowance, stitch all the way around the burp cloth. Don’t forget to back stitch and the start and stop of the seam.
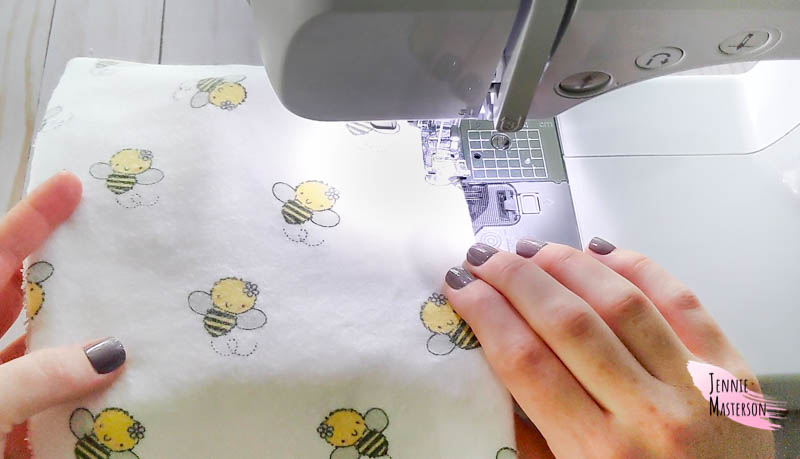
Beginner Tip: To get a nice clean looking stitch at the corners when you reach the end of each side leave your needle in the fabric and lift your presser foot. Next, rotate the fabric and position it to sew down the next side. Finally, lower the presser foot back down and continue sewing.)
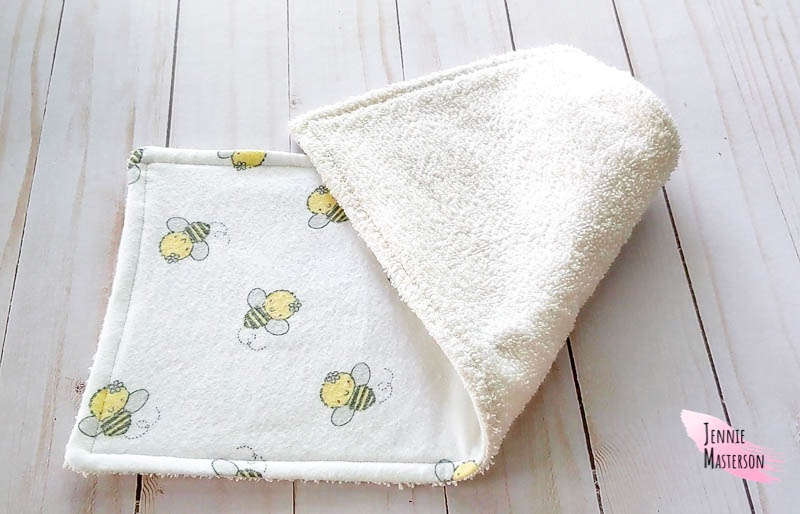
It’s done! Can you believe how easy that was?! You could crank out several of these in an afternoon. I hope this pattern and tutorial are useful for you. Have fun, and thank you for reading!
Also check out these other fun free sewing patterns for more projects
