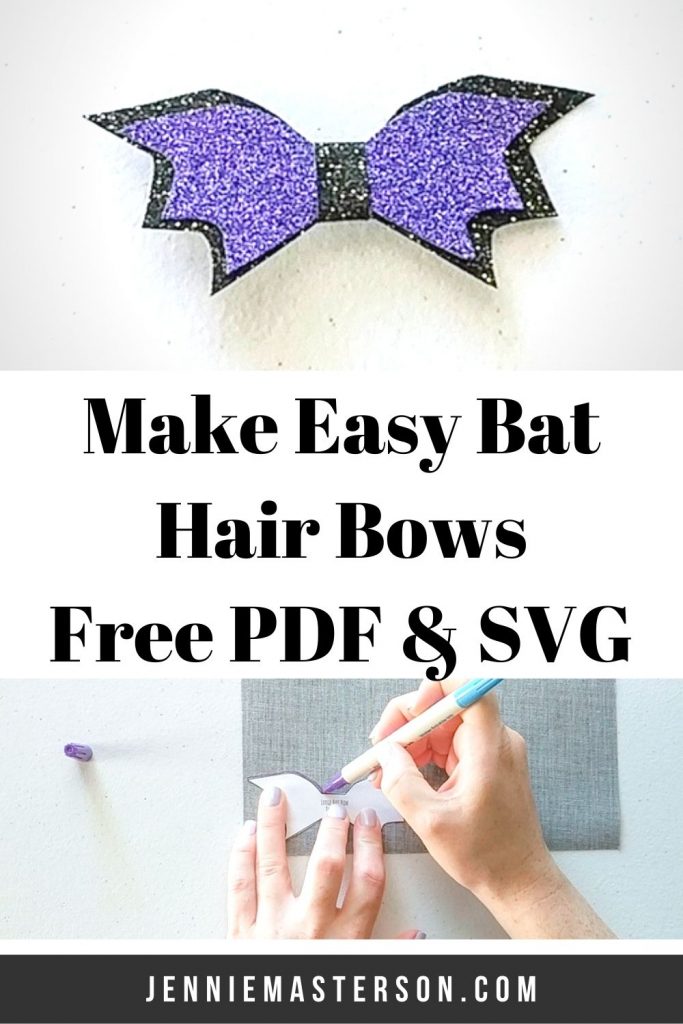
DIY Easy Bat Hair Bows
I love hair bows! In fact, I have probably 12-15 of them just for myself. I’m sure if I had a little girl, I would never stop making them! (2020 update to that sentence, I’m expecting a little girl at the tail end of the year!) To be a bit more festive this Halloween season, I made some bat hair bows and am sharing the pattern and SVG with you for free.
I have a stacked hair bow pattern which is pretty fun, but sometimes a unique shaped bow can make things a bit more interesting and special. And after all, isn’t Halloween quite interesting and fun?!
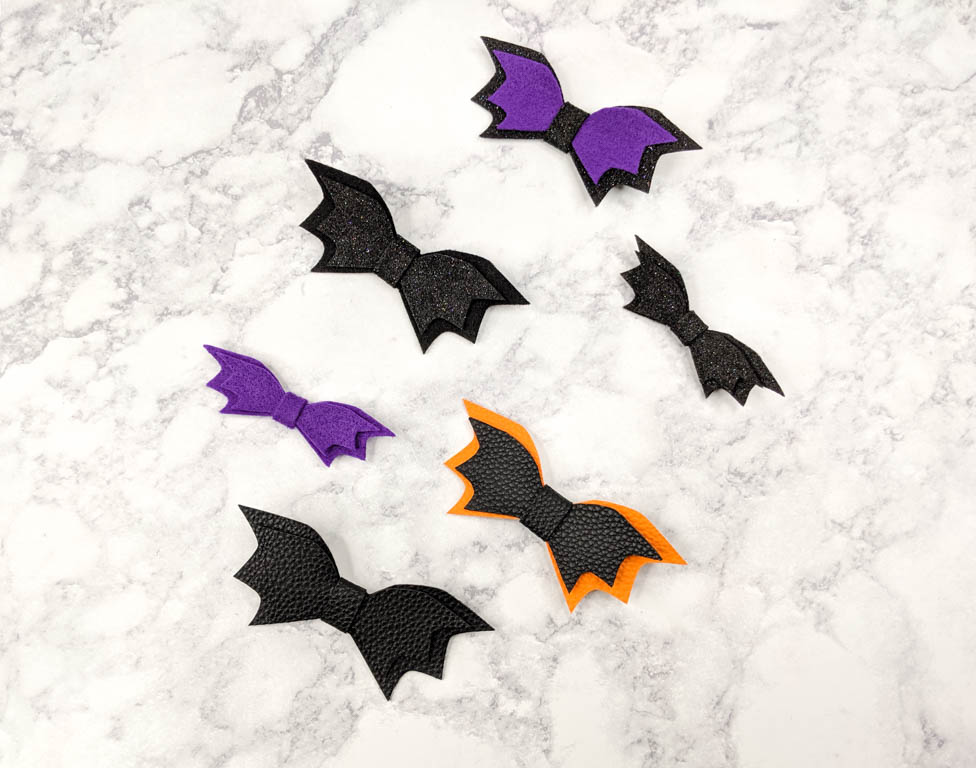
These bat hair accessories work great for dress up days too. They are easy to make and give a unique look to any hairstyle. They could also be made without the clips and stuck on a wall, door, or tree to add some Halloween decor to your home as well.
There are two bow sizes, one small and one large. The small measures approximately 4″ x 1.25″ The large measures approximately 4.5″ x 2″

*This post contains affiliate links.
Supply List
To make the bat bows you will need:
- Faux leather, glitter canvas or felt
- Alligator clips
- A hot glue gun
- Either scissors or a cut machine
- Fabric marker (optional)
Also, if you are looking for more free DIY hair accessory templates and patterns, check out these scrunchie patterns. There is also more Halloween fun to be had by making your own trick or treat bag!
Get It Here
To download the SVG or PDF template, click the pink button above. Just enter your email and you will have access to the files for free.
Don’t like the ads? Get an ad free printable version of this tutorial and pattern in my Etsy shop.
*These files are for personal and commercial (up to 50 times) use only.
Cutting Instructions
Cutting For PDF (Scissors):
Print the PDF and cut out the pattern. Once the bow pattern is cut you can pin it to the bow material and cut it out. If you are using faux leather make sure to use clips, not pins. Pins will leave permanent holes in your faux leather.

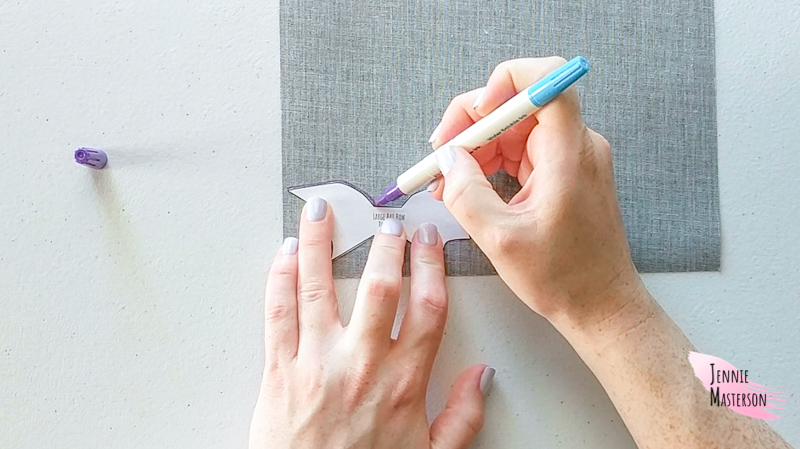
Another method you can use is to the trace hair bow pattern onto the backside of the material with a fabric pen. You will then be able to cut it out using the outline made with the fabric pen. I use a disappearing fabric ink so that if there are any markings left over, they won’t stick around.
Cutting For SVG (Cut Machine):
Load the SVG into the cut machine software. If you are using faux leather, place the front side of it face down onto your cutting mat.

Mirror the image in the cut machine software, select the material type and send it to cut.

If you are using felt, you can cut it normally without mirroring it. Once it’s cut, peel the material off the cutting mat.


Assembly Instructions
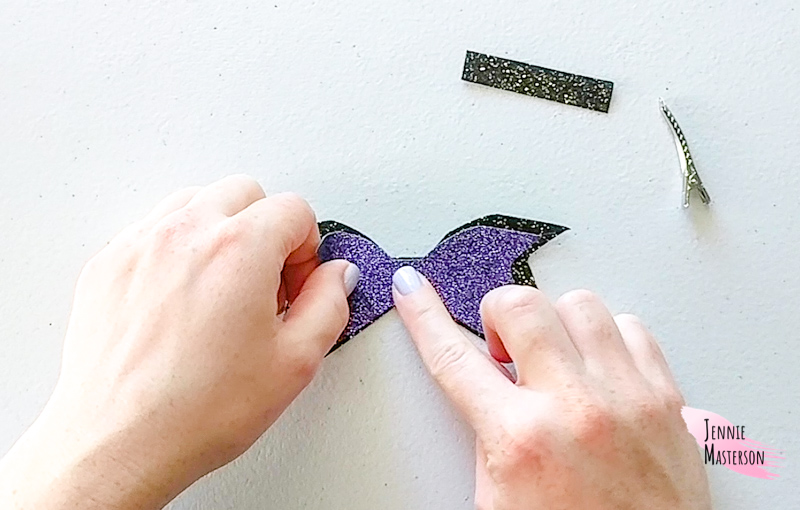
Using your hot glue gun, glue the top layer bat piece to the bottom layer bat piece.
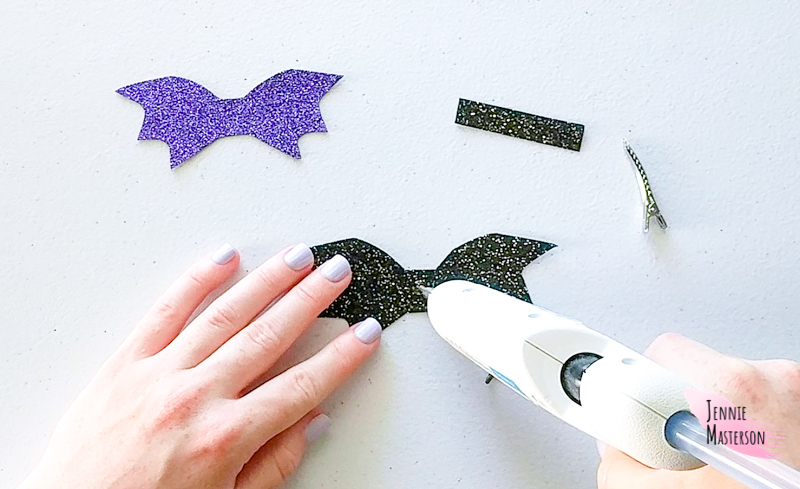
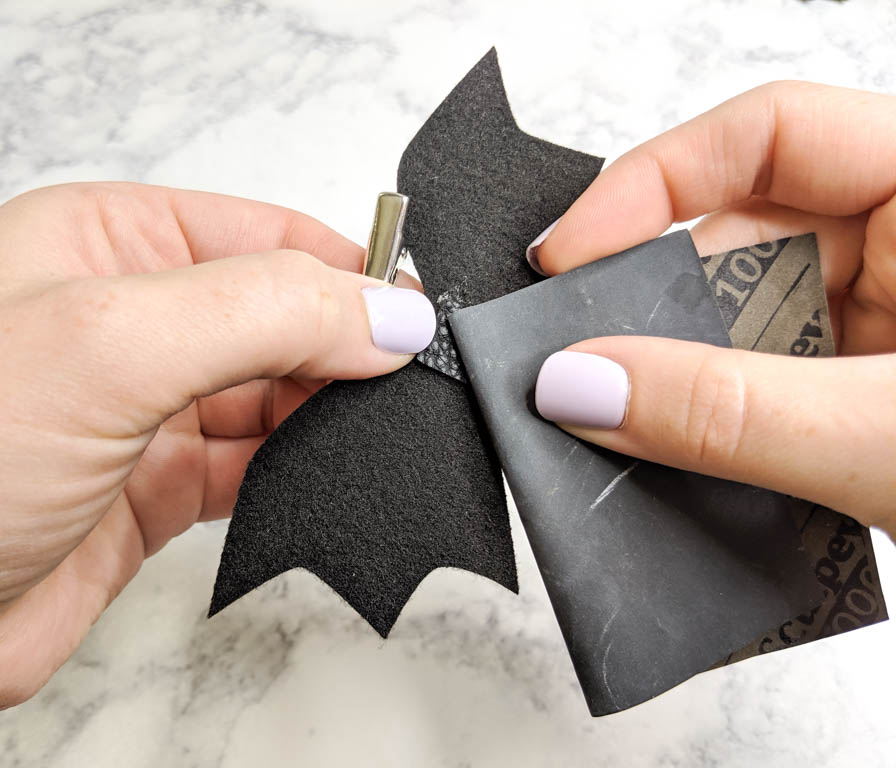
Tip: Hot glue needs a rough or porous surface to grab onto and sometimes faux leather can be a bit too smooth for the hot glue to create a strong bond. Using a bit of sand paper on the smooth surface that will be glued can make that bond stronger.
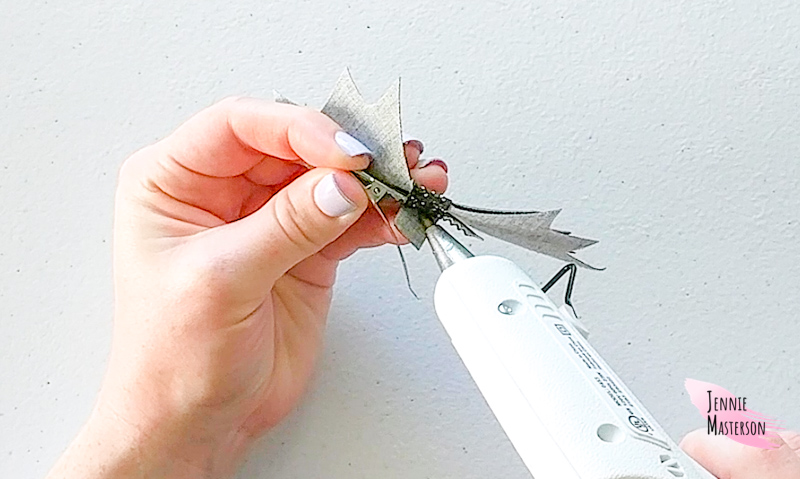
Take the center tab and set it flush with the top of the backside middle section of the bow. Clip the alligator clip onto the tab piece so it sits vertically centered on the bow with backside facing up. (See image below.)
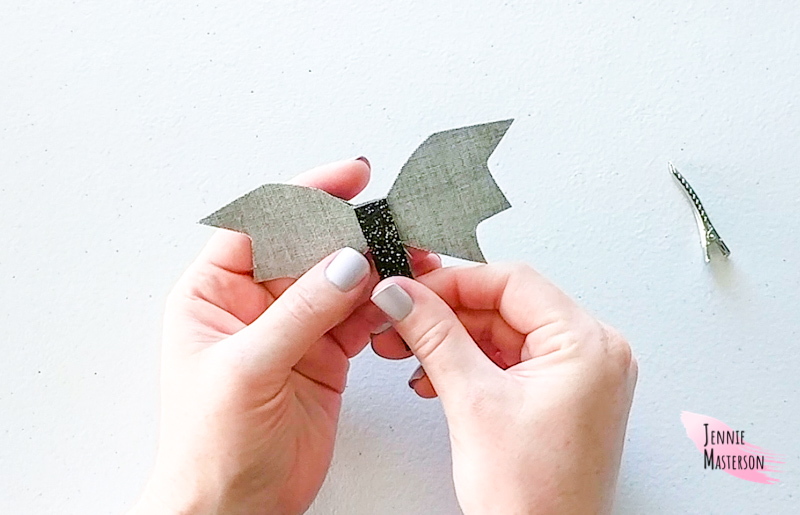
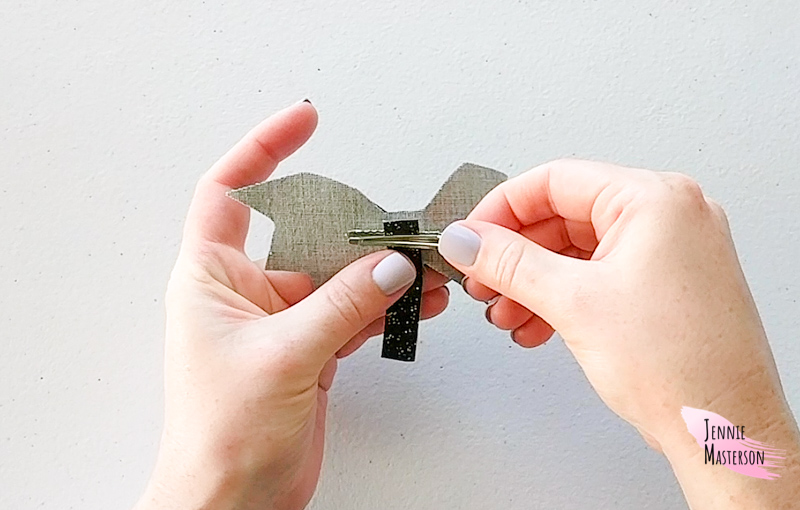
Hot glue the tab in that position.
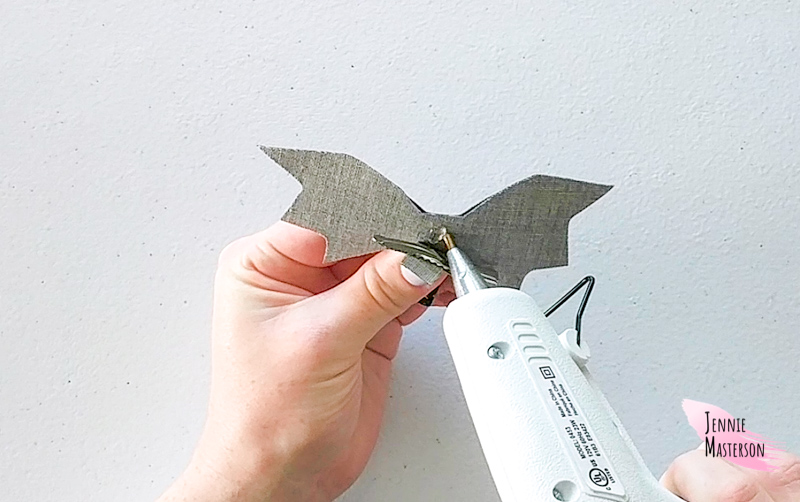
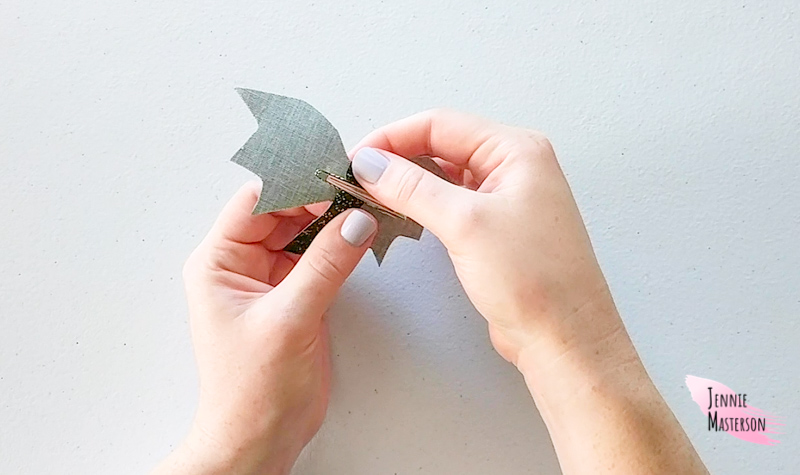
Put some hot glue on the center front of the bow and wrap the center tab around to the front and fold it down on top of the glue.
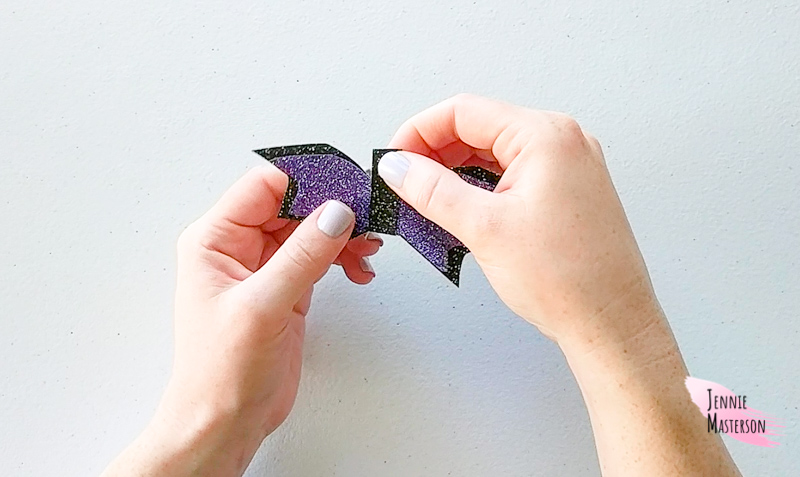
Wrap the remaining bit of the center tab back over to the bows backside. Open the alligator clip and place the center tab inside it.
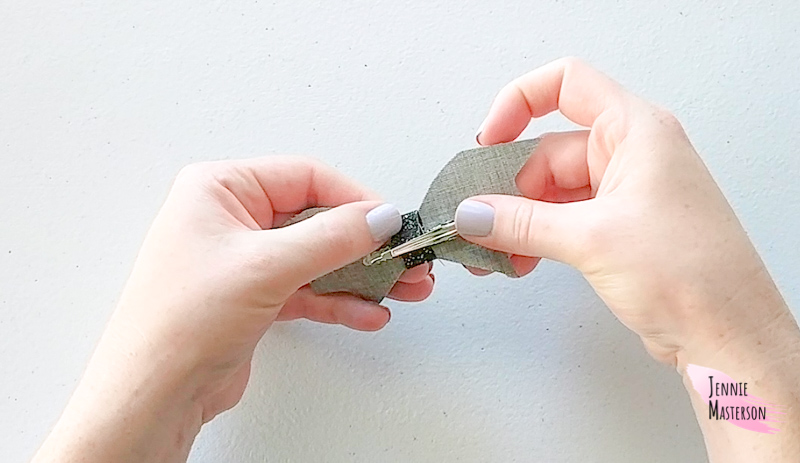
Put hot glue in between the last bit of the center tab piece and the backside of the bow.
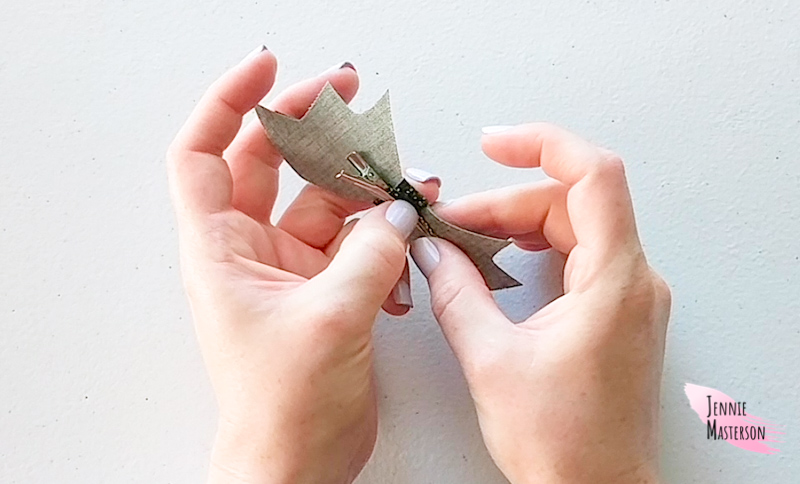
Let the glue cool down and you are done! The bow is ready to be worn.
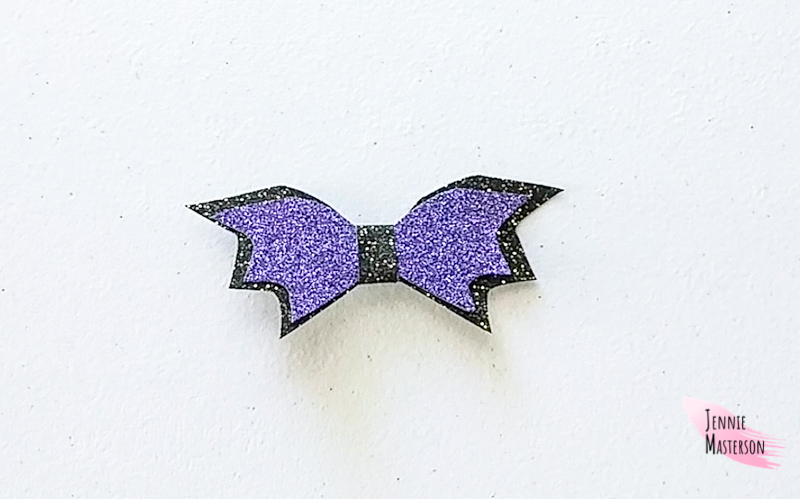

Additional Ideas
The fun thing about having multiple layers to a bow is that you can stack colors with it! I used a combination of orange and black on one bow and purple and black on another to add even more festive feels to the bows. I even made one with normal felt as one layer and glitter felt as the top layer.
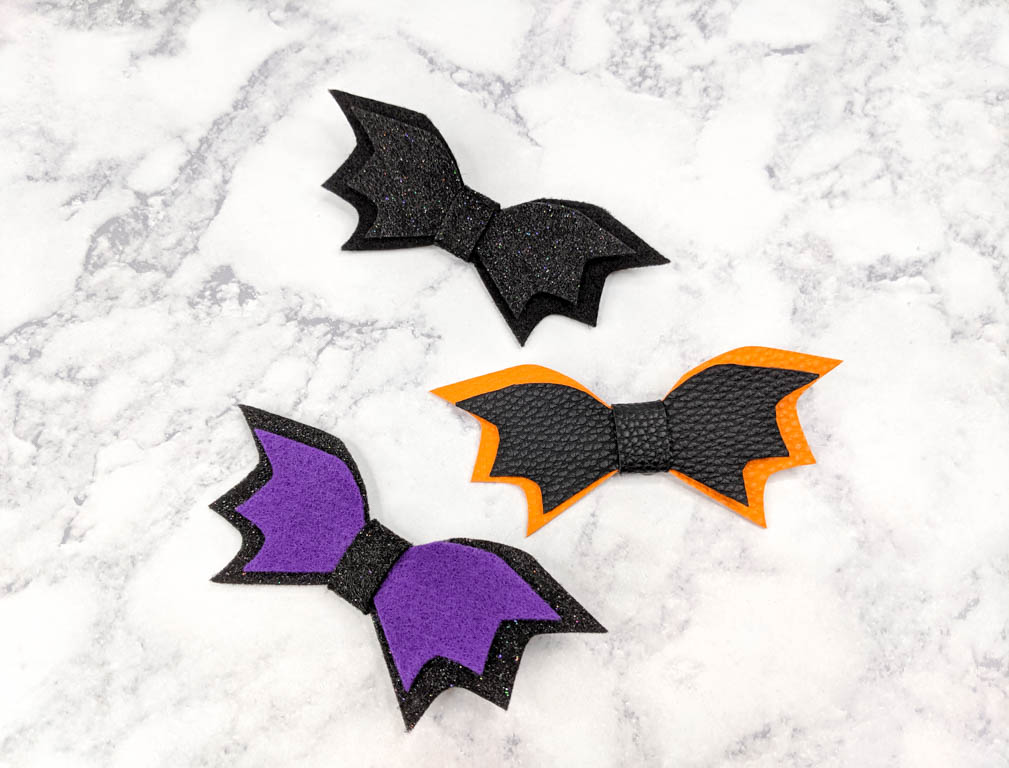
You could also leave off the top layer bat piece to create a different look to the bat bows.

Now that your bat bows have been made, you (or your little girl) are ready to rock this halloween season! Just clip the bow into some hair and you’re ready to go. I hope you have a happy Halloween and have fun with these free bat bow files! When you make these, feel free to tag me on Facebook or Instagram, I love to see what you make!
