DIY candy corn throw pillow
Learn how to make this adorable candy corn pillow for the fall season. It’s beginner friendly and comes together pretty quickly. Plus the sewing pattern is free!
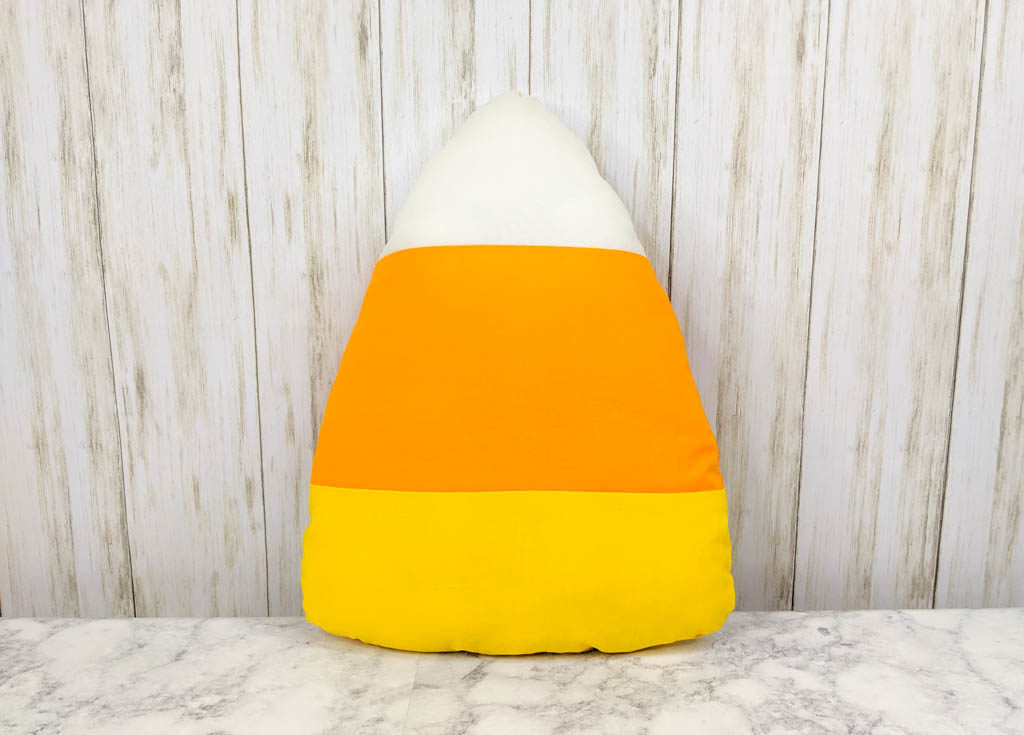
It turns out that I have a strange infatuation with candy corn. I know they’re not everyone’s favorite, but I find the little candies to be delicious and addictive. Even if you don’t like the taste of candy corn their visual appearance speaks of “fall” or “Halloween” to most people. To add to the festive feelings of the season, I made a sewing pattern for a candy corn pillow and am sharing it with you, for free, in this post.
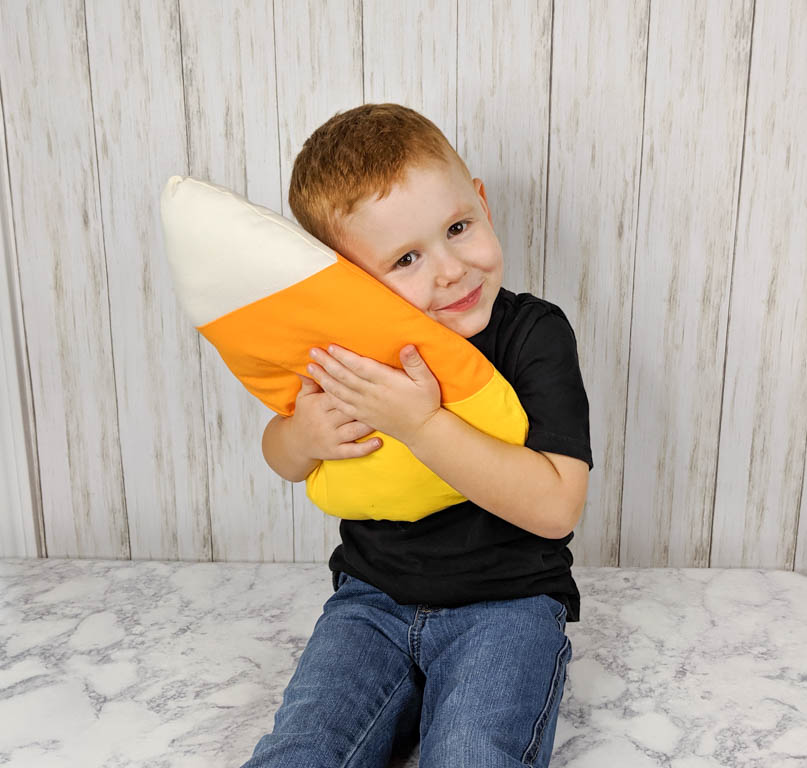
The candy corn pillow measures approximately fifteen and a half inches tall, by twelve inches wide at its widest part. It’s a simple pattern making it perfect for beginners!
*This post contains affiliate links.
Supplies
- 3 Fat quarters (1 white, 1 yellow, and 1 orange)
- Scissors
- Pins or clips
- Thread
- Stuffing
- Sewing needle (for hand sewing)
- Fabric pen or tailors chalk
For more fun fall/Halloween crafts, check out this fun Jack-o-lantern SVG or these cute trick-or-treat bags.
Get the Pattern Here
To download the sewing pattern, click on the pink button above. Just enter your email and you will have access to the pattern for free.
Don’t like the ads? Get an ad free printable version of this candy corn pillow tutorial and pattern in my Etsy shop.
*This pattern is for personal and commercial (up to 50 times) use only.
Pattern Assembly
This is a no trim pattern. Just line up each page to the gray line on the other page and tape or glue it together.
Sewing Prep
Prewash your fabric and iron it to get any wrinkles or folds out.
Cut out the pattern pieces. You should have two mirror images of each piece. Use yellow for the bottom pieces, orange for the middle, and white for the top.
Transfer the alignment markings from the pattern to the fabric.

Sewing the Candy Corn Layers
Lay the middle layer upside down on top of the bottom layer with right sides together. Use the alignment markings to line up the bottom of the middle layer to the top of the bottom layer. Pin together and sew using a half an inch seam allowance.


Lay the top layer upside down on top of the middle layer right sides together. Use the alignment markings to match the layers together. Pin together and sew using a half an inch seam allowance.


Trim the seam allowance down to a quarter inch.

Iron all the seam allowances down towards the bottom of the pillow. You now have one half of the candy corn pillow.

Repeat these steps with the other pieces to make the second half of the pillow.
Sewing the Pillow Sides Together
Lay one of the candy corn halves on top of the other with right sides together. Pin together.

Leaving a two to three inch gap at the bottom for turning, sew around the whole candy corn shape using a half an inch seam allowance.

Turn the pillow right side out through the gap that was left after sewing.


Take your stuffing and stuff the pillow using the hole that was left for turning. Fill it until you are satisfied with the thickness of your pillow.
Note: If you over stuff, the candy corn may lose its shape or bulge a bit.

Finishing the Candy Corn Pillow
Pinch the opening shut and hand sew closed. (I used a whip stitch here.)

*Pro Tip: I like to use my wonder clips to hold the opening shut while I sew. This helps my hand from having to strain to keep the hole closed.
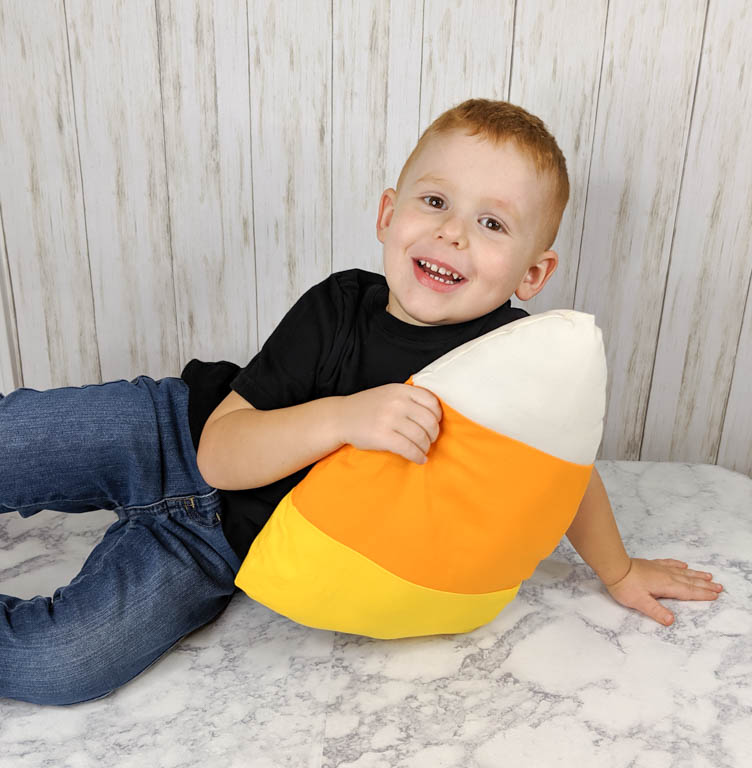
Your pillow is done! Now you can set it on your couch, bed, or just let your kids play with it. My kids seem to like the last option the best. 😉
I hope you enjoy the fall season and the free sewing pattern. Thank you for reading!
