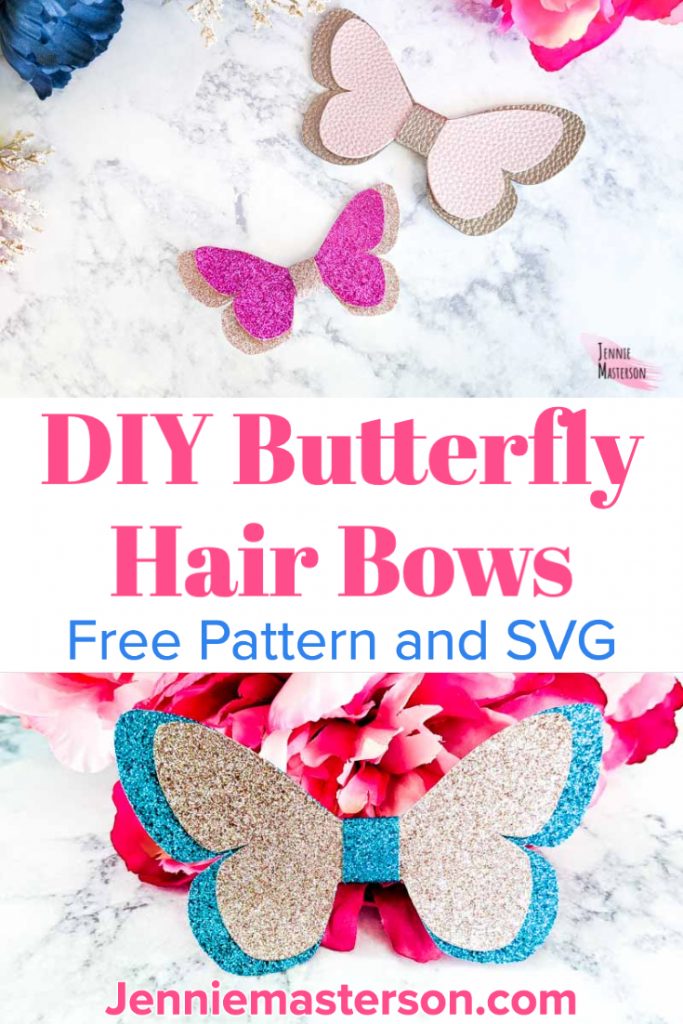
Learn how to easily make adorable butterfly hair bows! This step by step tutorial makes it a breeze to assemble them and start wearing them right away.
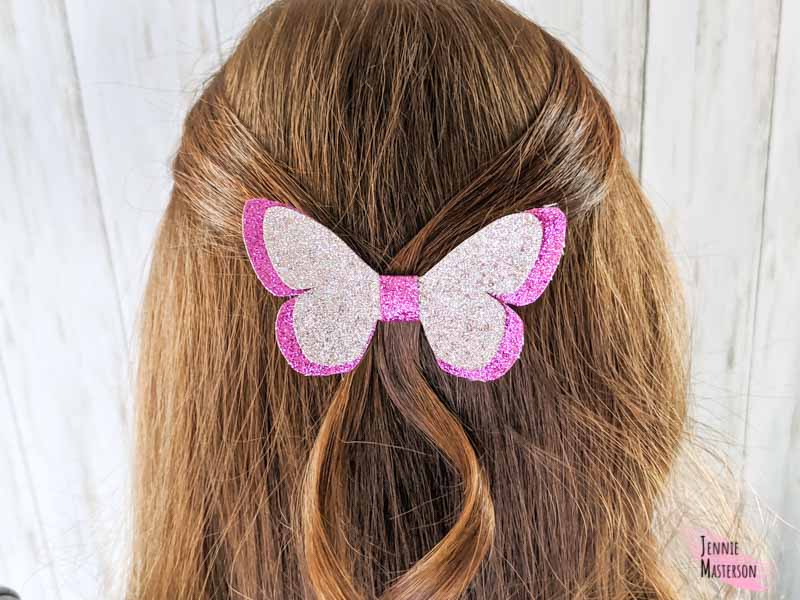
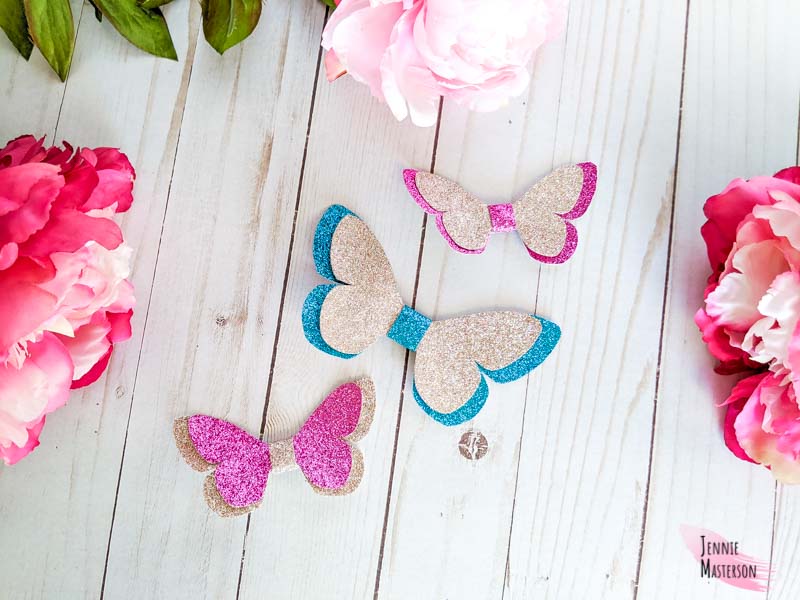
I love a good hair bow. This adorable pattern that I’m sharing today is a butterfly hair bow. It’s the perfect hair accessory for spring or any time of the year! (Butterflies are pretty universal that way!)
There are three different sizes for these butterfly bows. Large, which measures about 5 inches. Medium, which measures about 3.75 inches, and small, which measures about 2.75 inches. These were all measured at the widest part.
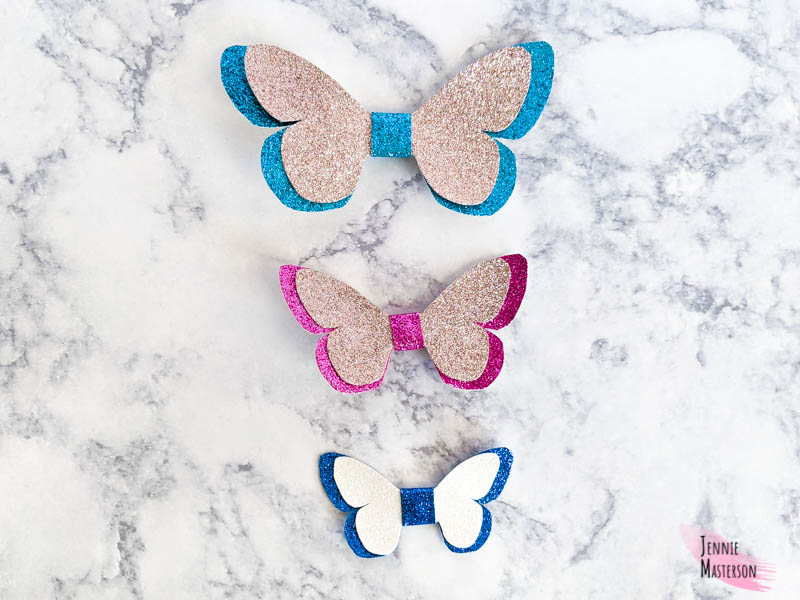
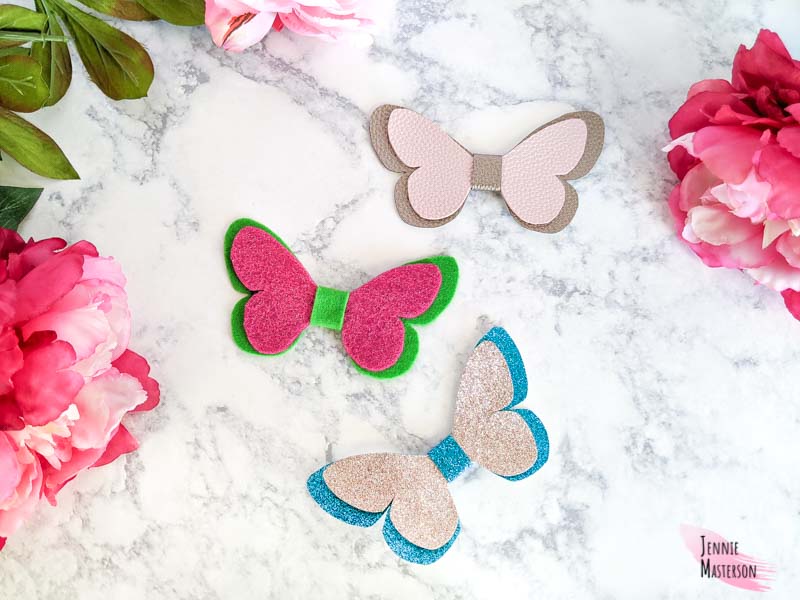
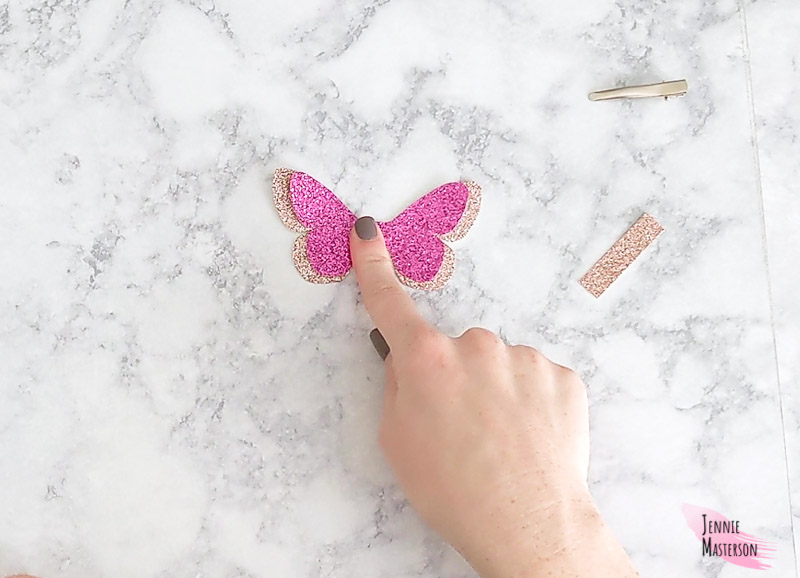
Here is what they look like in different materials. There is one in faux leather, one in felt, and, one in glitter canvas.
*This post contains affiliate links.
This bow project is really easy to assemble and only requires a few supplies.
Get the Free SVG and PDF Here
Click the pink button above to get the free SVG and pattern. Just enter your email and you will have access to the free file.
*This pattern is for personal and commercial (up to 50 times) use only.
Supplies for Butterfly Hair Bow
- Faux leather, glitter canvas, or felt.
- Hot glue gun
- Hot glue
- Alligator clips
- Cut machine OR Scissors
- Clips OR fabric marker (PDF version only)
Don’t forget the free SVG or pattern! (Pink button up above.)
Also, if you are looking for more hair accessories, check out this free Stacked hair bow pattern or free scrunchie sewing pattern!
SVG Cutting Instructions
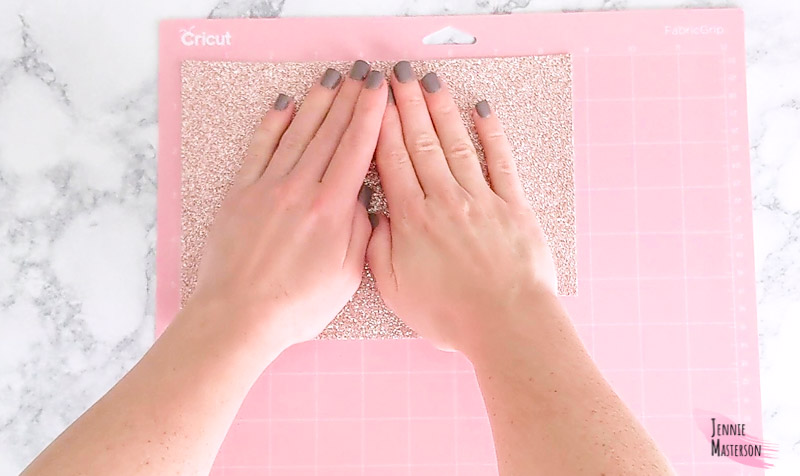
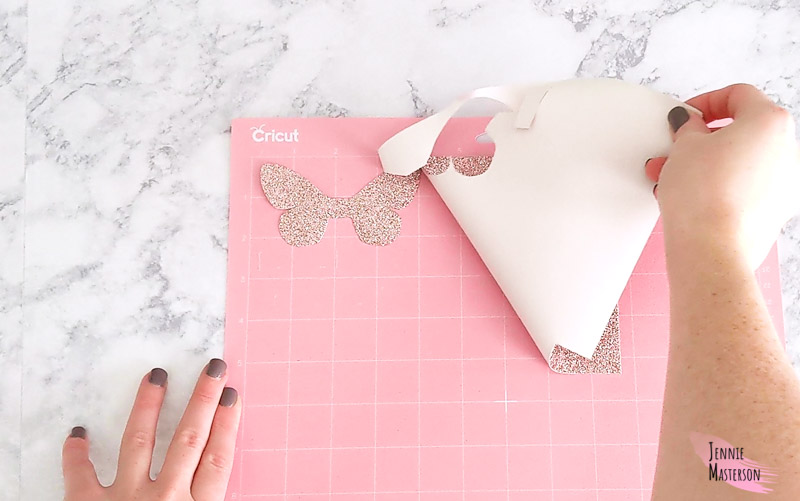
Load the SVG into your cut machine software. select the material type and send it to cut.

Load the material onto your cutting mat and feed it into the machine. Let the machine cut the material.
PDF Cutting instructions
Print the PDF and cut out the pattern. Once it’s cut you can trace the pattern onto the backside of the material with a fabric pen. You will then be able to cut it out using the outline made with the fabric pen. I used disappearing ink for this so any markings I made wouldn’t stick around.
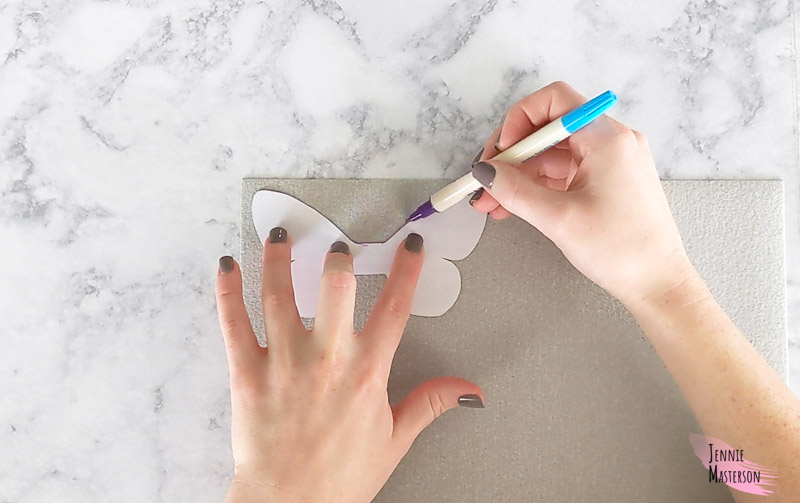
Another method you can use is to pin or clip the pattern to the material to cut it out.
*If you are using faux leather, don’t use sewing pins, they will leave permanent holes in the bow.
Assembling the Bow
Place a bit of hot glue on the center of the front side of the bottom bow piece. (This is the larger of the two pieces.)
Set the top bow piece directly on top of that glue. (This is the smaller of the two pieces.) Your bow pieces will now be stacked.
Finishing the Butterfly Hair Bow
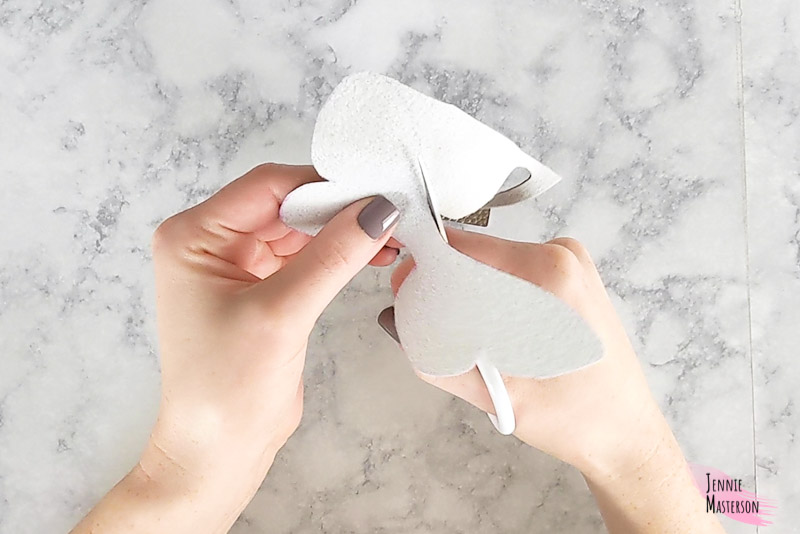
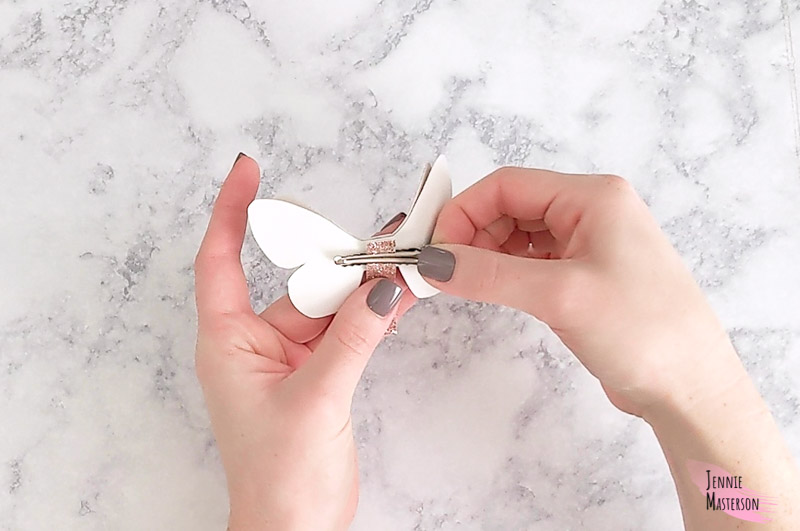
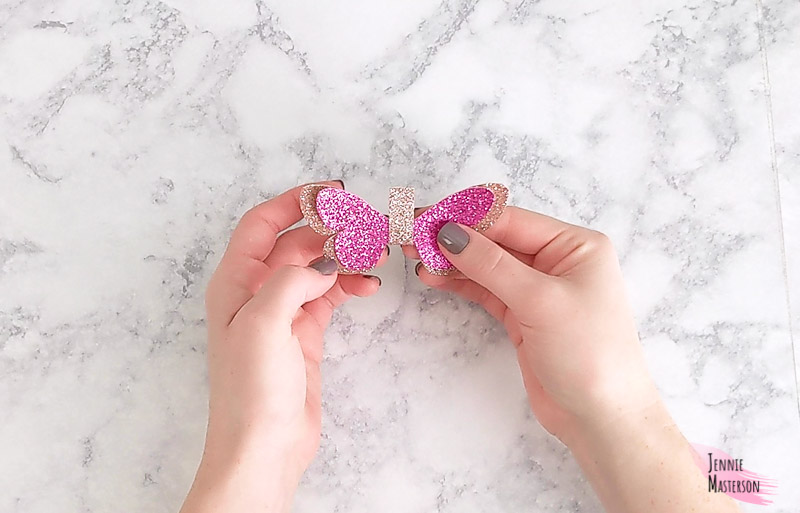
Take the tab and center it flush with the top on the backside of the bow. Pretty side up. So the backs of each material face each other.
Clip the alligator clip onto the tab piece so it sits vertically centered on the bow. (See image below.)
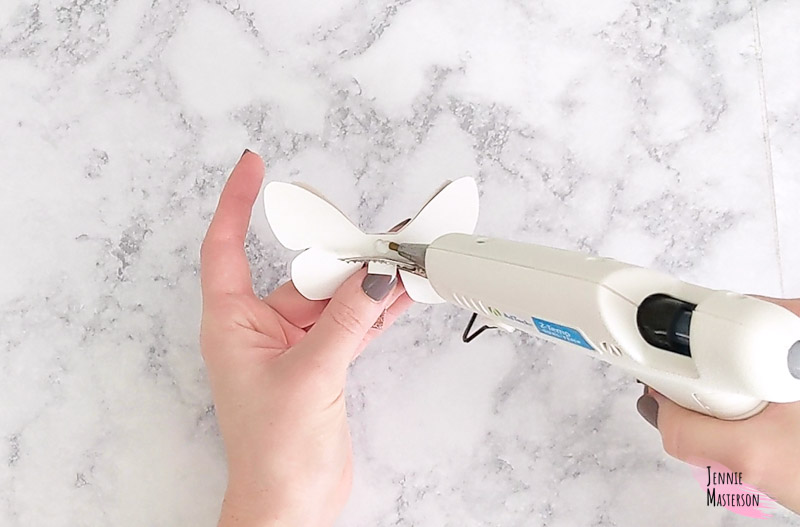
Hot glue the tab in that position.
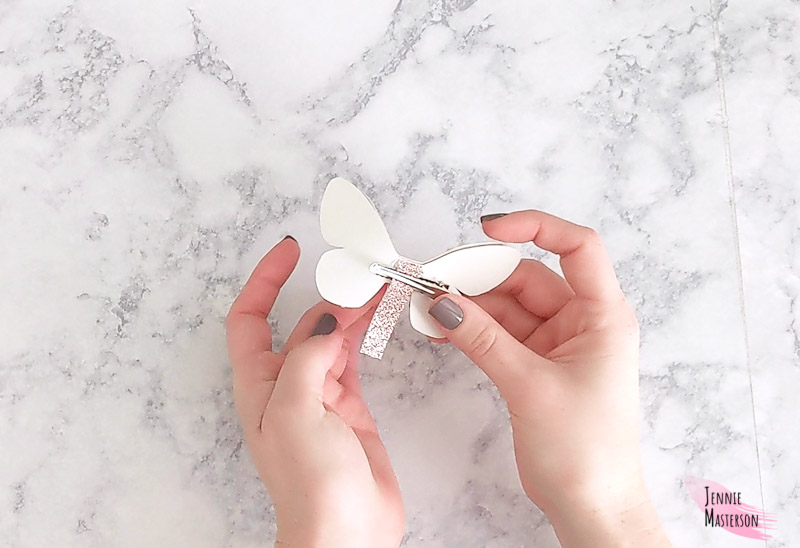
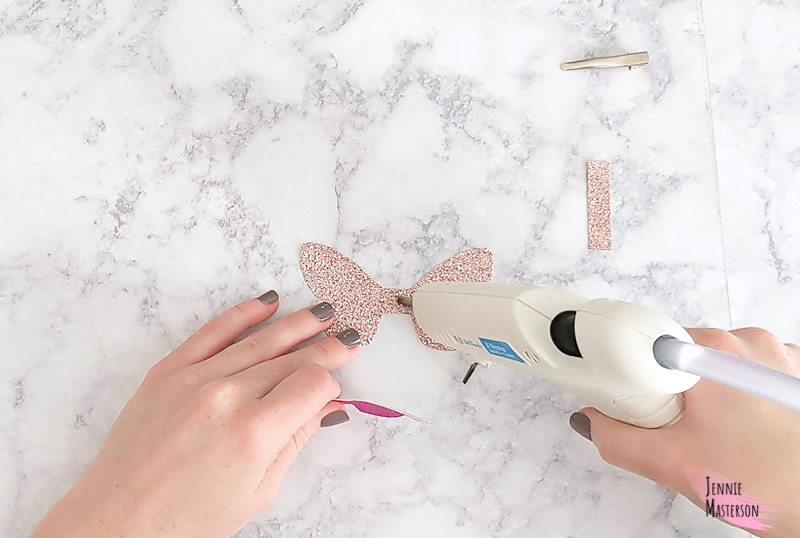
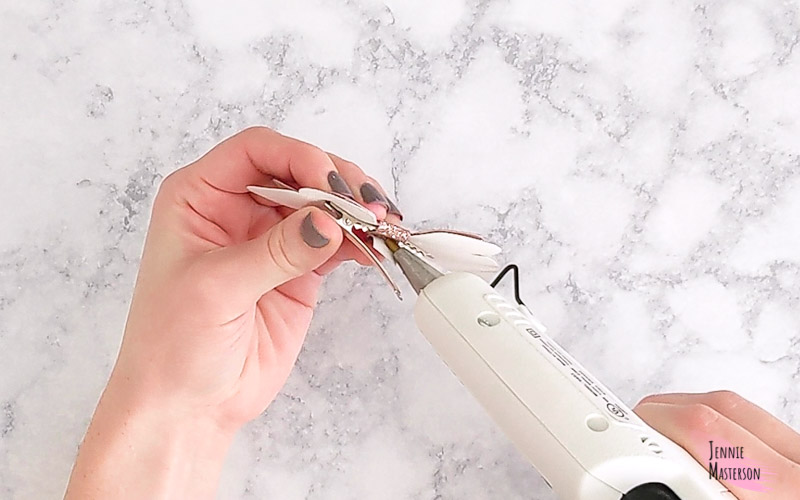
Put some hot glue on the center front of the bow.
Wrap the center tab around to the front and fold it down on top of the glue.
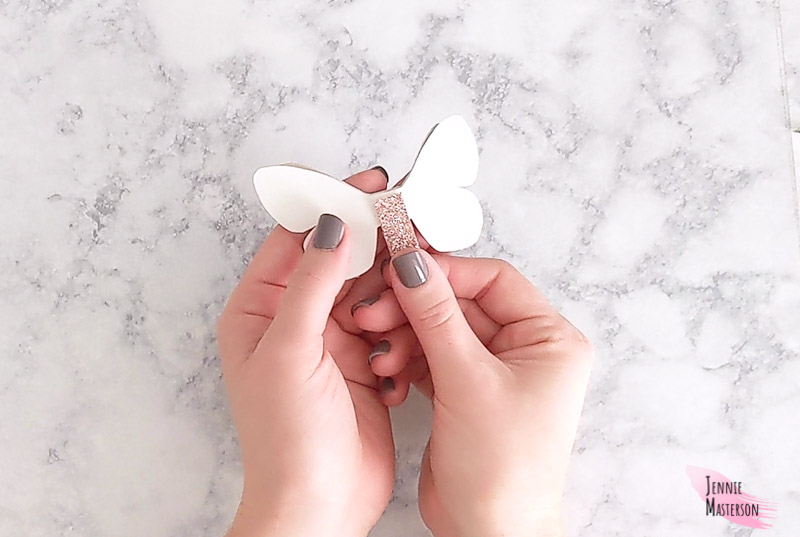
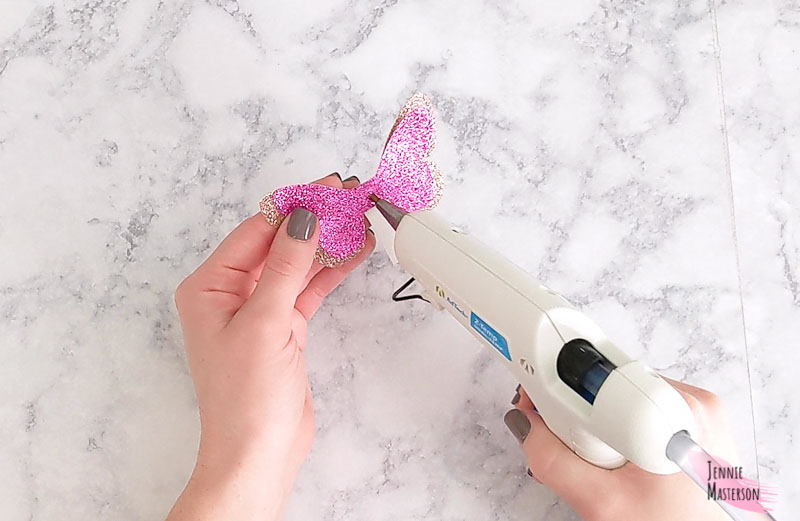
Wrap the remaining bit of the center tab back over to backside. Open the alligator clip and place the center tab inside it. Put hot glue in between the last bit of the center tab piece and the backside of the bow.
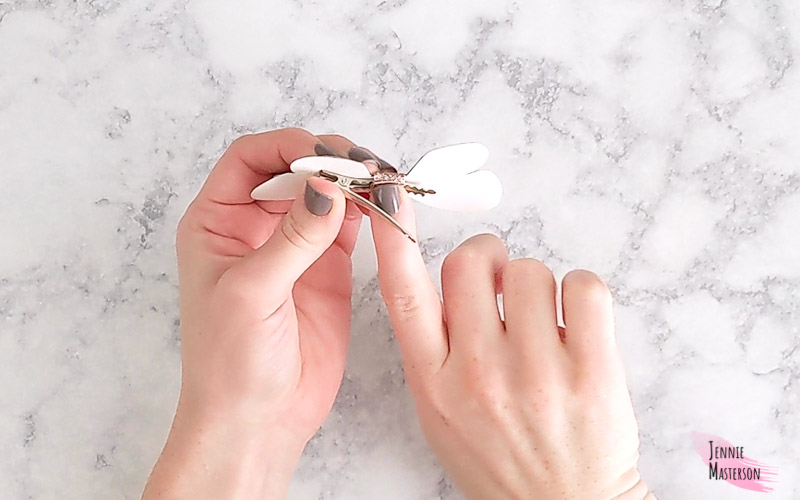
Let the glue cool down and the bow is done! They are now ready to clip into some cool hair styles to add that extra flair.
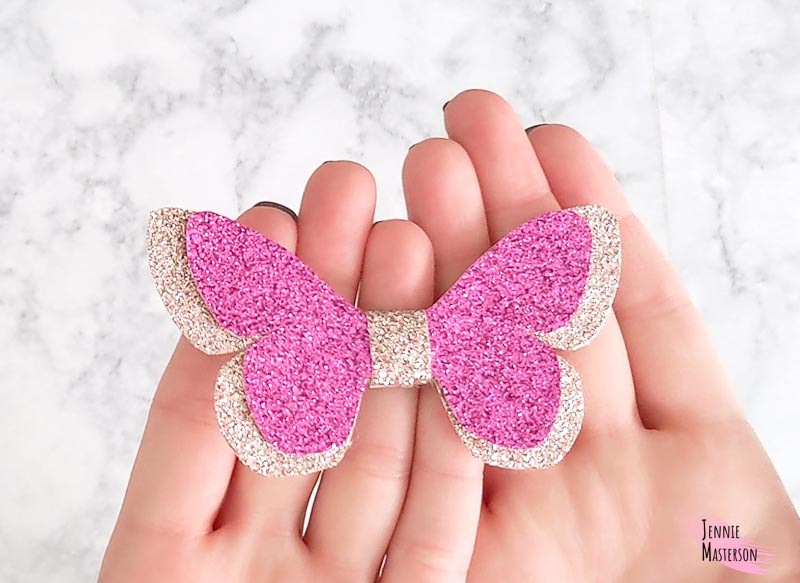
I hope this free pattern serves you well and you and whomever you are making these cute butterflies for, are as enchanted with them as I am. Thank you so much for reading and enjoy your bows!