Make your own Christmas Stockings with this beginner friendly sewing pattern. This traditional Christmas stocking pattern makes for a great sewing project for Christmas. It’s easy to make and comes together pretty quick.
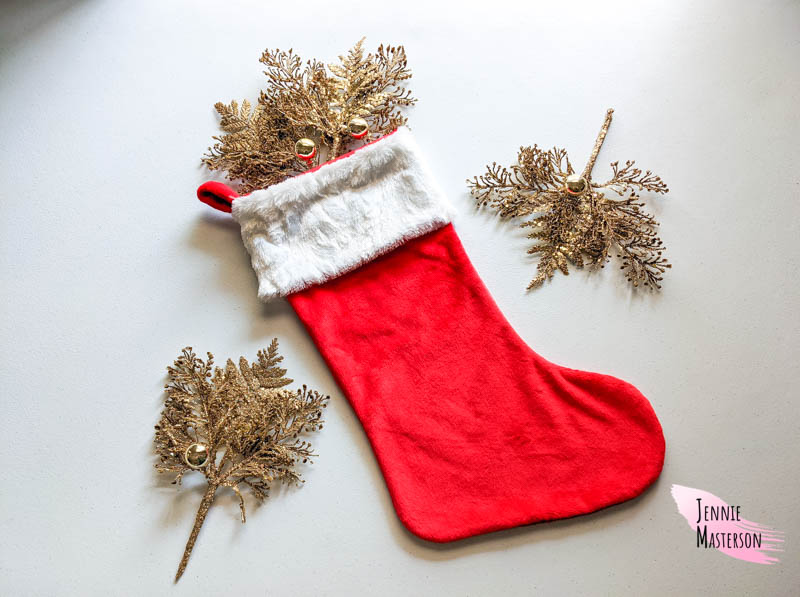
I love that sewing my own stockings allows me to personalize them even more that just putting a name on it. Although I can still do that as well! I get to chose my preferred fabrics and customize how I like. To make this Christmas stocking, you will need a few supplies.
Supplies
- Fabric (Fabric types listed below.)
- Thread
- Scissors
- Pins or clips
- Iron
- Ironing board
- Safety pin or turning tool
Get the Pattern Here
Click on the Button above to get the free version of this PDF sewing pattern.
***Don’t like the ads? Get the ad free version of this Christmas stocking sewing pattern in my Etsy shop here.
This pattern is for personal and commercial (up to 50 times) use only.
You can also check out my mermaid stocking and shark stocking patterns!
Pattern Assembly Instructions
This is a no trim pattern. Just line up each page to the gray line of the other page and tape or glue it together.
Fabric Requirements
Based on 60″ wide fabric.
- Main stocking pieces – 5/8 yard
- Cuff – 3/8 yard
- Tab – Use scraps from main fabric.
Fabric Types
You can use a variety of fabrics to make this Christmas stocking. The type of fabric you use will affect how it hangs. Some of the fabrics I used where flannel, felt, fleece, and cotton. Cotton will not hold its shape as well, but can still be used. You can also use velvet and faux fur. Make sure that the fabric you use does not have much stretch.
Sewing Prep
Prewash and iron the fabric before cutting to eliminate any wrinkles or folds. Cut your fabric using the pattern pieces. When you are done cutting you should have two main stocking pieces, one cuff piece, and one tab piece.
Sewing the Christmas Stocking
Lay one main stocking piece on top of the other, right sides together. Line them up and pin them together on all sides excluding the top.

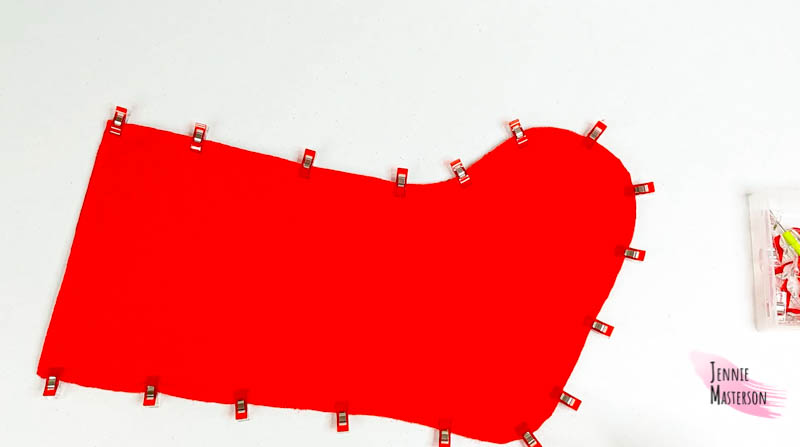
Sew the sides and bottom with half an inch seam allowance, leaving the top open.
Sew a zig-zag stitch right next to the stitches you just sewed around the stocking. (This helps prevent the fabric from fraying.)
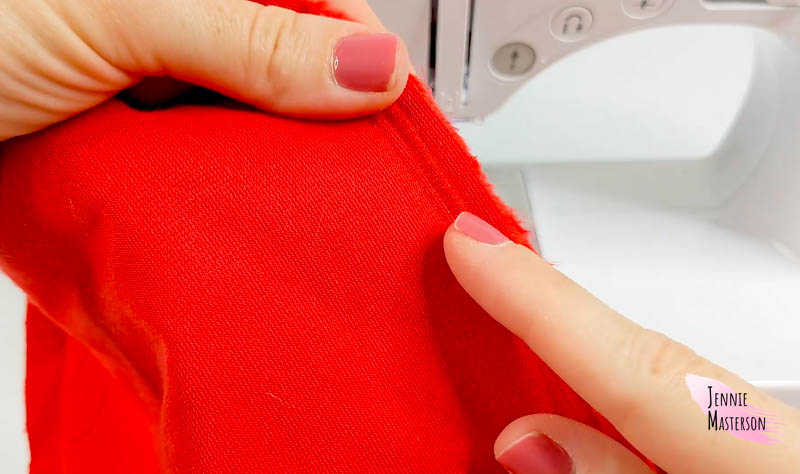
Trim seam allowance down to the edge of the zig-zag stitches.
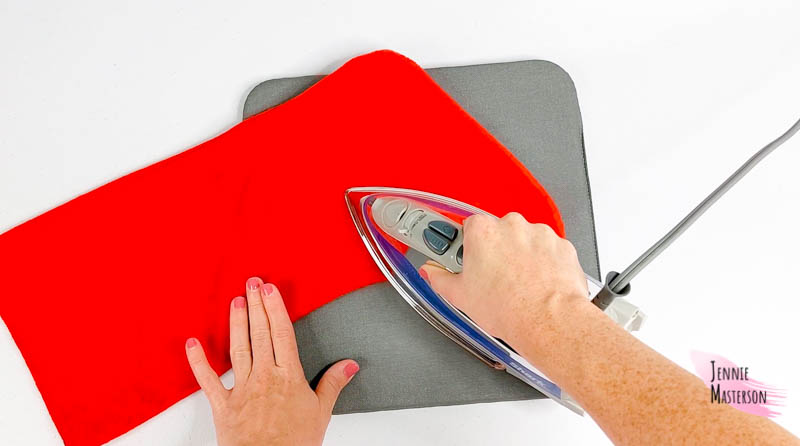
Turn the stocking right side out and use an iron the press the edges. This will help it keep its shape.
Cuff and Tab Assembly
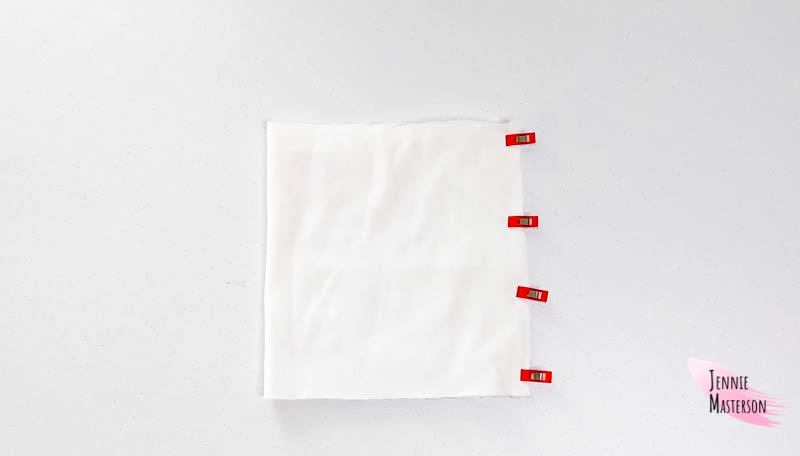
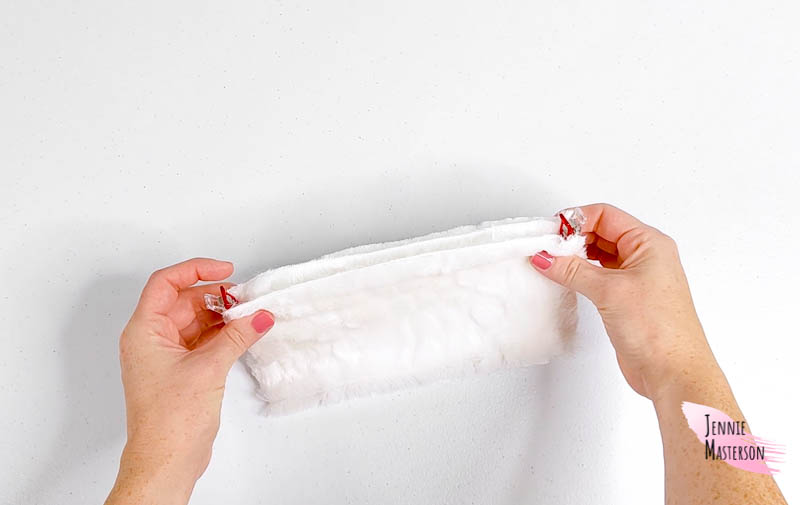
Take the cuff piece and fold it in half with short ends meeting. Pin together and sew with 1/2″ seam allowance. The cuff piece will now be a tube.
Trim the seam allowance down to 1/4″.
Fold the cuff piece in half, wrong sides together, with long ends meeting to align raw edges.
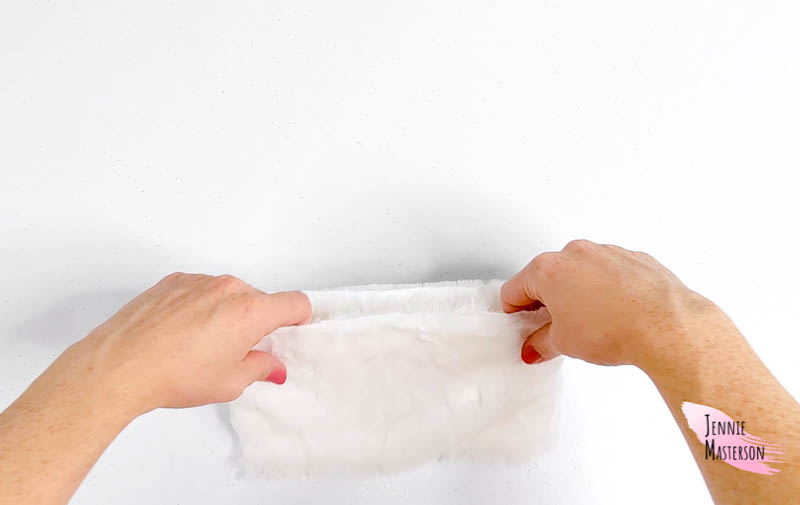
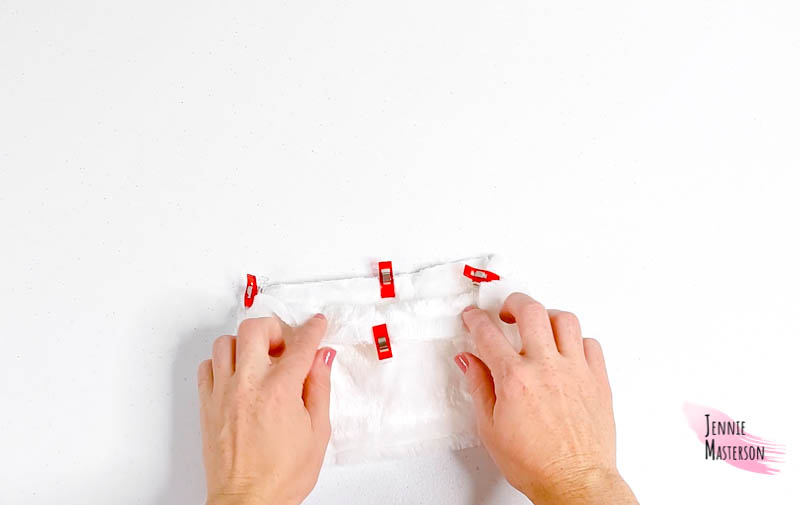
Find quarter points of the folded cuff by marking the seam with a pin, then mark the side opposite of the seam with a pin.
Fold the cuff in half so the two marker pins are stacked on each other. The crease is the quarter point so put a pin on each crease of each side. So you’ll have a total of 4 pins spread evenly around the cuff.
Find quarter points on the main stocking in the same way you did for the cuff.
Set the main stocking and the cuff aside and get the tab piece. Fold the tab piece in half, right sides together, with long edges meeting.

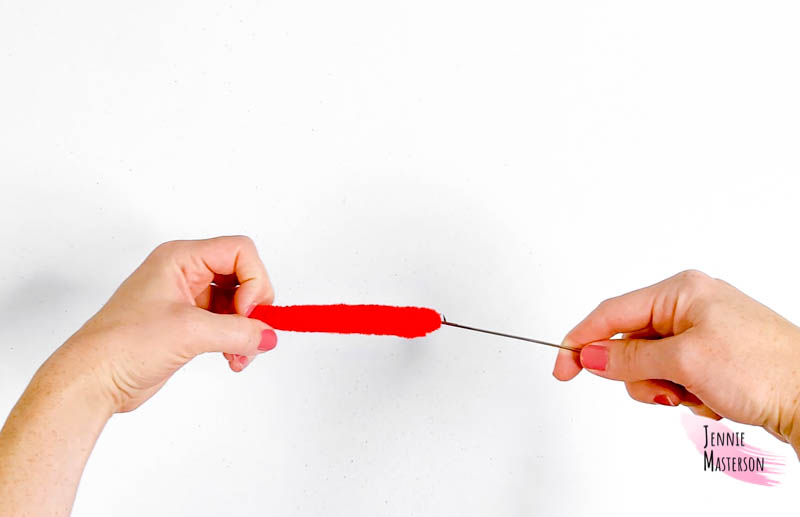
Sew down the tab’s side with a 1/4 “ inch seam allowance leaving the ends open, making a tube.
Use a safety pin or turning tool to turn the tab right side out.
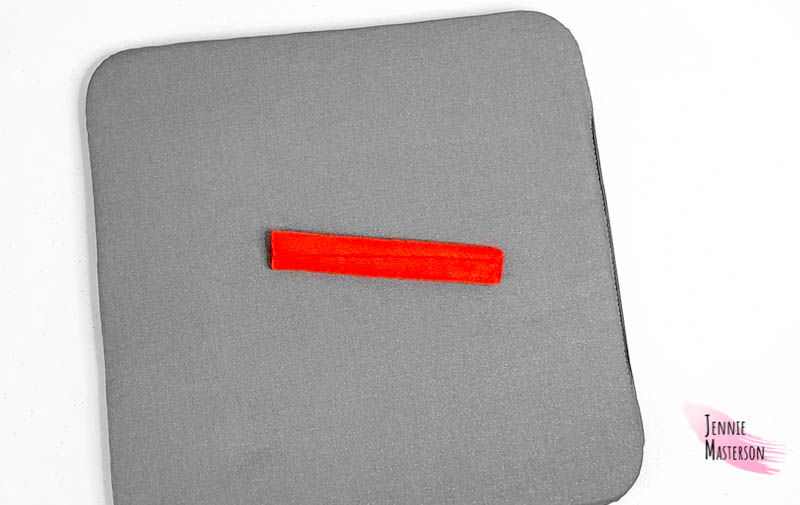
Iron the tab with the seam allowance on the backside of the tab.
Attaching the Tab and Cuff to the Body
Fold the tab in half so raw edges meet. (Seam should folded on itself.) Placing it inside the main stocking piece upside down, line the folded tab up with the seam on the back side of the main stocking piece. Pin them together.

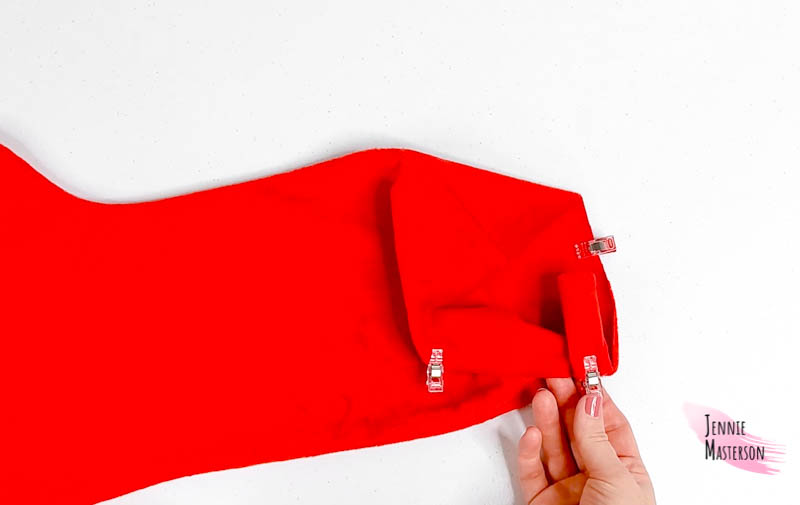
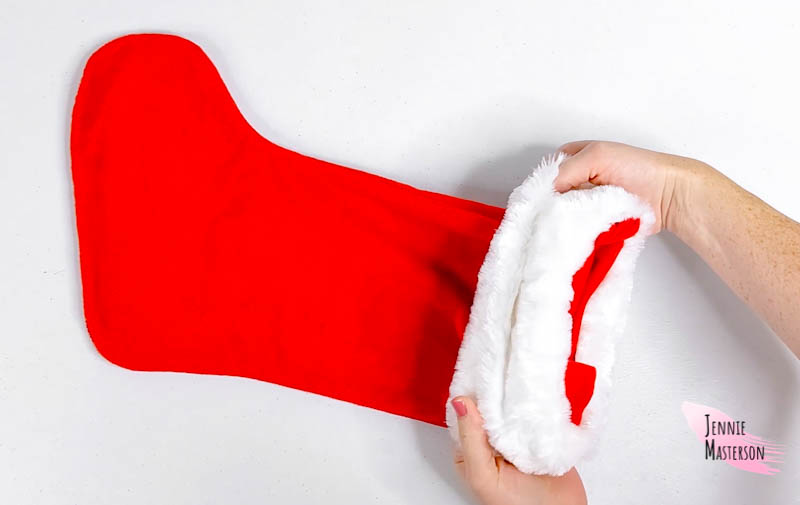
Put the cuff piece inside the main stocking piece, upside down, matching up the quarter points and raw edges. Pin them together.
The tab piece will now be sandwiched between the cuff and the main stocking piece on the inside.
Sew the cuff to the main stocking piece using 1/2″ seam allowance. Be careful when sewing over the tab piece. There is a lot of fabric in your machine at this point and you may need to use the hand wheel on your machine to sew through the tab section.
Finishing the Stocking
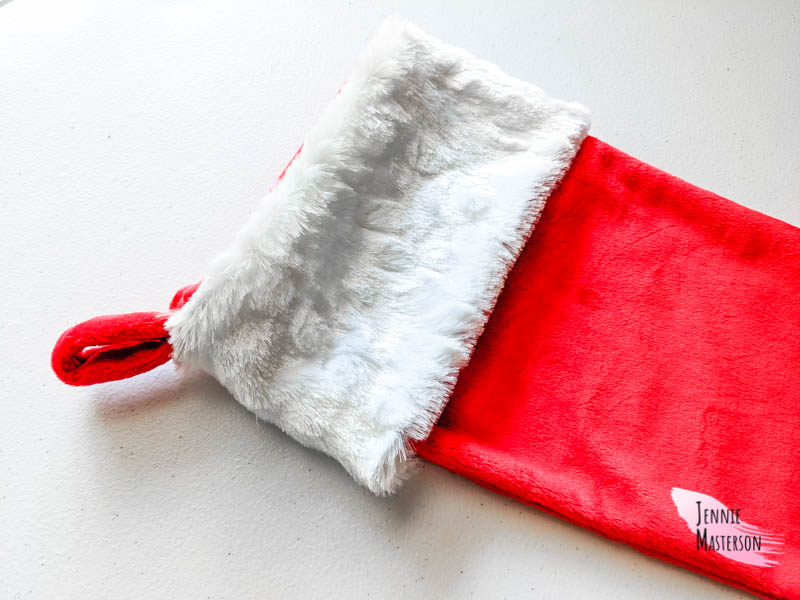
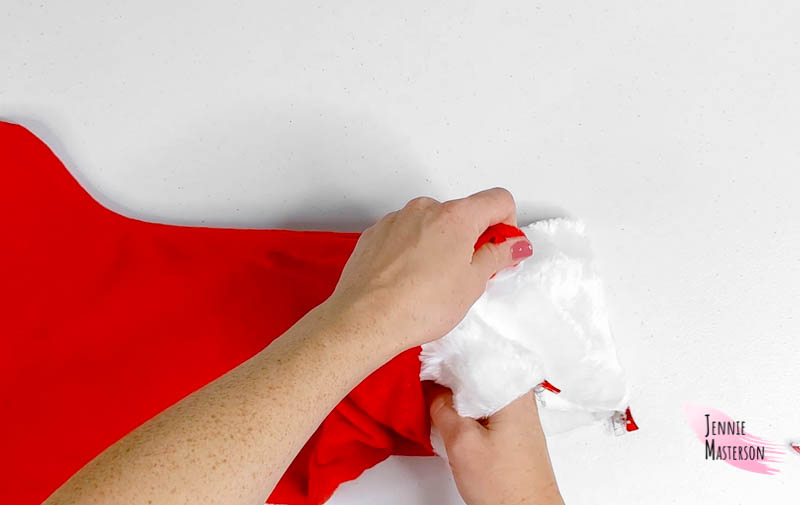
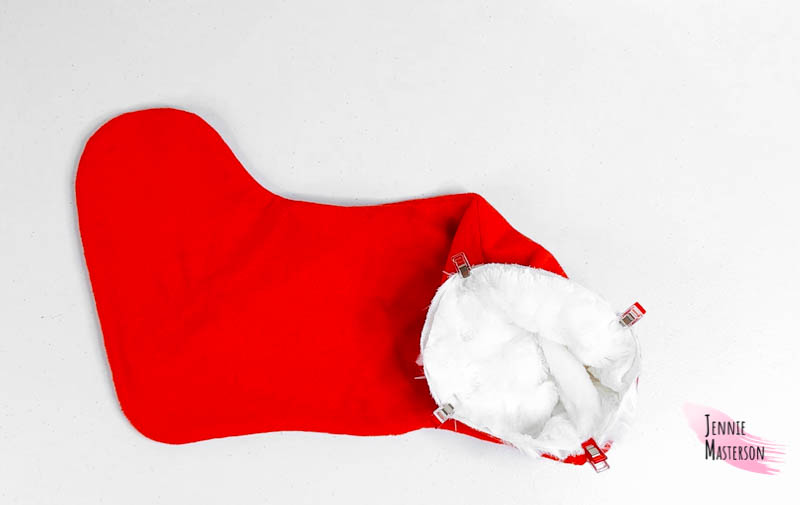
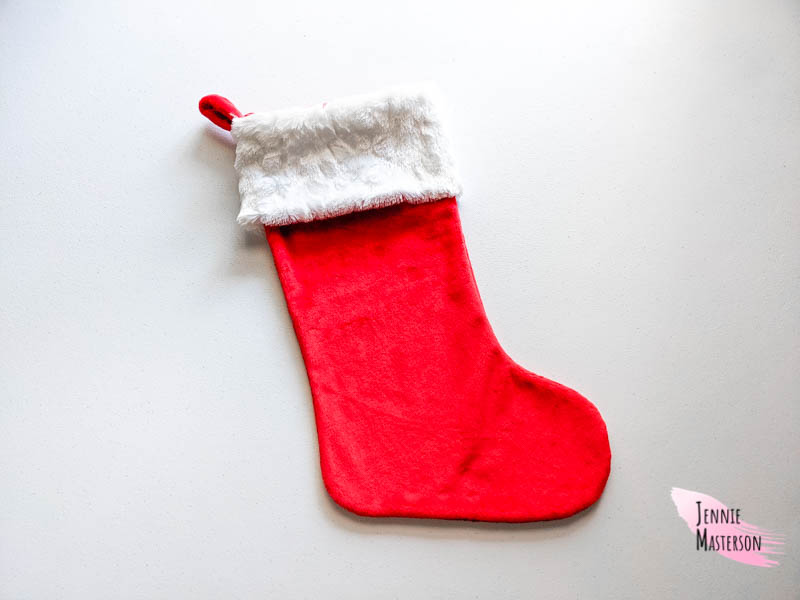
Pull the cuff out of the main stocking piece and fold over to the outside.
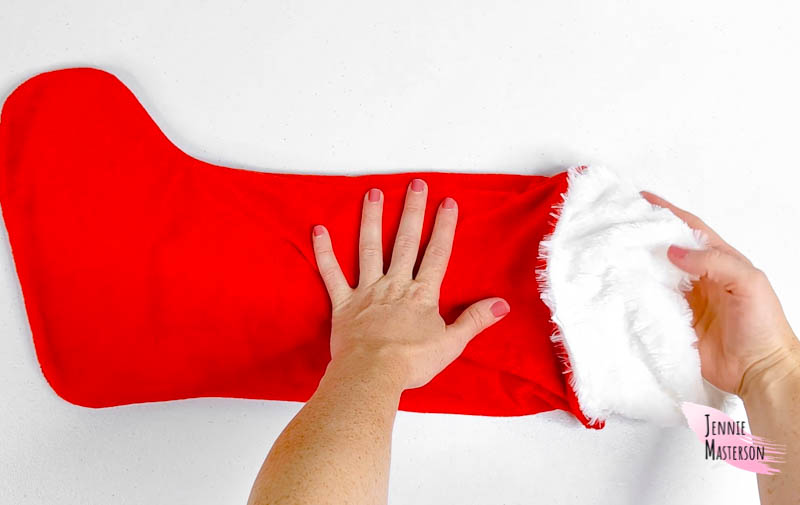
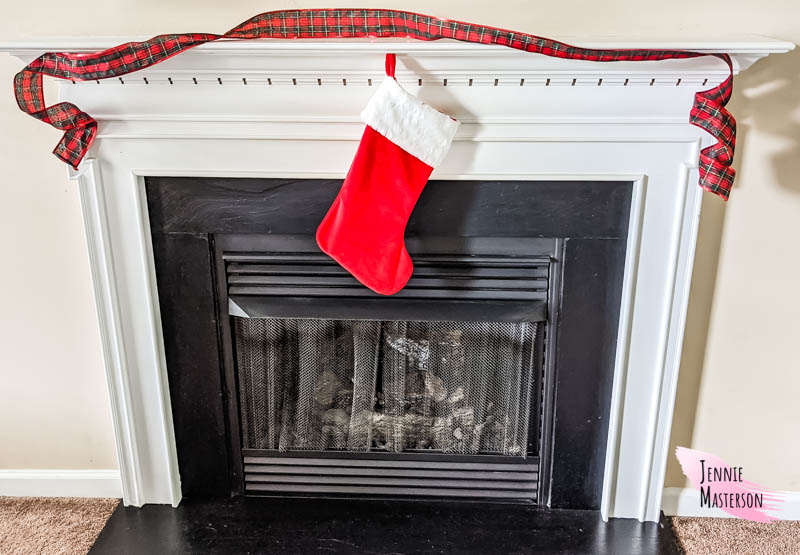
The stocking is now finished! If you want to personalize it, you can add a name with embroidery, vinyl or fabric paint and stencils.
I hope you enjoy this Christmas stocking sewing pattern and get some good use out of it. Thank you for reading and have a Merry Christmas!