Ideas for organizing a craft room
One of the most frustrating things I encounter in my home is clutter. I hate it. I’ve been feeling so cluttered in my crafting space lately and decided it’s high time I get some craft room organization done.
In case there’s a few of you out there like me I’ve put together this list of things I’ve used to get my supplies organized and to show how it’s transformed my craft room.
This post contains affiliate links.
Shelves
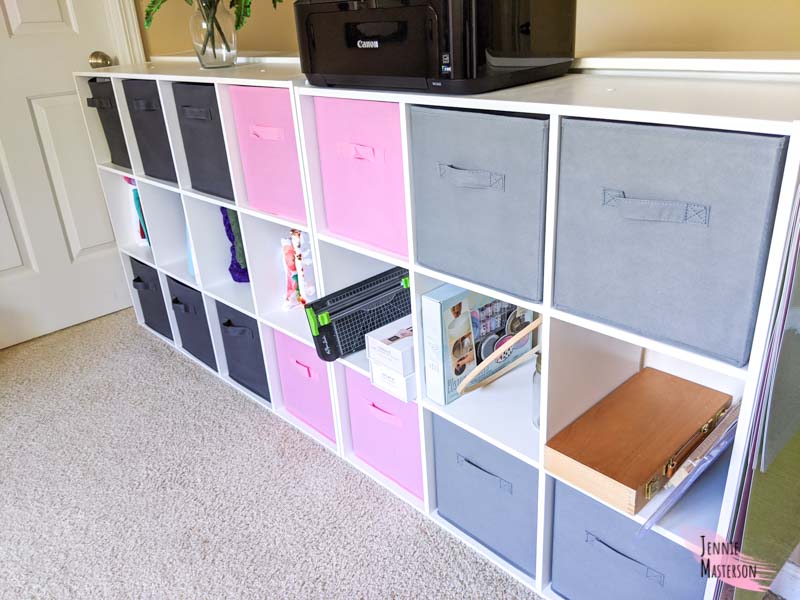
I got these awesome cube shelving units and they are the best! I seriously love them so much. Everything gets its own section. It helps a lot with organizing and keeping the craft supplies together that are similar to each other. I put my paint supplies together, Cricut supplies together, sewing tools together, I even put my fabric in rows on the shelves and it stands up like books on a shelf which I think makes it look more organized. It was so useful I ended up getting two shelving units. One has twelve cubes, and the other has nine.
I do have one issue with these shelves though. And that is that if you don’t have some sort of bin to use with them, they don’t necessarily make the clutter look less clutterful. Here’s what my shelving looks like with my craft supplies on it so you can see what I mean.
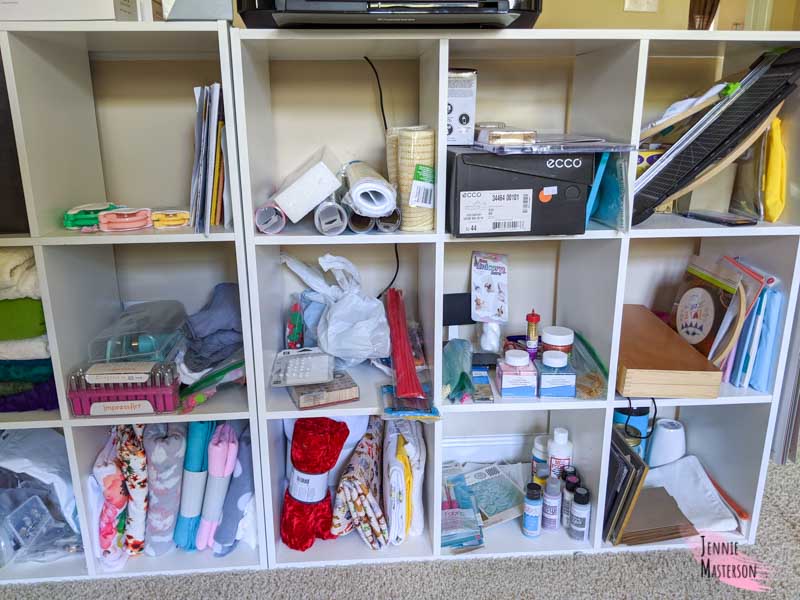
Better than it all being shoved in an exploding closet, yet still pretty messy looking.
Fabric Bins
To solve my cluttered looking shelf problem, I purchased some fabric bins to go in my shelves! Problem solved. Oh my goodness, those fabric bins made all the difference in the world! My storage shelves look much neater and cleaner. It’s also really fun that the fabric bins come in different colors so you can customize for the look you want. I definitely fell in love with the pink and I’m not even sorry about it. 😉
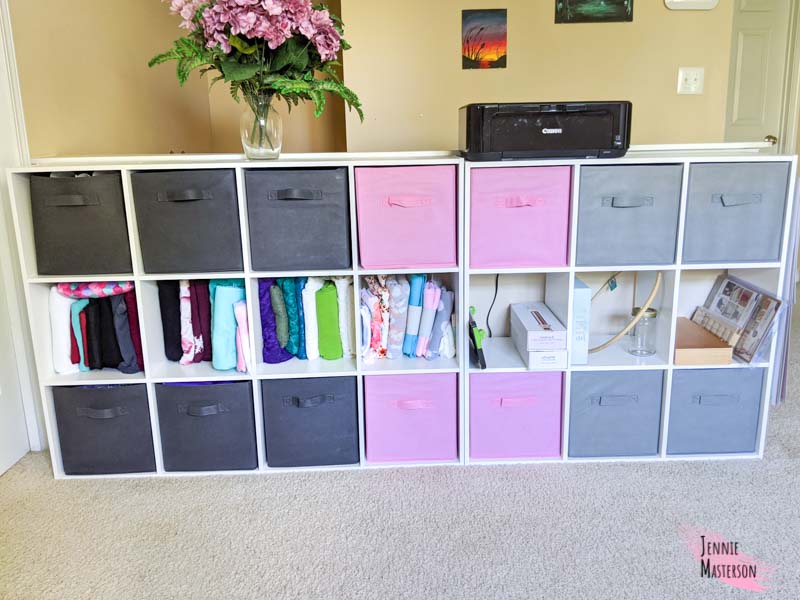
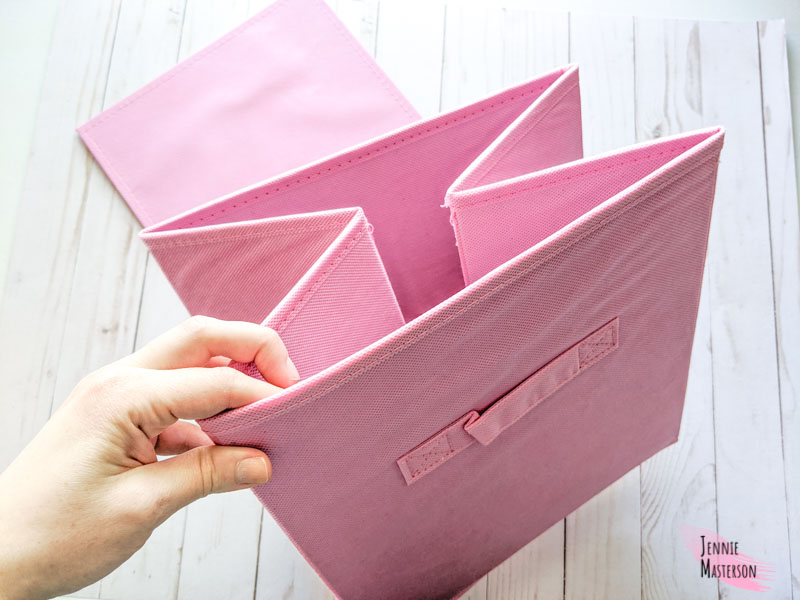
The bins i got are collapsable, which is a big perk to me. If I ever need to move them or store them, they will take up way less space while doing so.
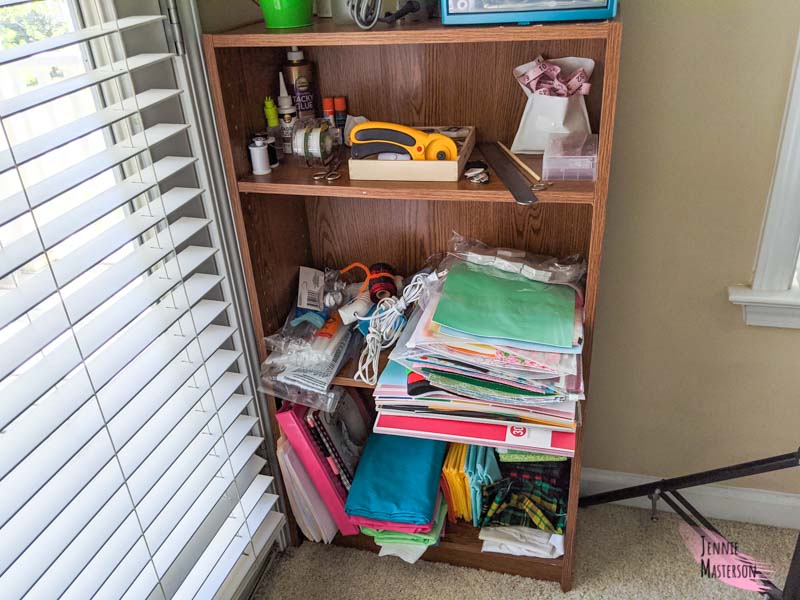
I have also been using a book shelf to store some more regularly used craft supplies. Oh my goodness did that get out of hand fast. There were too many things on it, too many stacks, everything was falling over or close to it. It was kind of a nightmare. Honestly, every time I’ve looked at that book shelf in the past couple months it’s made me shudder! Here is what it looked like. (This is even with me cleaning it up a bit so my pictures weren’t SO shameful.)
I couldn’t stand how the book shelf looked anymore so I took some of the fabric bins I had gotten for my cube shelves and used them on my book shelf. Doing this made a huge difference. It looks so much cleaner with the fabric bins. I can hide everything in those bins, my hot glue guns, my prototyping fabric for my sewing patterns, my crafting paper, etc. Even my husband saw the change and said “It looks so fancy now.” That’s how you know you’re winning! Here’s what the book shelf looks like now.
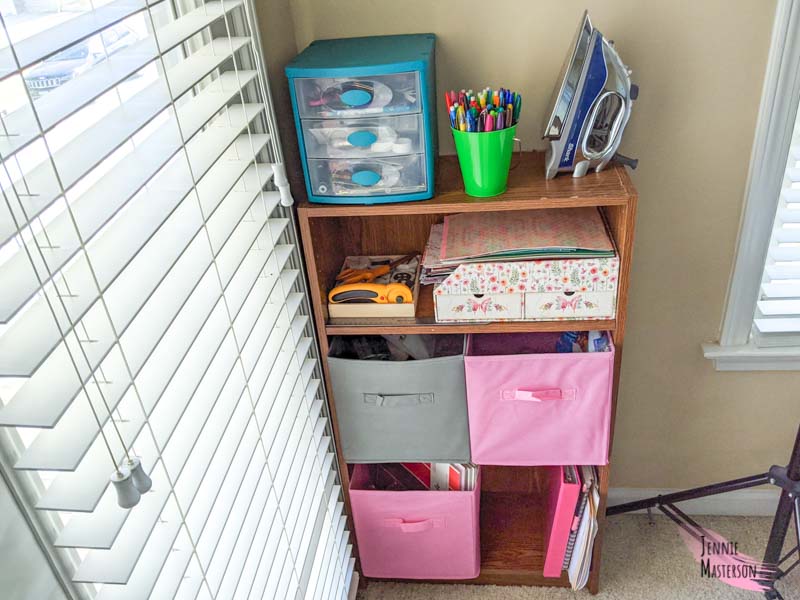
See?! It’s SO much better! Of course there are a few additional things beyond just the fabric bins that helped shape the organization of this book shelf, so lets get to those.
Paper Tray
I use a lot of faux leather sheets in my craft projects (lot’s of hair bow making here!) so I have quite a stash of it. I’ve never really had a good way to store it all so it’s mostly ends up in stacks that always fall over. (See the “before” picture above of the book shelf without the bins to see the crazy stack. It’s on the middle shelf.)
While I was organizing my craft room, I stumbled upon a cute paper tray that I had bought at Michael’s forever ago. I never really had a good use for it so it sat around for a while. (I bought it because it was pretty and was 80% off and I definitely wasn’t going to pass that up!) It occurred to me that my faux leather sheets might actually fit pretty good on that paper tray. So I tried it out and was very pleased to find that it did! Some of the faux leather is a little longer than the paper tray, but it doesn’t really seem to effect the use of it. It all stays on the tray great and looks clean. (I can also appreciate the extra drawers my paper tray has on it.)
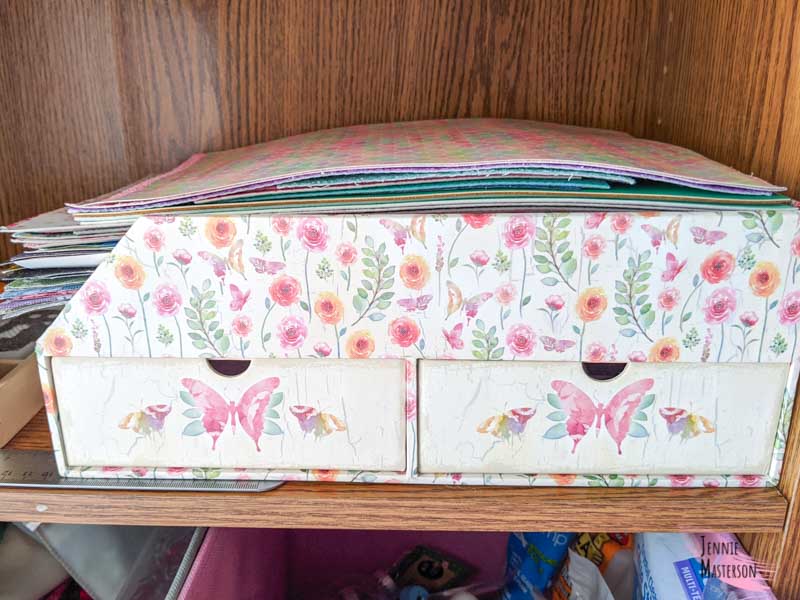
While I know that not everyone uses faux leather, paper trays would work great for storing scrap booking supplies, paper crafting or potentially shorter strips of vinyl. There are many uses for a good paper tray.
Hanging Mats
I love my Cricut and there are so many reasons why I bought the Cricut maker. But my Cricut mats have never really had a good home. They take up a lot of surface space so setting them on a table isn’t really feasible for long. They do have a hanging loop, but I didn’t want to put holes in my wall. And while I would love to have a pegboard system, that just won’t work for me at this time.
Eventually I got tired of my Cricut mats sitting around and taking up surface space so I had to figure something out to better store them. We happen to have a few command hooks sitting around so I stuck one on the side of my cube shelves, then hung all my Cricut mats on it. They are adhesive so no holes in my shelving or walls!
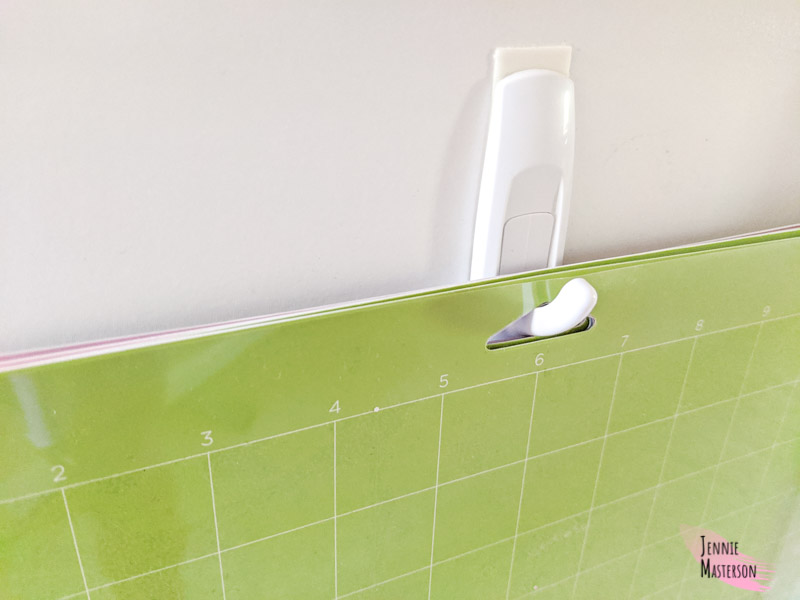
This actually works really well there since the mats are pretty close to the same size and the shelving unit. They hang over a little, but it’s not a big deal to me. My Cricut mats take up MUCH less space now and they are totally out of the way.
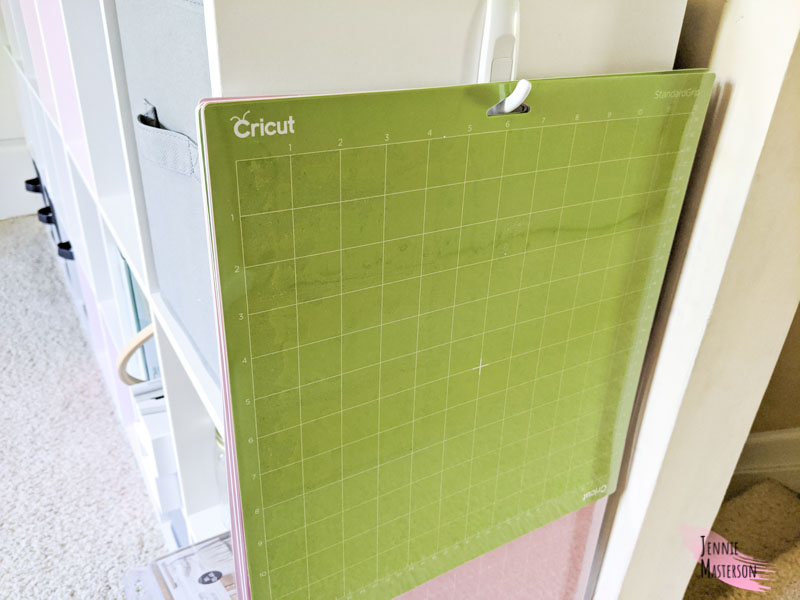
The best part about using a command hook for this it that they aren’t permanent. They can be removed and stuck to different locations if needed. (You’ll need additional backing strips to do that with.) You could put these on a wall, dresser, or perhaps even a desk. You could also hang different things on command hooks. Any tools that have an end to hang from, frames, etc. Command hooks are pretty universal and pretty dang useful.
Boxes
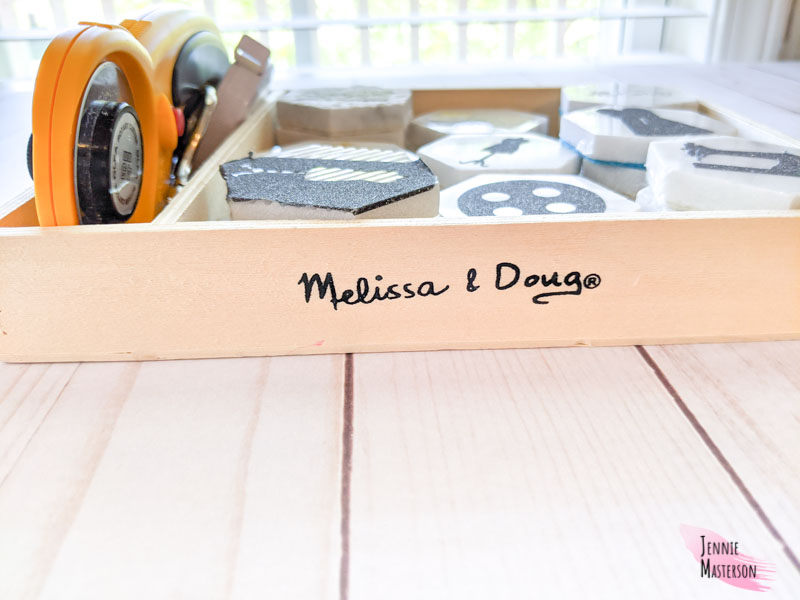
I love saving nice sturdy boxes of all kinds to use for organization. This wooden box for example, I store all my sewing weights and rotary cutter in it.
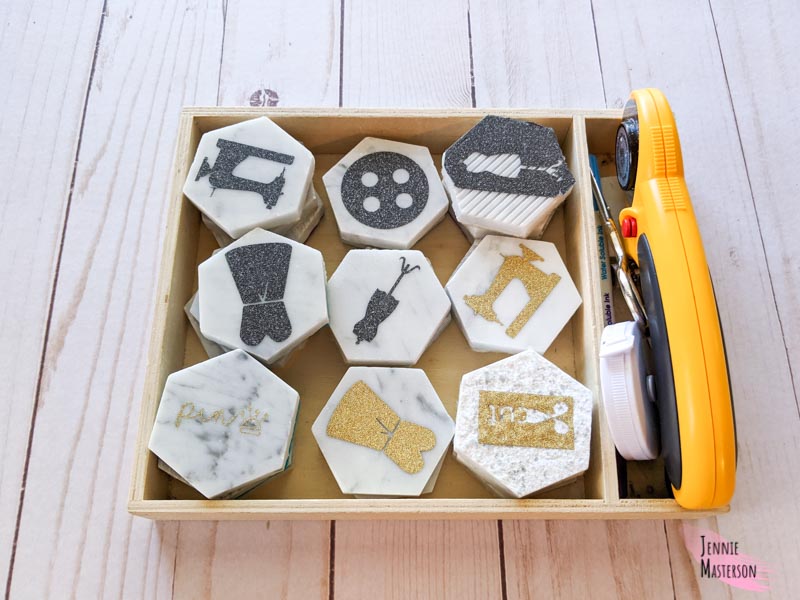
It’s actually just an old Doug and Melissa toy box! It used to have little animals that you could thread laces around. My kids destroyed the toys inside, but I couldn’t let go of the box. I’m really glad I saved it as it works great for holding my pattern weights. (Plus a few extra sewing tools in the side section!)
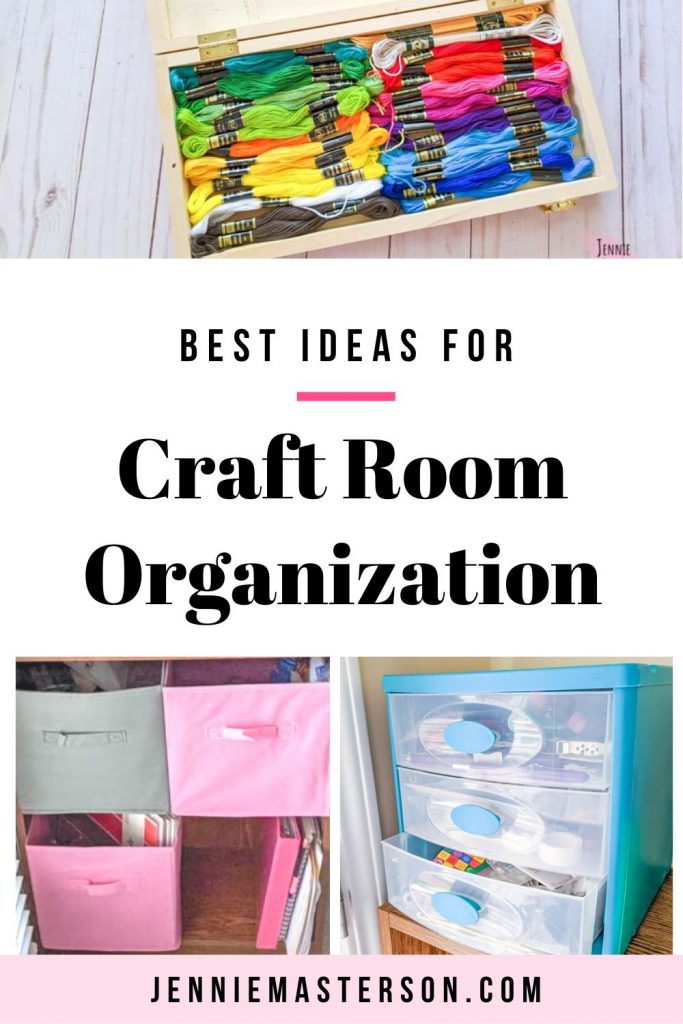
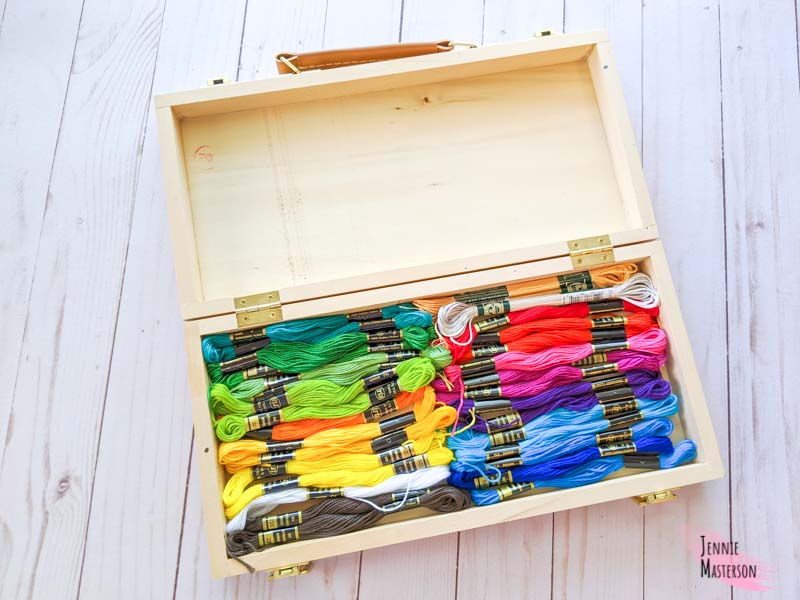
I also keep all my embroidery floss in an old wooden box that used to have a mini art kit in it. All the supplies from the kit got used up and my husband couldn’t part with the box. However, he also didn’t know what to do with it either. It sat around unused for a little while…. until I bought a bunch of embroidery floss and needed to find a home for it. Into the old art box it went!
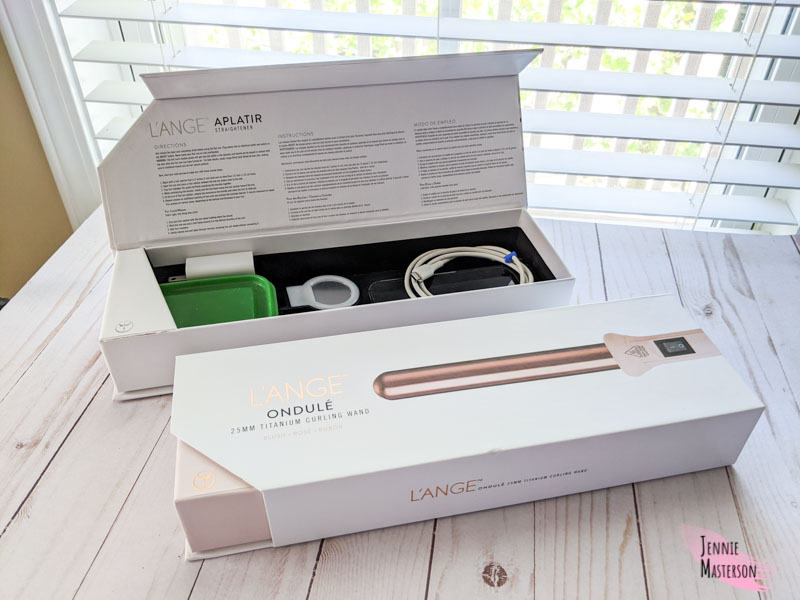
Any sturdy box is game to use for organization as far as I’m concerned. I even use boxes from my flat iron and curling wand for storing cords and other random small electronics.
I have also used shoe boxes to hold paints or ribbons as well. Shoe boxes actually work really well for storage. I know they are not the most visually appealing as they are but if you paint them, they can look way cute as storage boxes! Depending on your preference you may want to use spray paint versus acrylic if you don’t want brush strokes on the boxes.
Odds and Ends
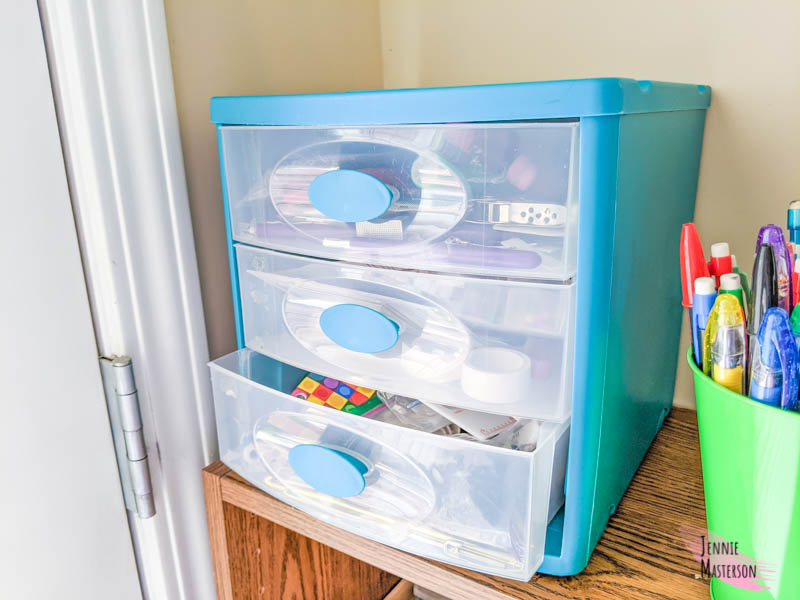
The little blue drawers on my book shelf are great for smaller storage needs. I put all my crochet hooks hooks and tools in one drawer, quilling tools and smaller paper crafting supplies in another drawer, and odds and ends in the final drawer. It’s been so great for the little things that are hard to find a place for! I got mine at Walmart, but these drawers looks really similar to it as well.
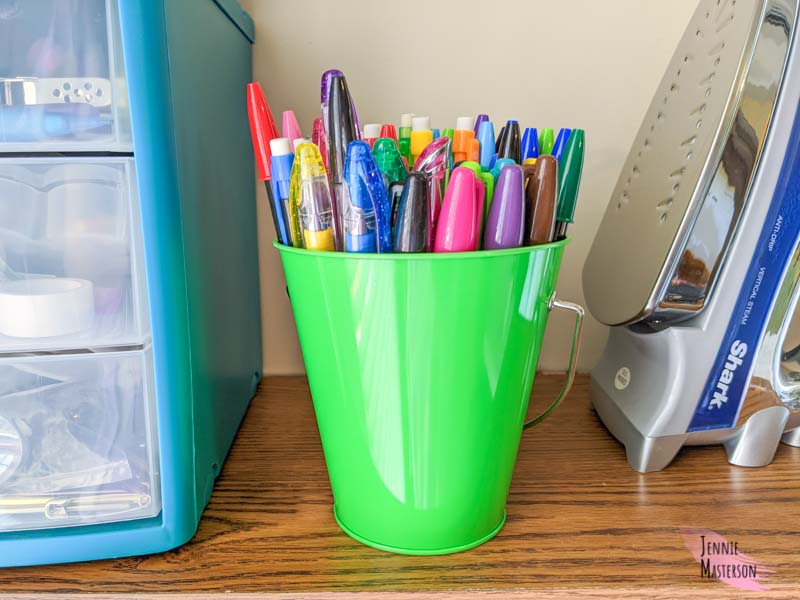
The last thing that I’ll mention is my fun little green bucket. I use it to hold all my pens and markers. I totally got it at Walmart for ninety eight cents too! Is that a great price or what?! Clearly I have way too many pens and markers, but I love that most of them are a fun color. They take up a ton of space in a drawer though, so using a mini bucket to hold them has been a great alternative for me.
Now all my craft supplies have homes and look so much more neat and organized. I feel so much better working in a clean space that doesn’t have stacks of things falling over everywhere. This is definitely an upgrade from the exploding linen closet I used to have!
Hopefully you’ve gotten a few good ideas for your craft room organization and can feel confident in beautifying your work space. Organizing a craft room can be a lot of work, but it’s nice to have some direction and ideas. Thank you so much for reading and happy crafting!
