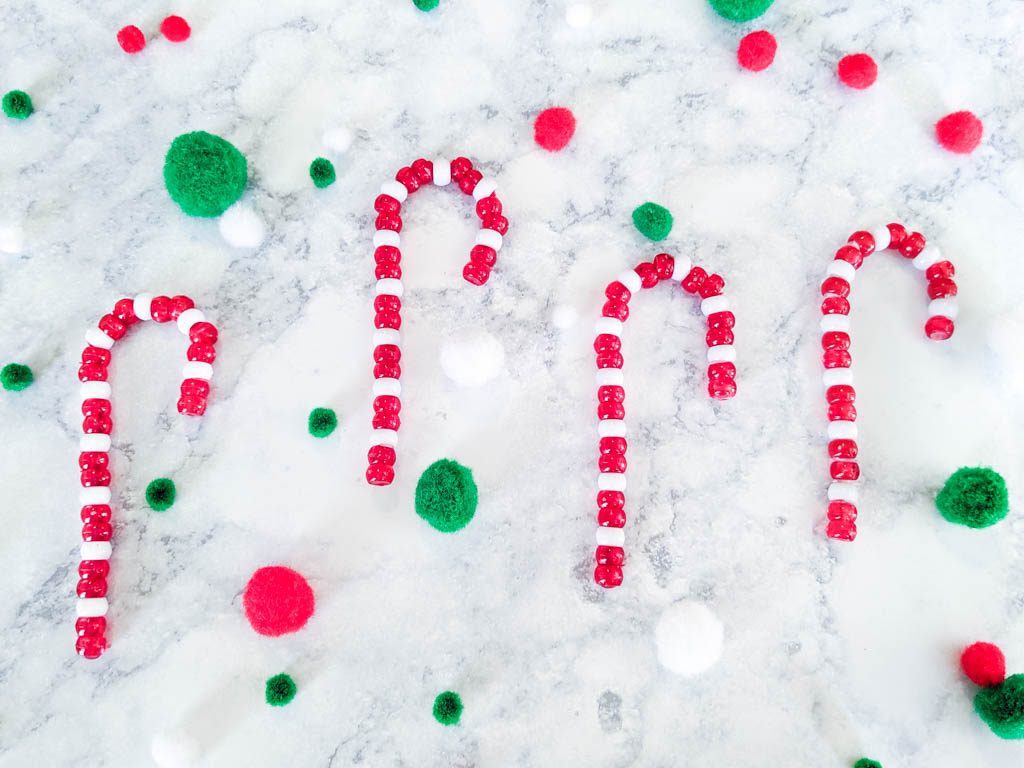
These candy cane ornaments are so simple, easy to make and are quite cost effective! They are made out of pony beads, pipe cleaners and hot glue. There’s even an option to omit the hot glue if you don’t want to use it. I like to use the hot glue because it really secures the ends of the cane.
*This post may contain affiliate links.

**Warning: This may be a project better suited to older children since pony beads are small and may be a choking hazard.**
I’ve linked to the supplies for your convenience but you can get most, if not all, of the supplies at the dollar store.
Supplies for Candy Cane Ornaments
- Pony Beads, Red and white
- Pipe cleaners, Red or white. (I found that I liked the look of red the best.)
- Hot glue gun (optional)
- Hot glue sticks (optional)
Also, if you’re looking for more Christmas crafts, be sure to check out this cute mermaid tail stocking, this light wreath, or these holly hair bows.
Starting the Candy Cane Ornament
Start by folding a pipe cleaner in half and crease the fold hard.


Assembling the Candy Cane Ornaments (Hot Glue Method)
*The non hot glue method is further down.
If using the hot glue method, an adult will need to get it started and finish it off. Take a pony bead of either color and hot glue it onto the side where the two pokey ends meet.


After it cools down, let the kids string on pony beads from the open side of the pipe cleaner in alternating colors (or let them just have at it.) until they reach the end. I found the pattern I liked best was white, red, red repeated.

Once they’ve strung on as many as they can, take one more pony bead and hot glue it to the last pony bead on the strand, and fill it in with glue.


If you need to add one more pony bead to finish the color pattern, just hot glue an extra pony bead to the last one on the strand and fill it in with hot glue.


Finishing the Ornament (Hot Glue Method)
Let the glue cool down. After it has cooled, you can shape it. Take the end of the strand that you want to be the top and curl it over to make a hook.


It may take a second or two of fiddling with it the get the shape you want. Just keep working with it until you are satisfied.

Assembling the Candy Cane Ornament. (No Hot Glue Method)
Note: These candy candy ornaments will come out shorter than the ones made with the hot glue because you will be using part of the pipe cleaner to secure the pony beads.
String a pony bead onto the pipe cleaner and leave a small tail on the end.

Wrap the tail around the pony bead edge and tuck it back into to the pony bead.

string the pony beads onto the pipe cleaner until it’s almost full. Leave a small tail at the end just as you did for the first pony bead on the strand.

Take the remaining small tail and wrap it around the last strung pony bead. Tuck it into the pony bead just as you did with the first one. This is what it should look like when you’re done.

Take the end of the strand that you want to be the top of your candy cane ornament and curl it over to make a hook. It may take a second or two of fiddling with it the get the shape you want. Just keep working with it until you are satisfied.


Additional Ideas
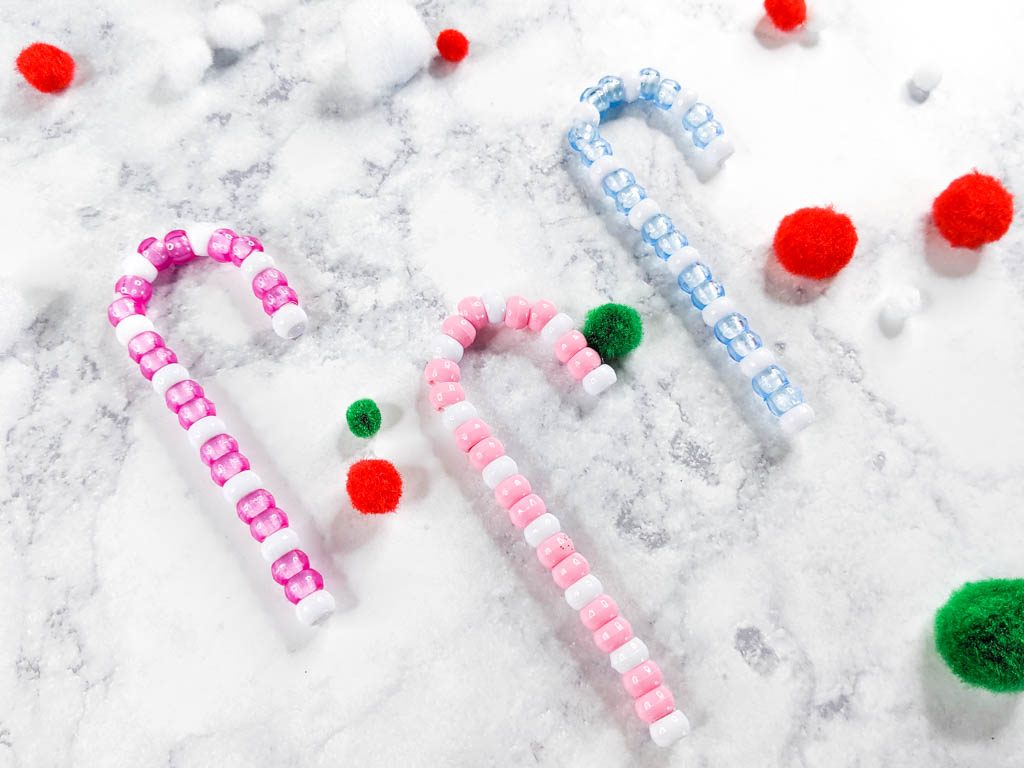
Something that is so fun about these is that you don’t have to stick to traditional colors. You can use them for a colorful Christmas theme by using pink and blue pony beads. I used a white pipe cleaner for these since my pony beads were translucent.


You can also have no designated colors and just let the kids have at it. These are a few of the candy canes that my kids made without specific color options.

Now that they have been made, you can let the kids put them up on the tree! So easy! These make for a great activity for the kids during Christmas time. I bet that they would be a hit a family gatherings too. Just remember to have an adult use the hot glue gun if using the hot glue method to avoid any injuries.
Thank you so much for reading! I hope you have fun with these and have a merry Christmas!
