This post may contain affiliate links
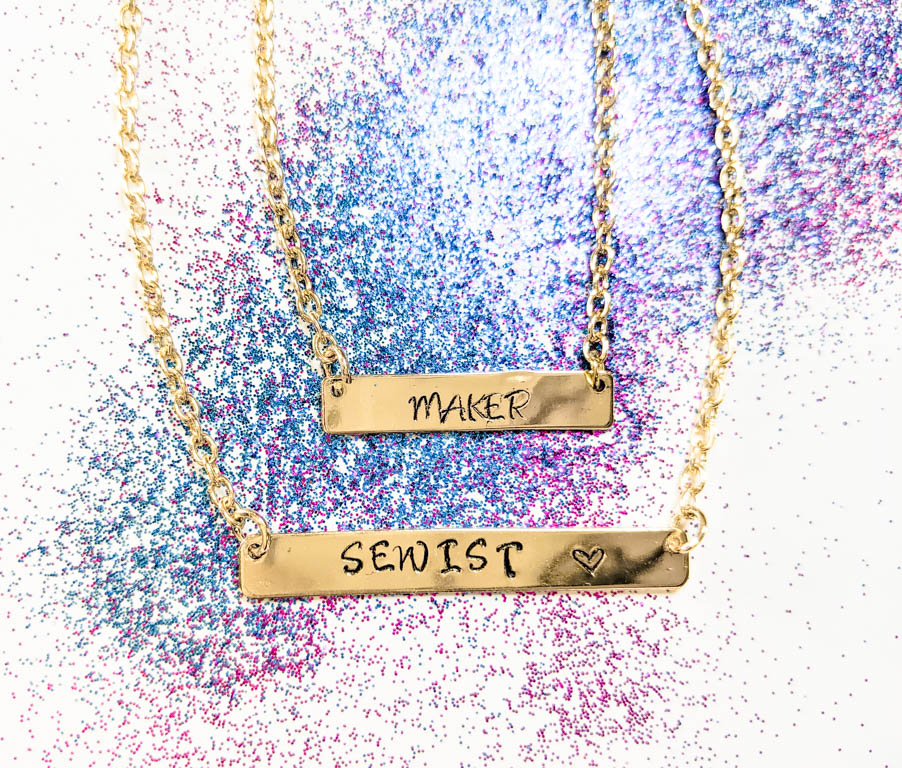
Stamping metal is surprisingly fun, and with modern tools it’s easy to make professional looking pieces even at home. By doing it yourself you can create the perfect piece by personalizing it with dates, names, or any thing else you can imagine.

Metal Stamping Supplies
- Metal Stamps
- Hammer
- Stamping Block
- Soft metal necklace for stamping
- Enamel Marker
- Jewelry pliers
- stamping guide (optional)
- Cloth for cleaning
(You can also get a kit which will have the hammer, the stamping block, and the stamps together for a lower price.)
Metal Stamping Prep
Using your jewelry pliers, remove the pendant from the necklace chain by opening the jump rings and pulling it off. Lay the pendant on the stamping block.

If you are using the metal stamping guide, pull out one of the long rectangle guides with the linear markings and place it on the lower part of the pendant.


It’s important to only cover a very small portion on the pendant with the guide because if you cover too much of it, your letters will be too high on the pendant.
Using the guide will help hold the pendant in place and give you markings to follow which will make the letter spacing correct. The little lines on the guide are each big enough to fit one 3mm letter above them.

Stamping the Metal
Now that you have it all prepped you get to stamp! Take the first metal stamp of your design and place it on the pendant. Use the guide the determine placement.


Once you have your stamp aligned where you want it, take your hammer and give the stamp a good hit. I hit my stamp a couple of times because the metal I used was a little more on the hard side and needed the extra taps from the hammer. If you have a softer metal, you want to be careful not to hammer too hard or it will warp the shape of the pendant. (ask me how I know! 😉 )

Repeat the process with the rest of the stamps needed for your design.
Filling in the Impressions
Now that you have your design stamped into the pendant, you need to fill it in.
Take the enamel marker and cover the pendant design with it. No need to be perfect here, you will clean up any excess enamel when you are done.


Let the enamel sit on the pendant for a few seconds, then take the cloth and wipe off the excess enamel. Be carful not the dip into the impressions you made or you will wipe all the enamel off.

The enamel wont rub off the impressions once it’s dry, but make sure not to get it wet or the enamel will come off and you will have to fill it in again.
You now need to re-attache the pendant to the chain you took it off of. Place the pendant back onto the jump ring with the chain. Then use the jewelry pliers to close the jump ring. Repeat on the other side.

Now you get to wear and enjoy your new hand stamped necklace!

Additionally you can cut some slits into a small piece of card stock and slide the necklace onto it. You then have the perfect display for gifting a hand stamped necklace!

I hope you’ve enjoyed this tutorial! Thank you for reading!

Other posts you might be interested in