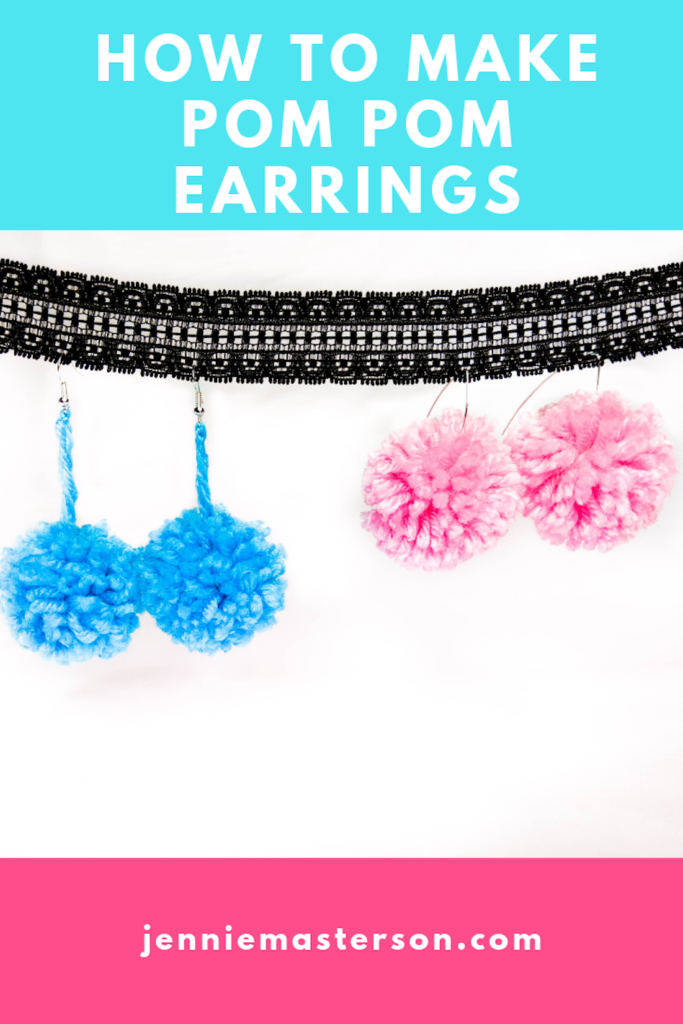
Easy Pom Pom Earrings
Making your own pom pom earrings is easy and makes for a really fun social activity. I made my first pair of pom pom earrings at a creators conference and I love them! They were so much fun to make and it was a great way to bond with other event attendees. Plus I got a fun piece of jewelry out of it as well. I can also see this being a really fun sleep over or birthday party activity!
This post covers two different ways to assemble pom pom earrings. Just pick which one you like best and get the supplies for that version.
This post may contain affiliate links
I used worsted weight yarn, but other weights should work as well. They may give a different appearance than what I have in this post though, so just be aware of that if using a different yarn weight.
Supplies
OR
Make sure if you are making earrings version two that you actually use an embroidery needle. I regular sewing needle wont have a big enough eye for the yarn to fit through.
Interested in more DIY earrings? Be sure to check out these cute druzy stone earrings or the fun clay mandala earrings.
Make The Pom Poms (both versions)
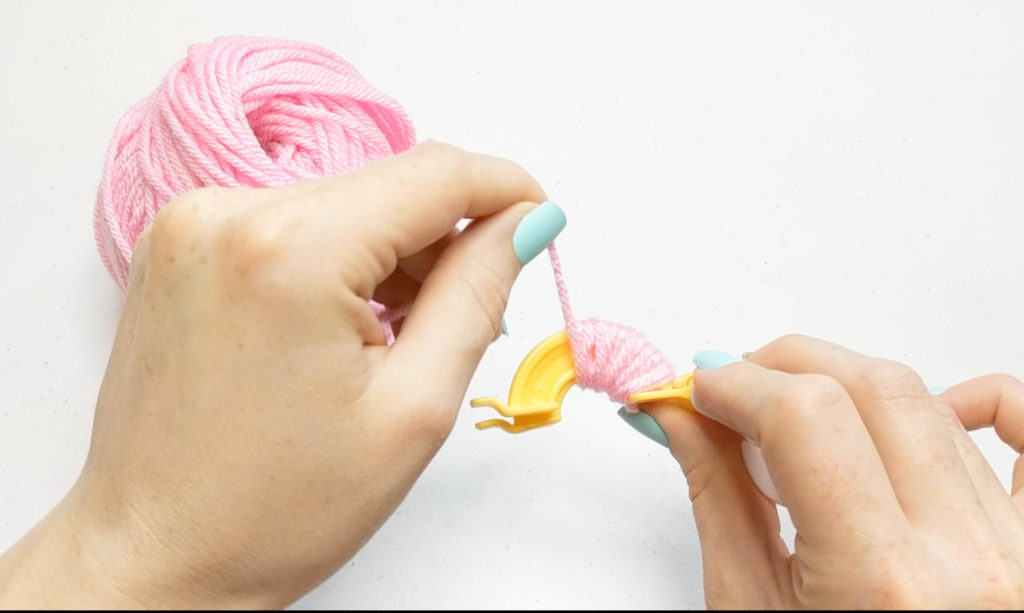
First you’ll need to make two pom poms. Open up the pom pom maker.
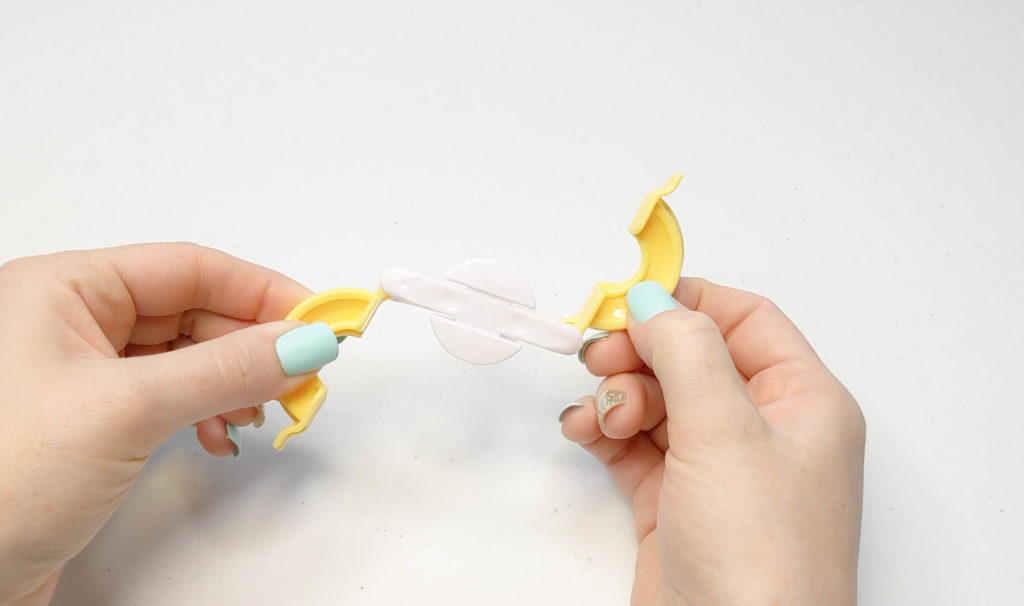
Wind the yard around the first crescent of your pom pom maker until it’s as thick as you want. I wrapped mine about two and a half times.
without cutting, wind the yarn onto the second crescent of the pom pom maker. Try to make the sides even with how much you wrap the yarn.
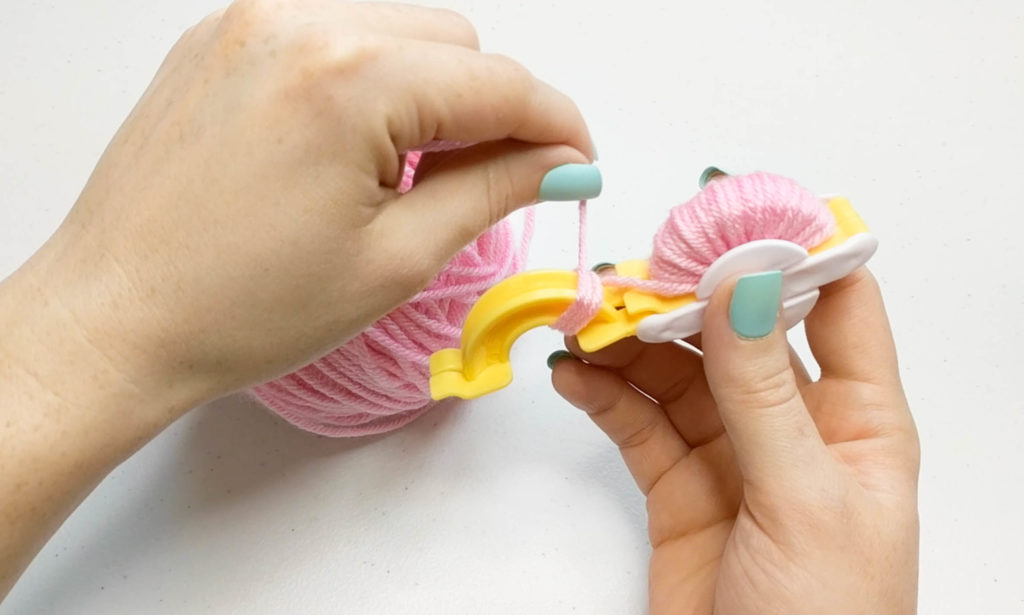
Close both crescents of the pom pom maker to its middle.
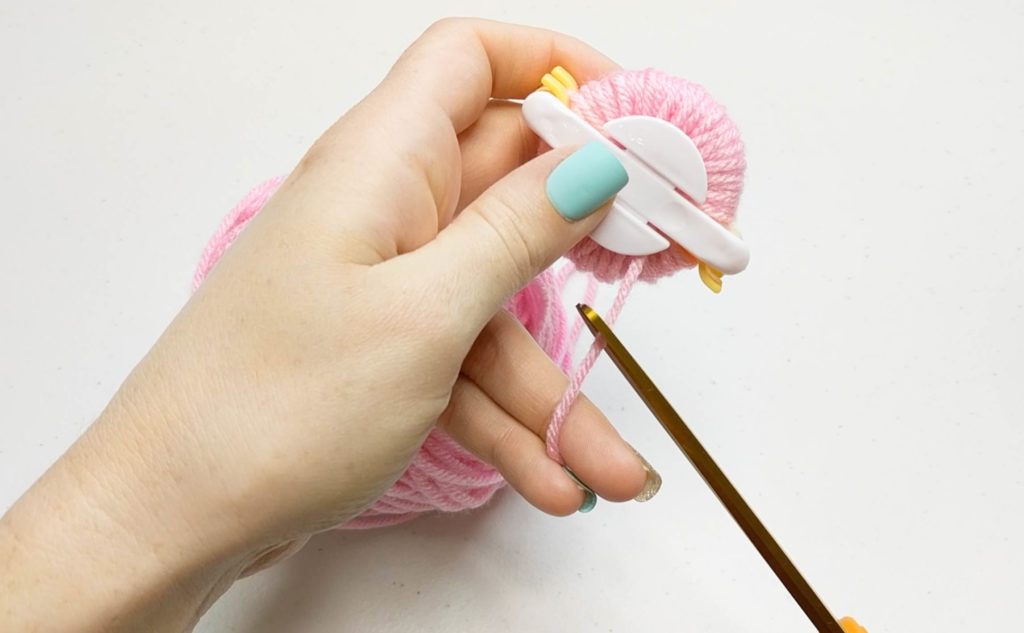
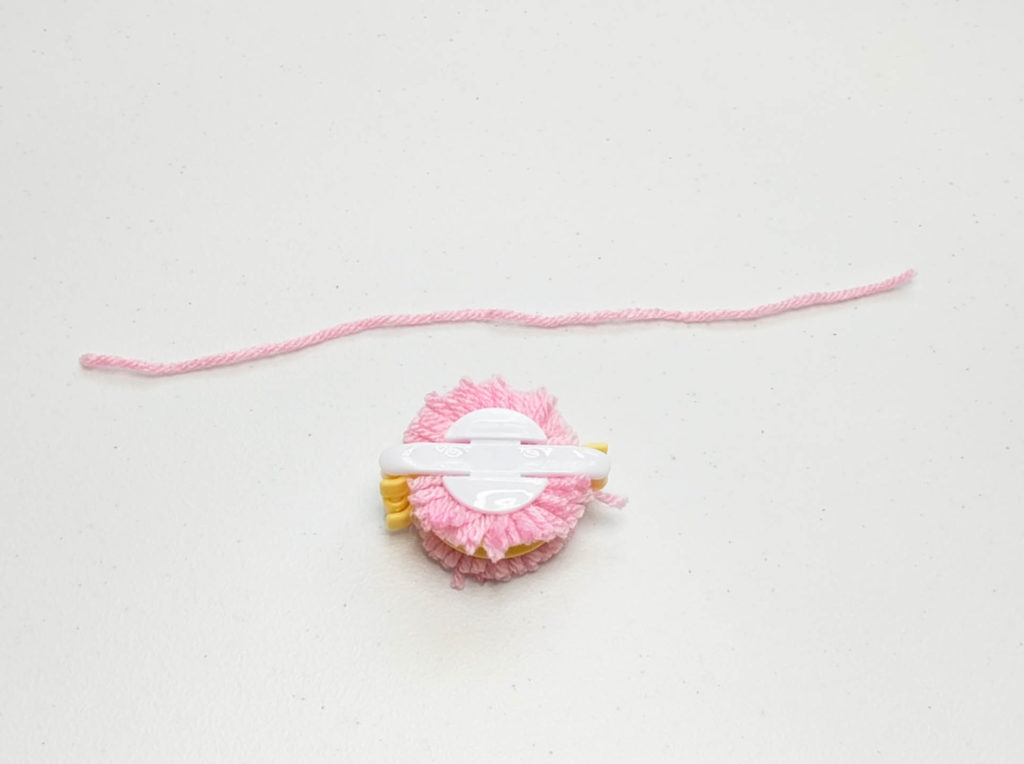
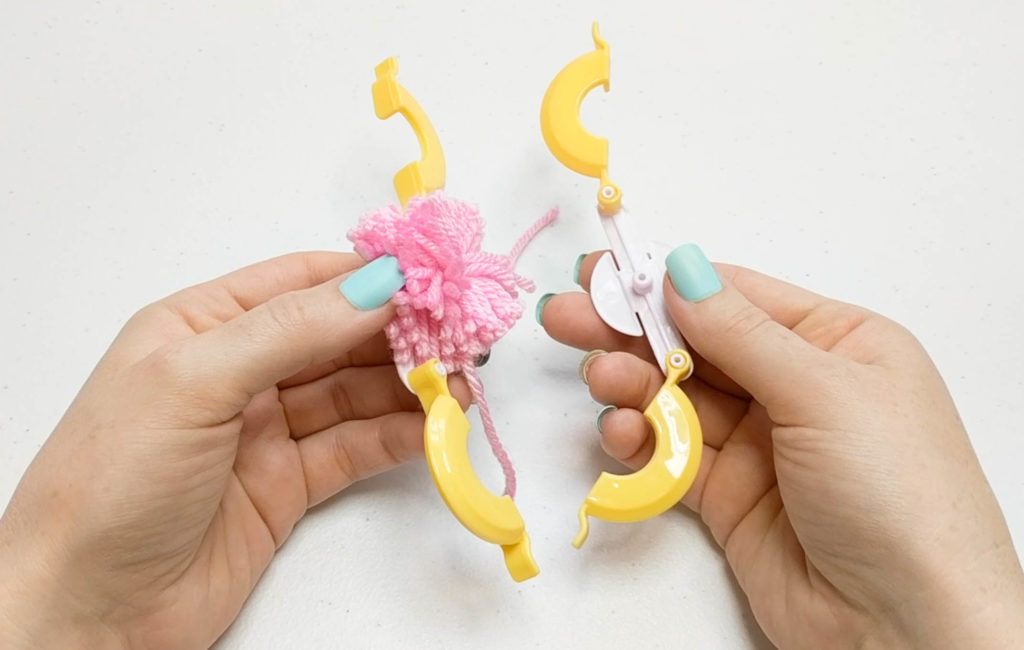
Trim the string coming from the yarn ball. Cut down the center of both crescents of the wound up yarn. (Where the crack in the pom pom maker is.)
Clip an additional piece of yarn that is a few inches long and wrap it around the pom pom maker where you just cut the yarn.
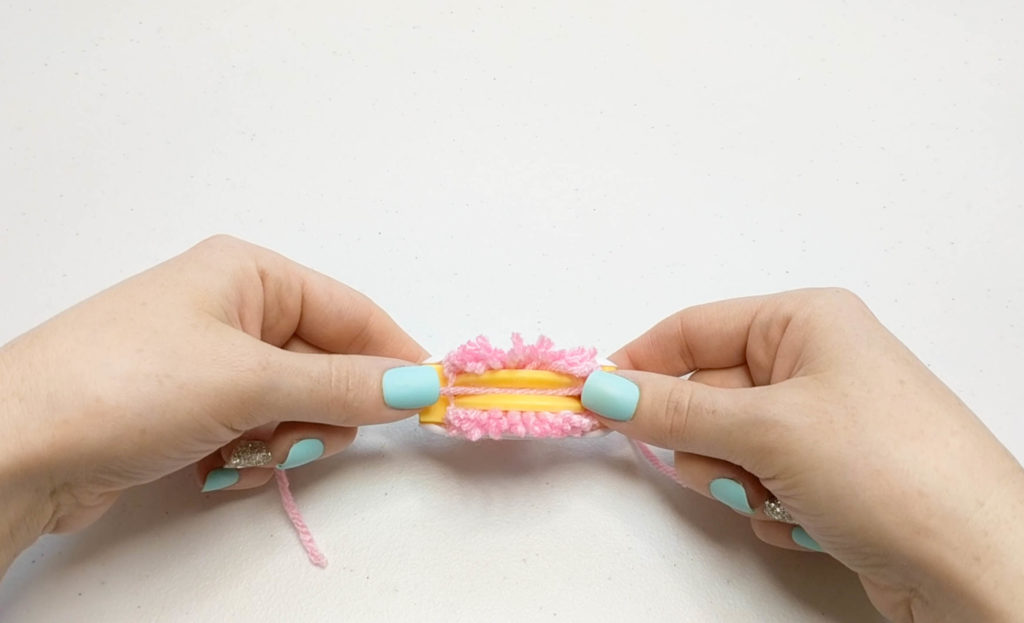
Tie a knot and pull it tight.
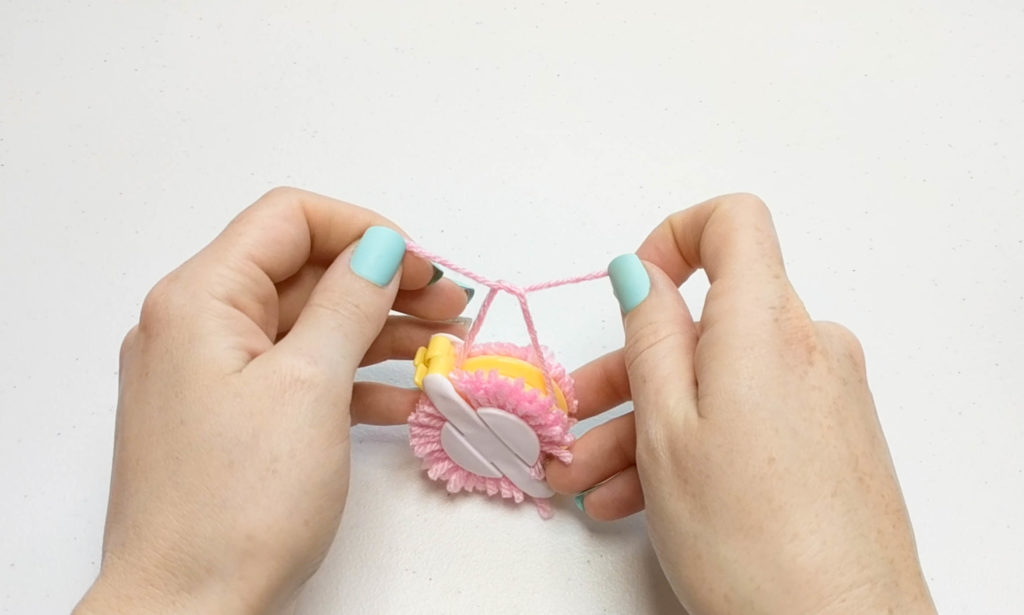
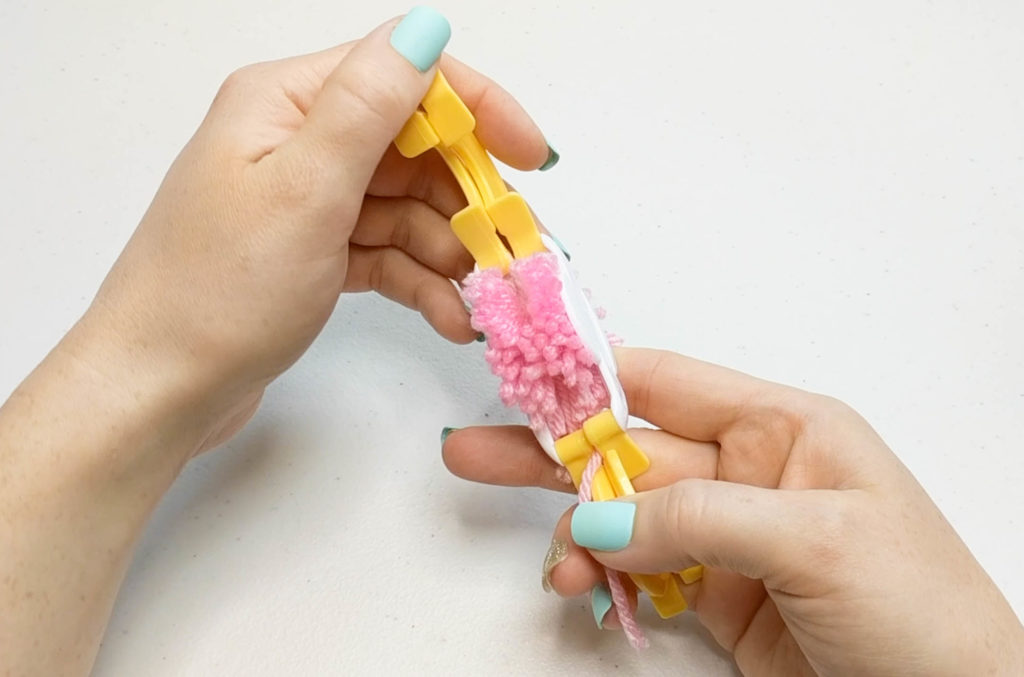
Take the string back around to the side you started on then tie a double knot. Open up the pom pom maker and pull the pom pom out.
Finishing pom pom for version one:
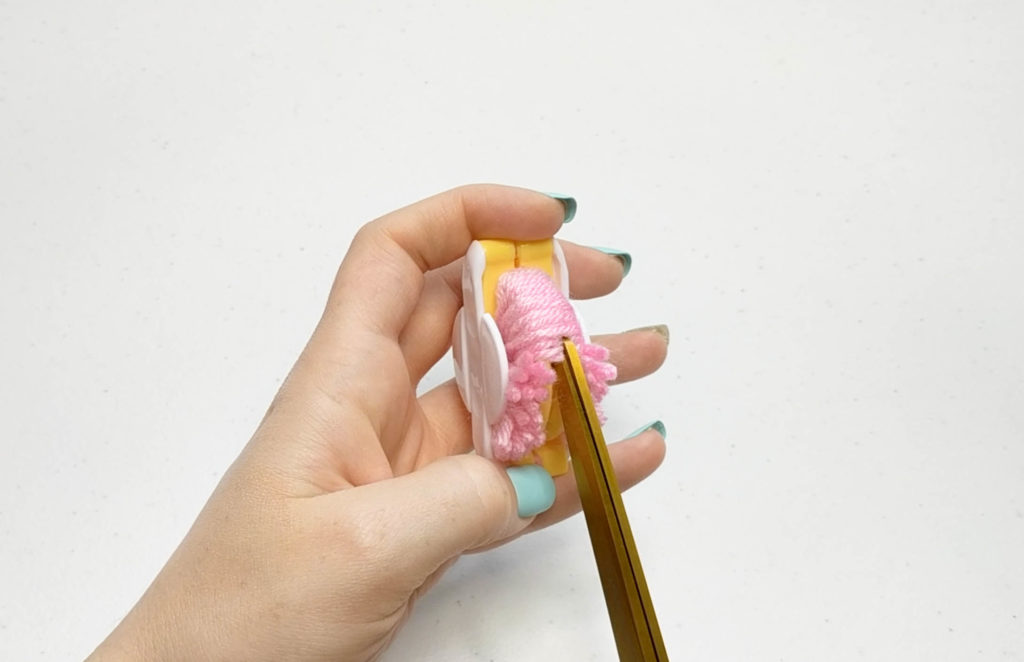
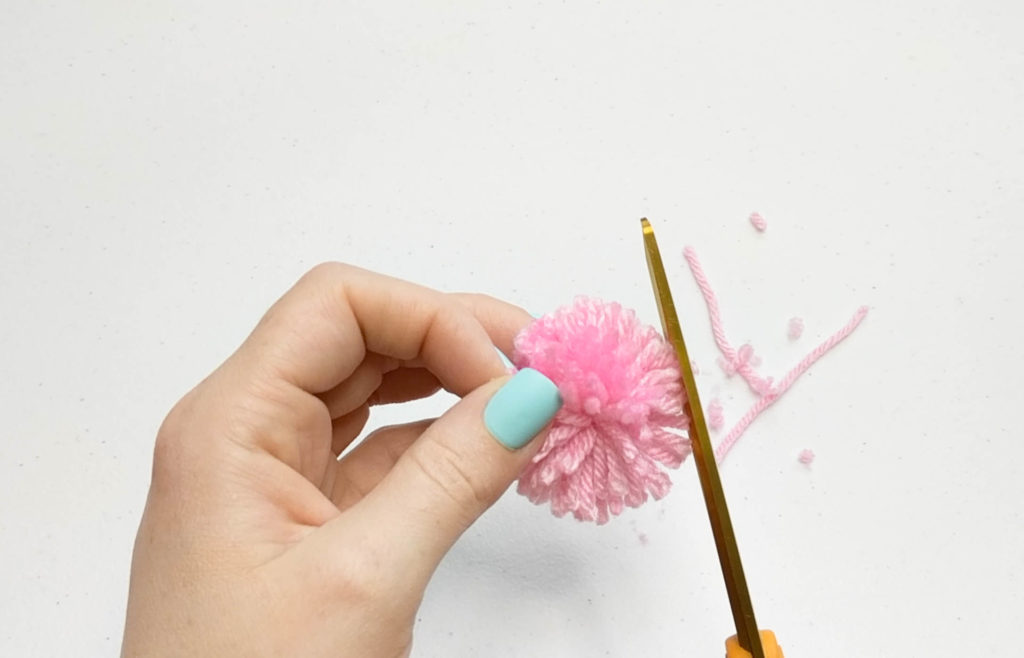
Clip the strings from the knot that was tied to match the rest of the pom pom strings, then clip around the pom pom to even out the strings.
Finishing pom pom for version two:
Clip ONE of the knot strings to match the rest of the pom pom. Then clip around the rest of the pom pom to even it up. Just make sure you don’t cut the one long string left from tying the knot.
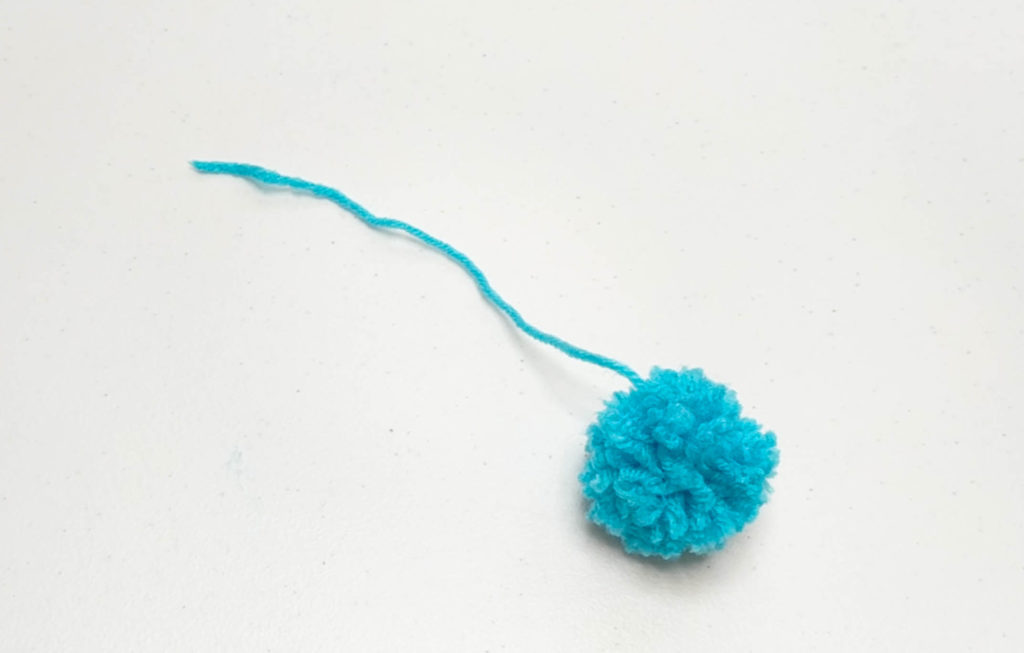
The pom pom is finished and you’re ready to attach it to the earring hook. Remember you need two pom poms so don’t forget to make a second one.
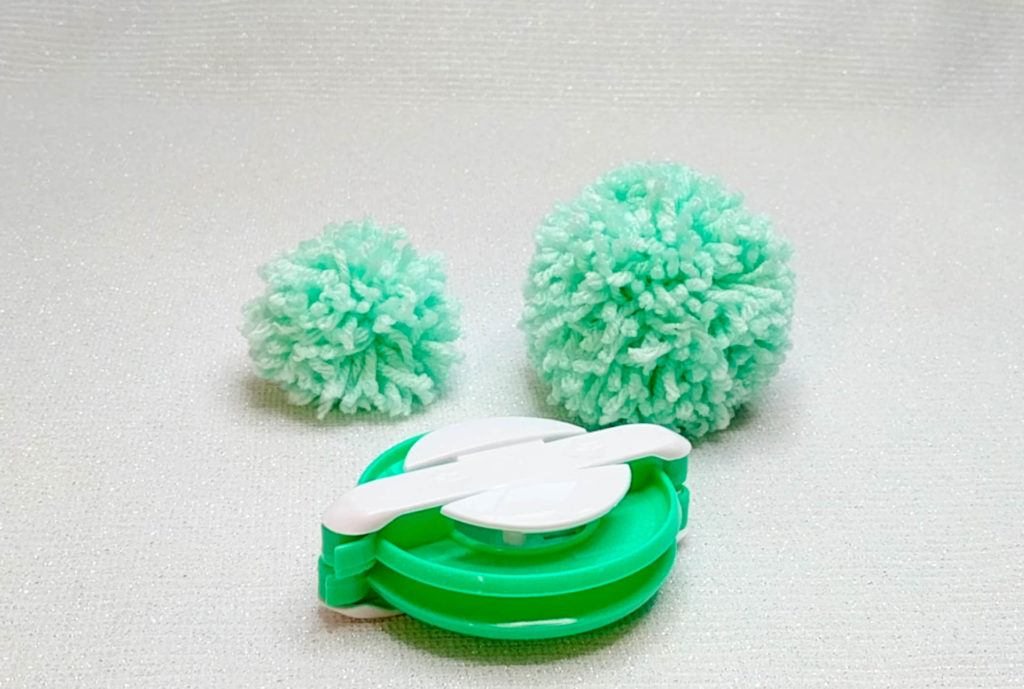
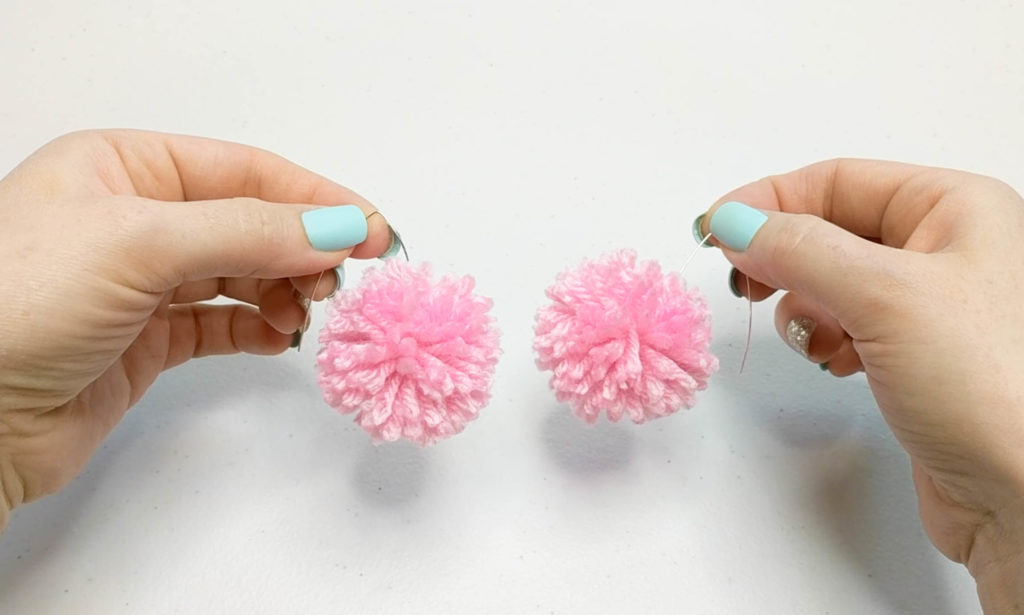
*Note when making your second pom pom you need to make sure you wrap the yarn around the pom pom maker the same amount of times as the first pom pom. Otherwise you will end up with different size pom poms. In the photo below, I used the same pom pom maker for both pom poms, but ended up with two different sizes because of how many times i wrapped the yarn around the pom pom maker.*
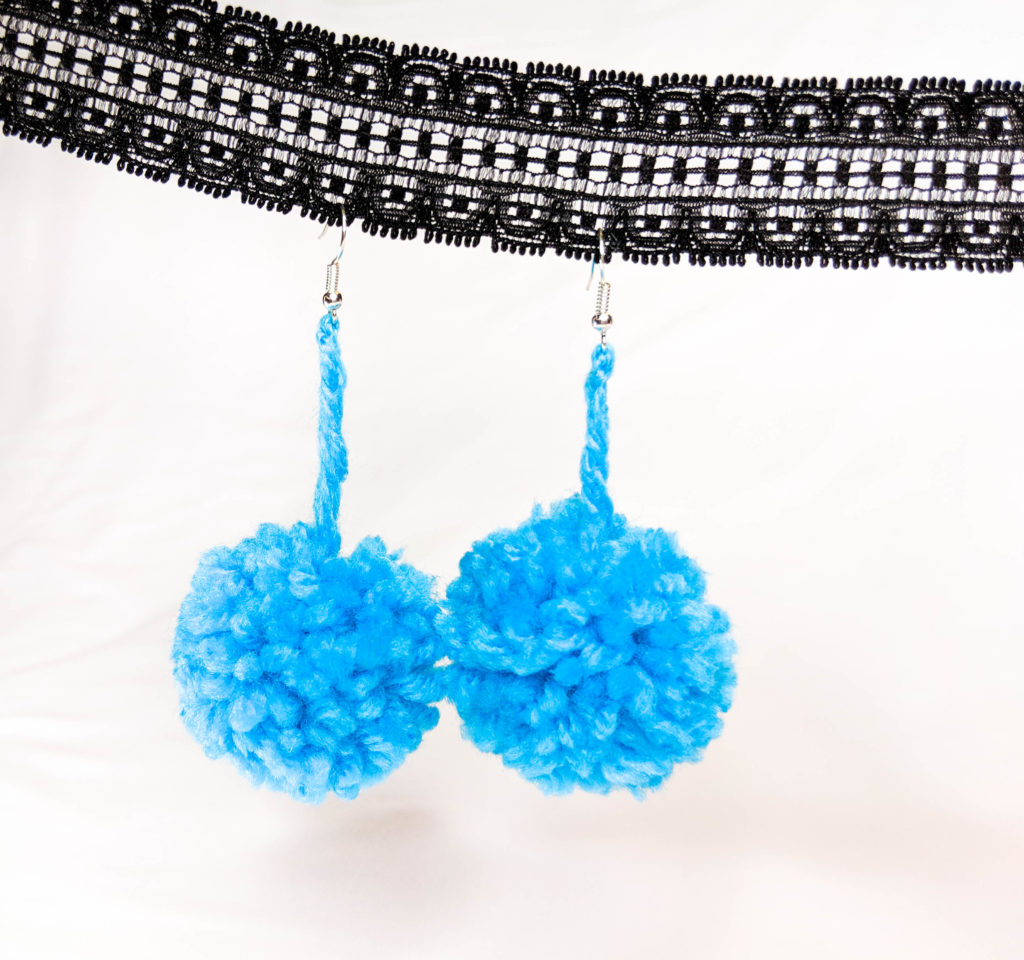
Earring Version One:
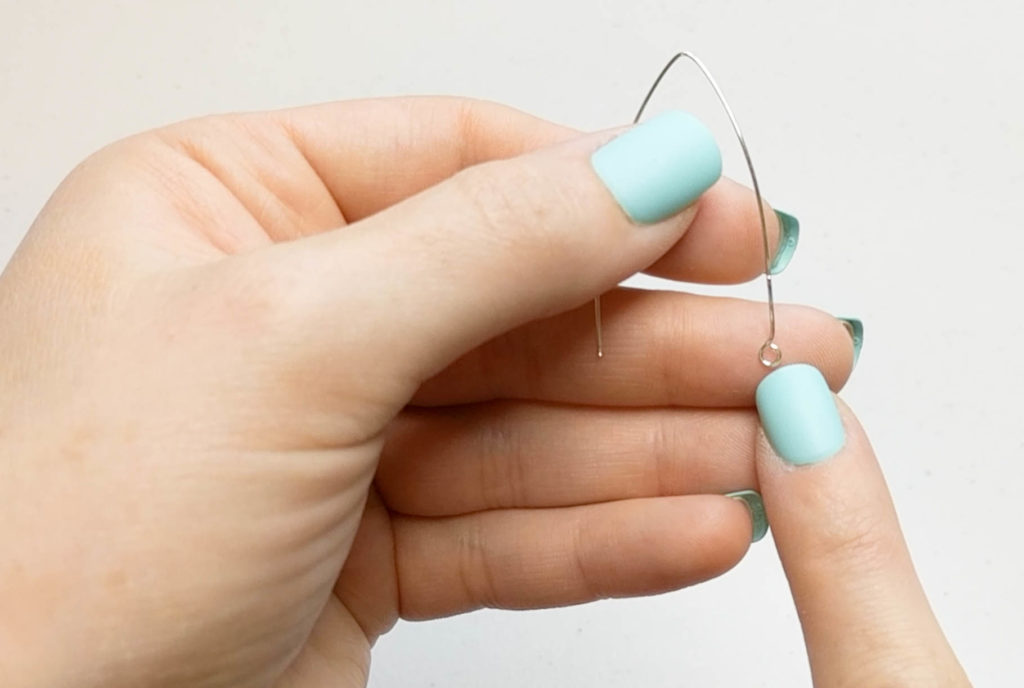
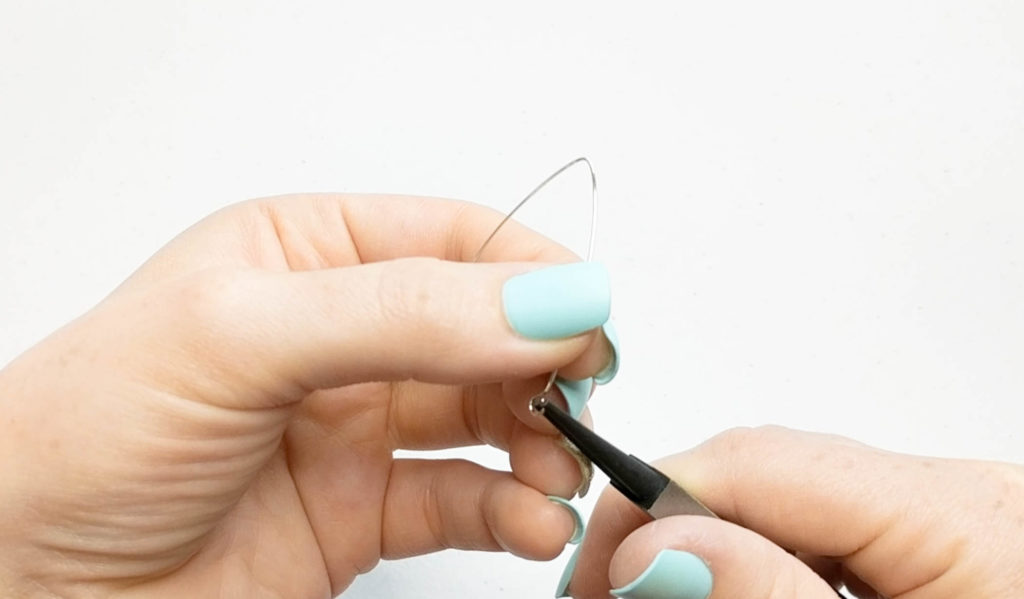
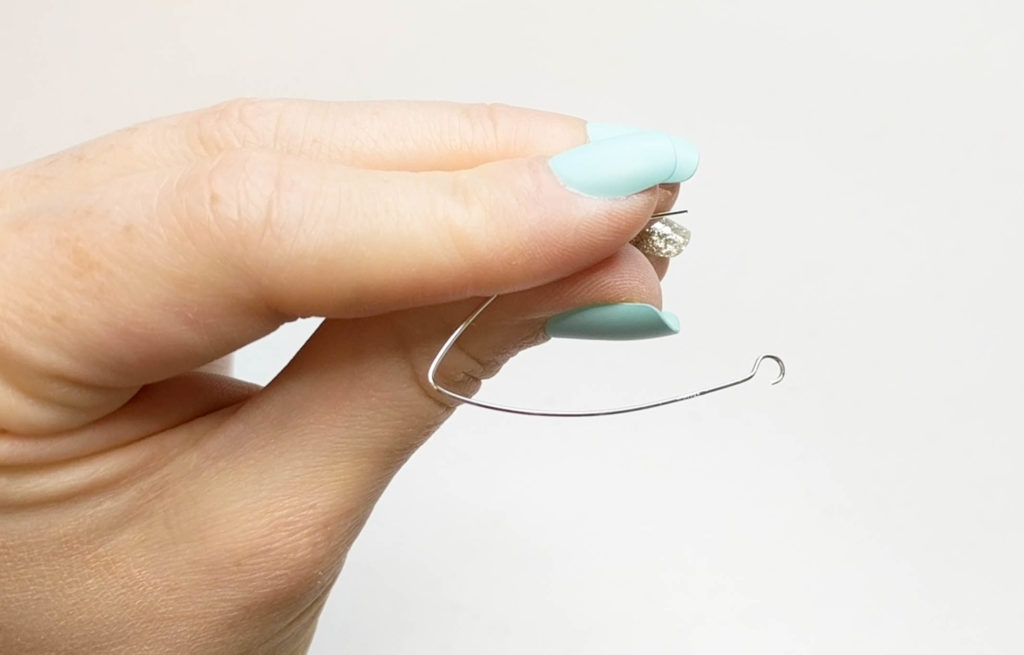
Using the jewelry pliers, open up the loop on the end of the earring.
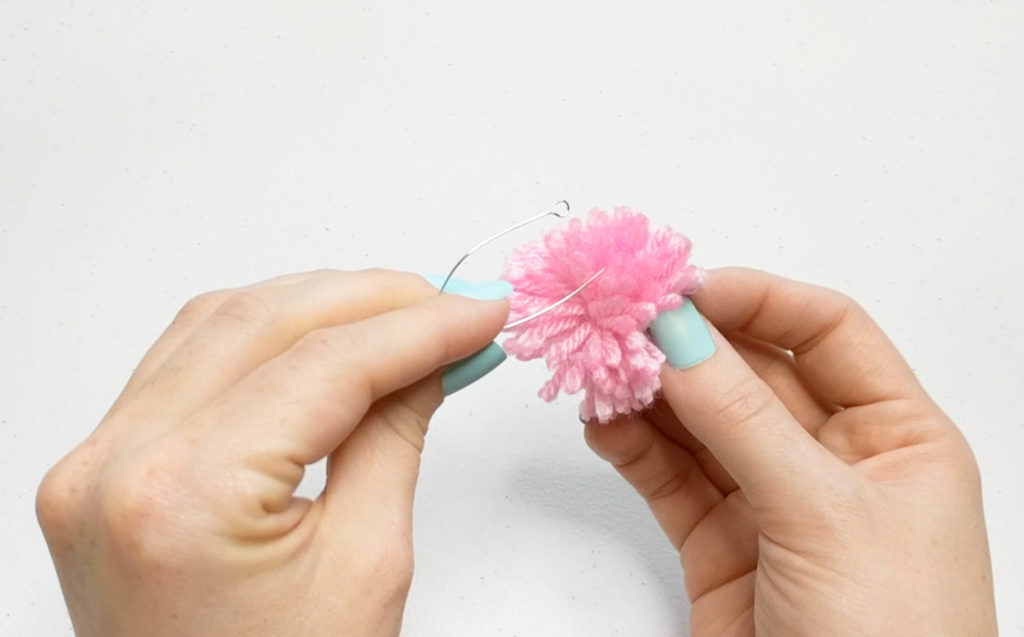
Slide the pom pom from the backside of the earring hook down to the front side. Try to catch the center knot of the pom pom with the hook on the end of the earring. That will secure the pom pom onto the earring.
Version one is done! Put them on and enjoy!
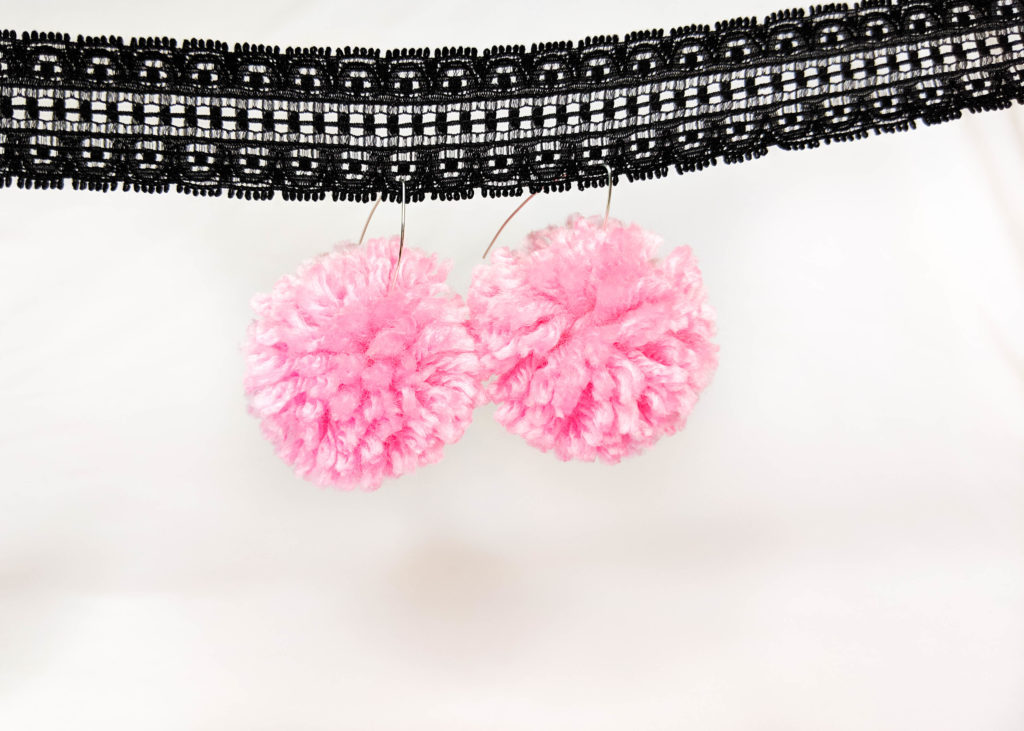
EARRING VERSION TWO
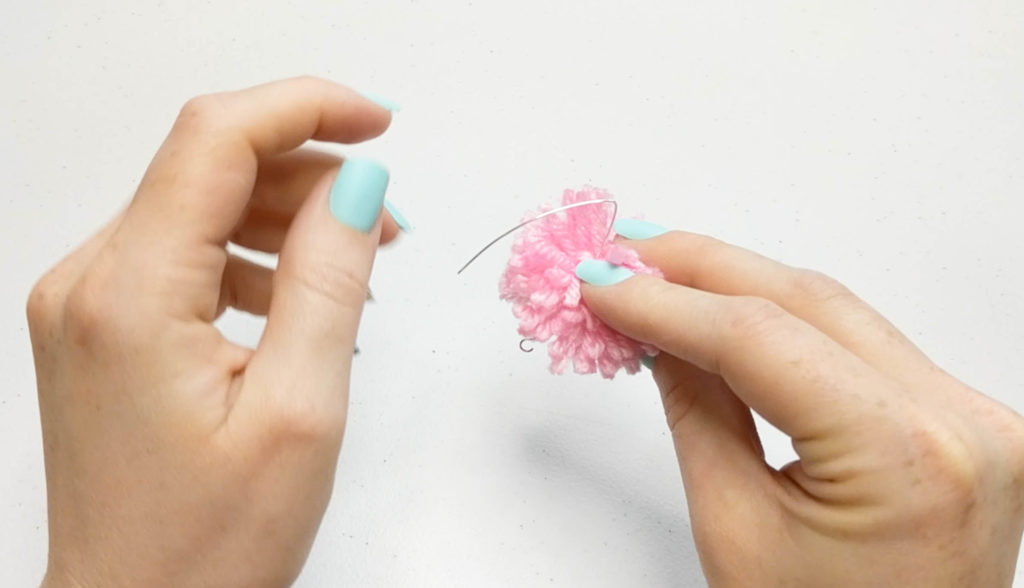
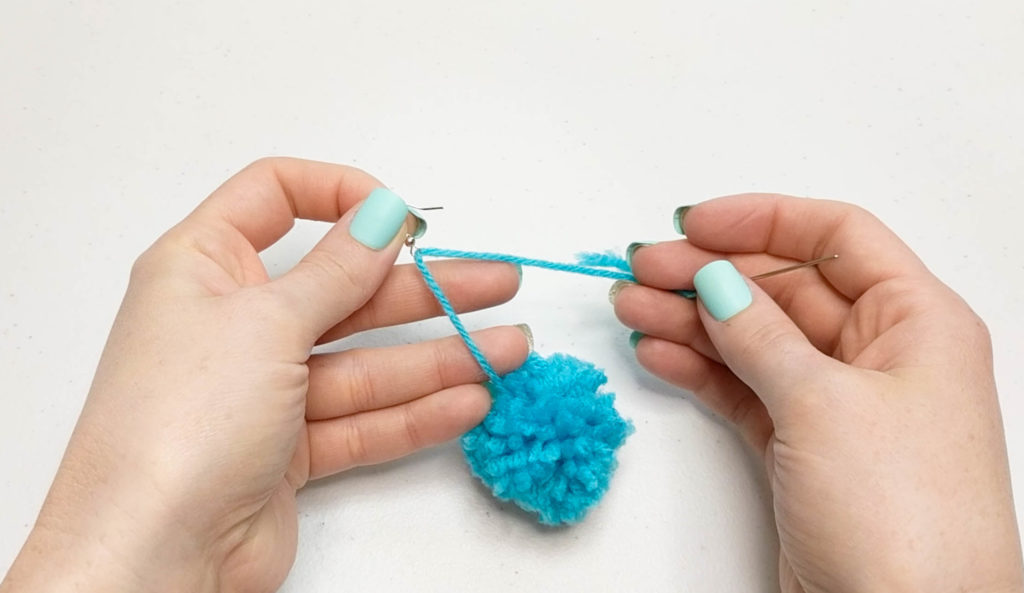
Thread the yarn tail left over from tying the pom pom knot through the embroidery needle.
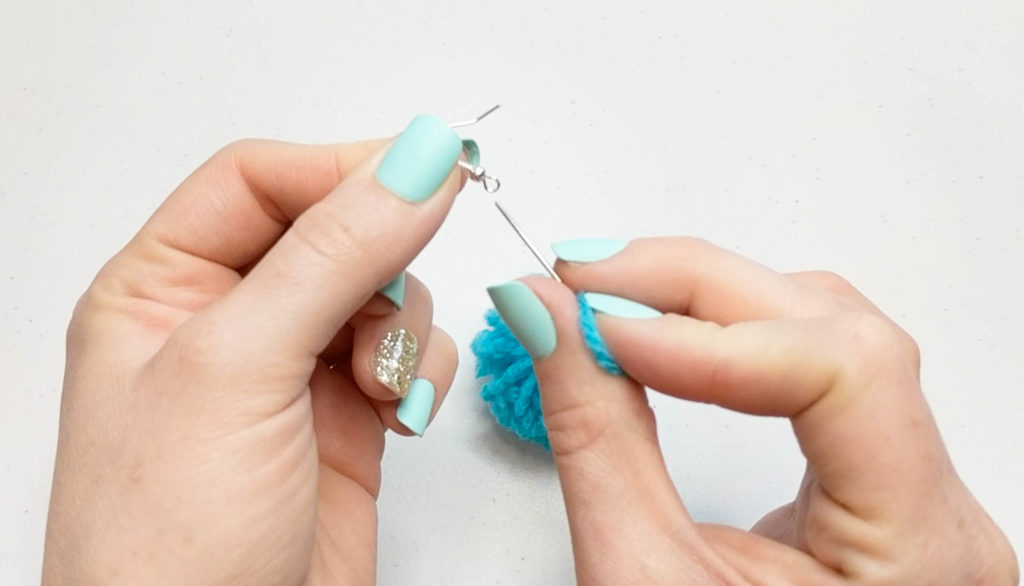
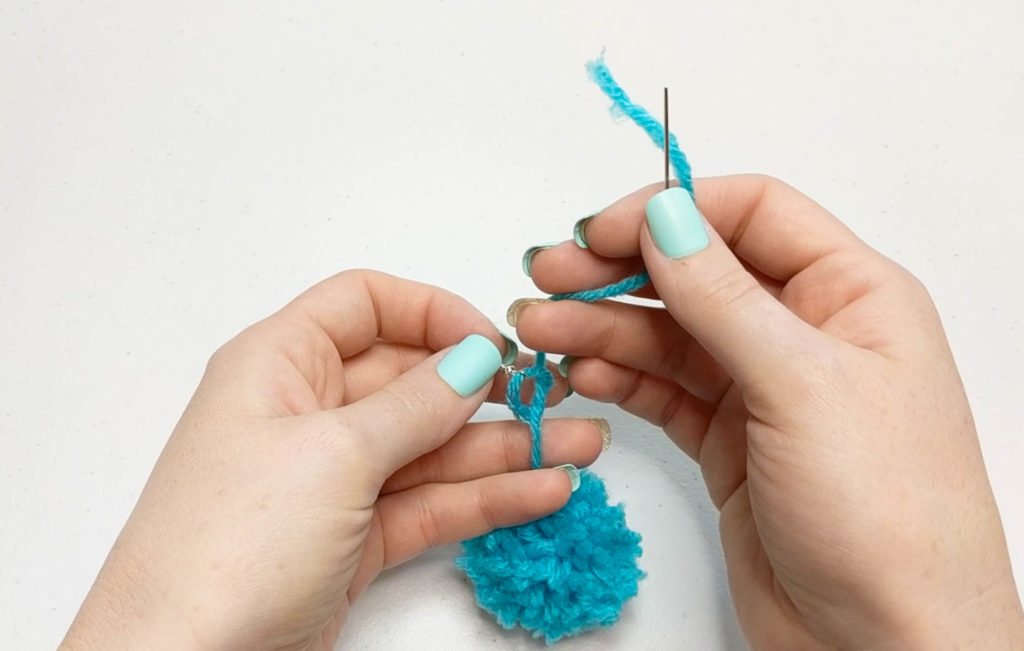
Take the embroidery needle and slip it through the earring hook.
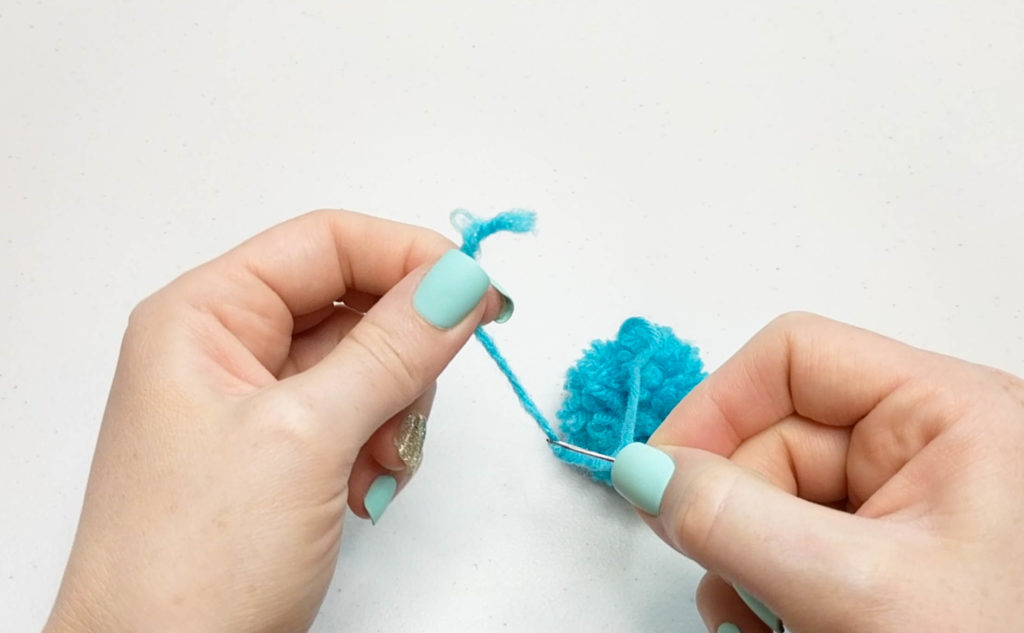
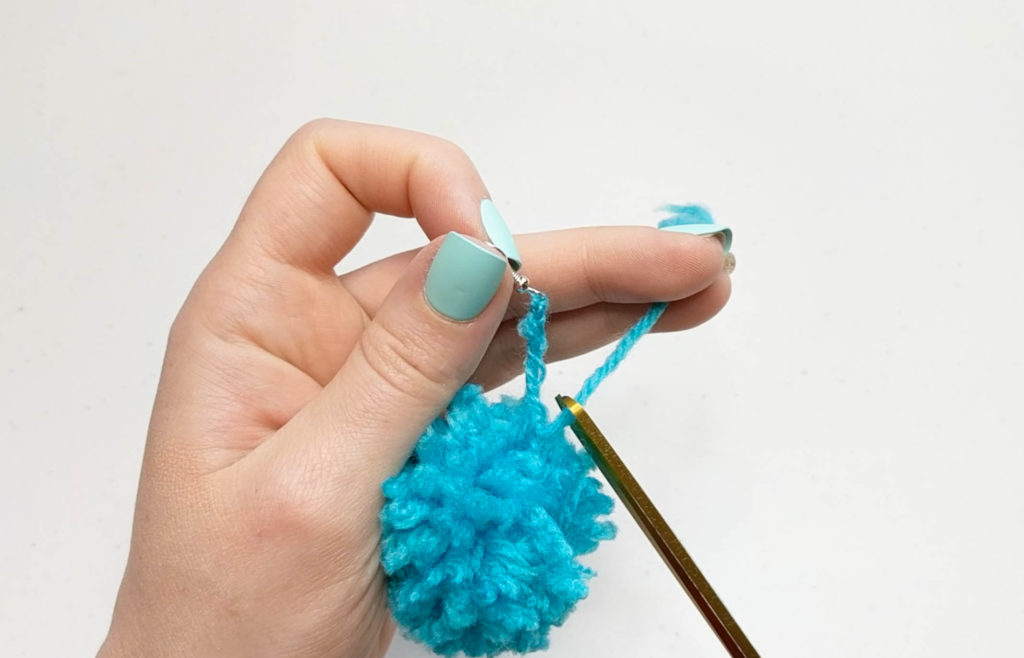
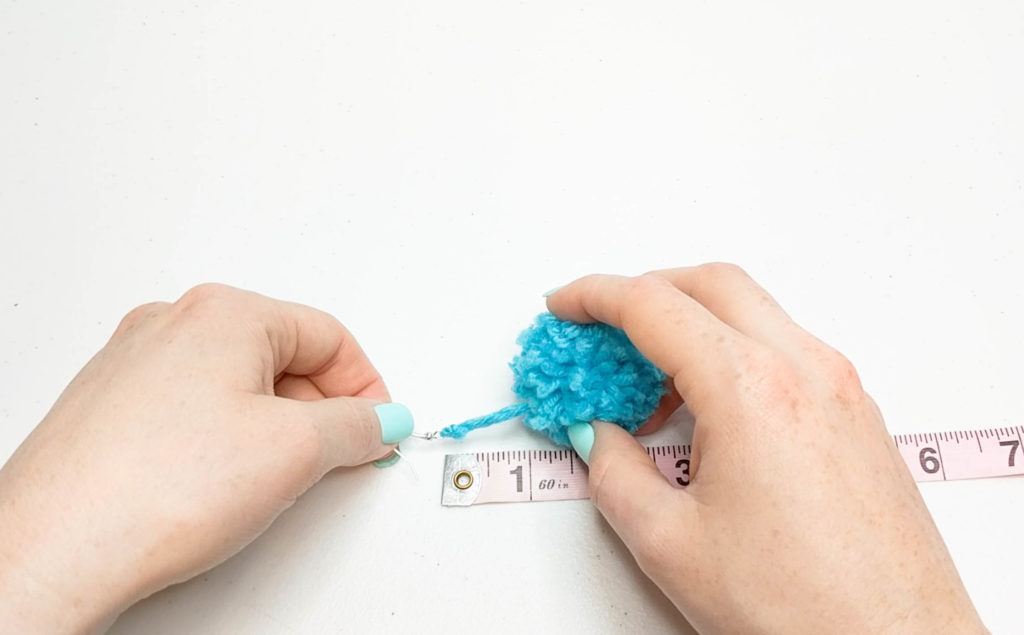
Measure how long you want the earring to be. Then tie two knots to secure it. Using the embroidery needle thread the end of the yarn through the middle of the string holding the pom pom. Pull it all the way through.

Once it’s through, clip the yarn to match the pom pom.
Repeat with other earring making sure to measure as you go so you don’t end up with lopsided earrings.
Earring version two is done! Put them on and enjoy!
Have fun with your new earrings! Thanks for reading! <3