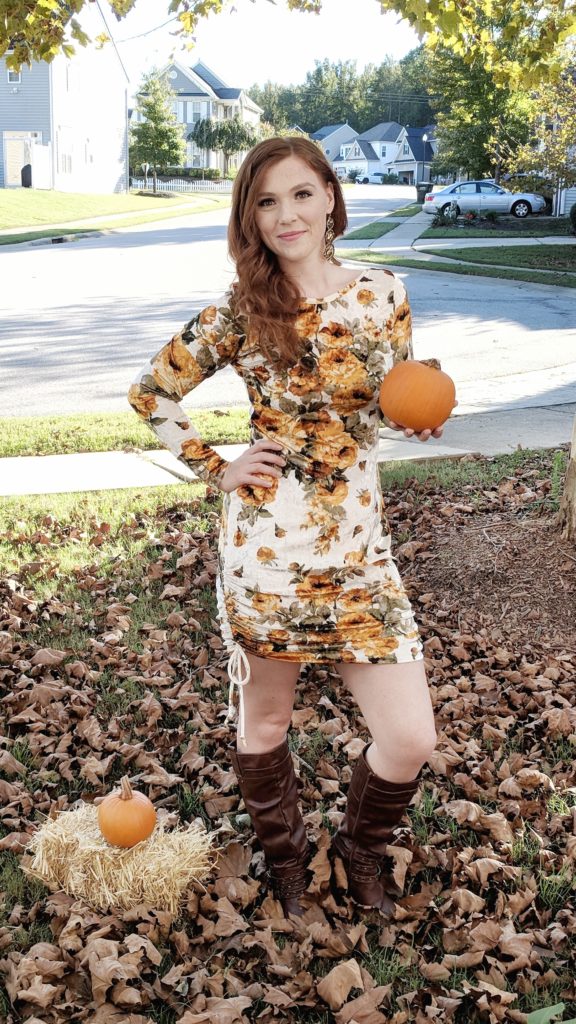
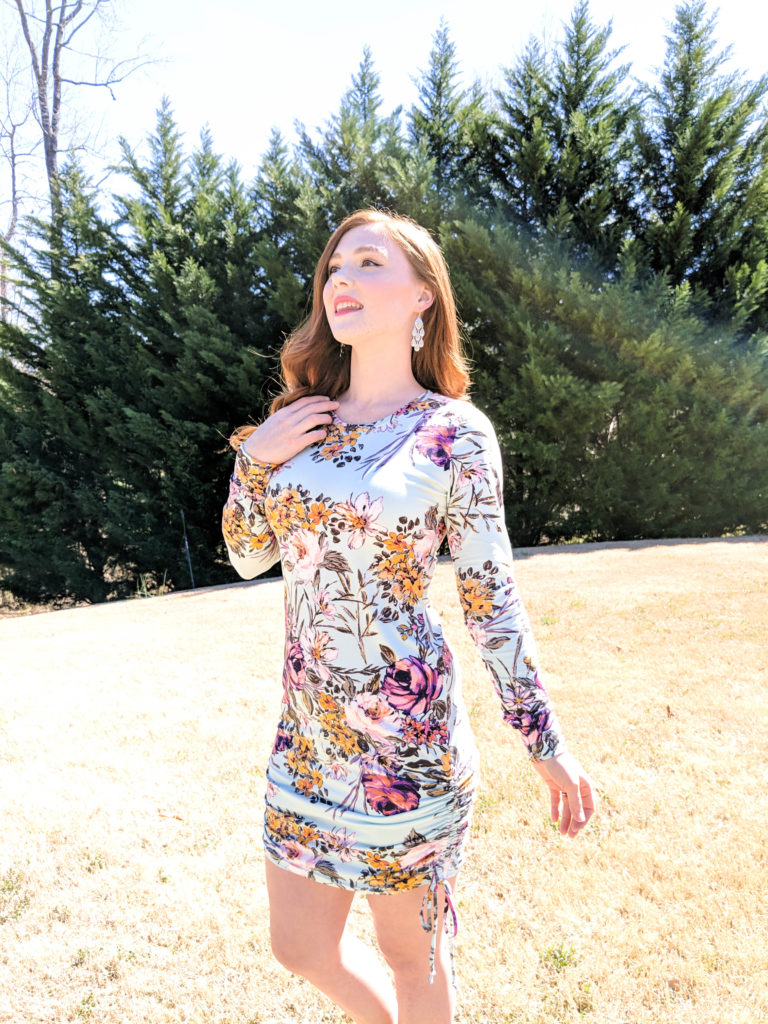
I made the dress below this last fall and after sharing it, there were many people who were interested to know how I made the drawstrings on the skirt. As we were heading into the holidays at that time I was unable to put together a guide. However, I have finally made a tutorial for it and am ready to share all the details!
Before we dive into it, here are a few things to note.
I used the Astoria dress pattern from Peek-a-boo pattern shop for this tutorial. The original dress above is the wiggle dress from patterns for pirates. The hack works best on more fitted garments that don’t flair too far away from the body. You could also do this on a shirt or pants, just don’t forget to add a bit of length for the rouching. Really, you can use this hack on just about any type of garment. It was made using a half inch seam allowance as the standard seam allowance. If you choose a pattern with less than that, you will need to add more seam allowance as it may not work with less than half an inch. This tutorial assumes you are sewing with a knit fabric.
This post may contain affiliate links
When cutting your pattern, cut the drawstrings as well. Mine were twenty two inches long by one and a half inches wide. Cut four drawstrings.
Before assembling your pattern, you’ll want to hem your skirt pieces. You can also finish the sides if you want a more finished look on the inside of your skirt.
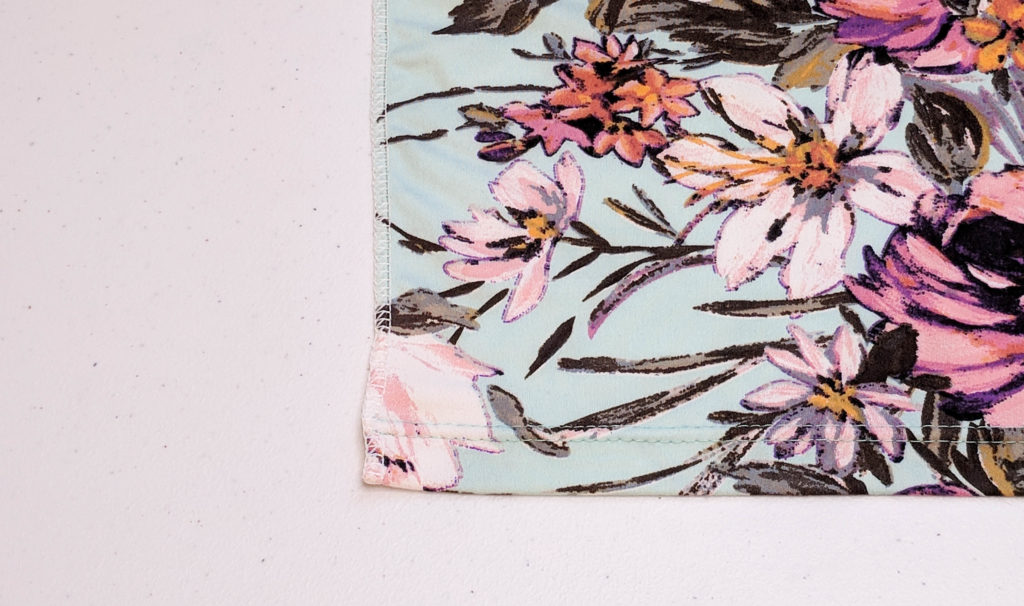
Sew the pattern per instructions until you get to the side seams. Once there you will measure how far you want your ruching to go up the skirt from the hem. I made mine 12 inches. (If you do more or less than 12 inches, you may need to adjust your drawstring length.)
Using a sewing machine (NOT a serger) Sew the side seam 12 inches from the hem up the skirt. You can finish the remaining side seam with a serger if you’d like.
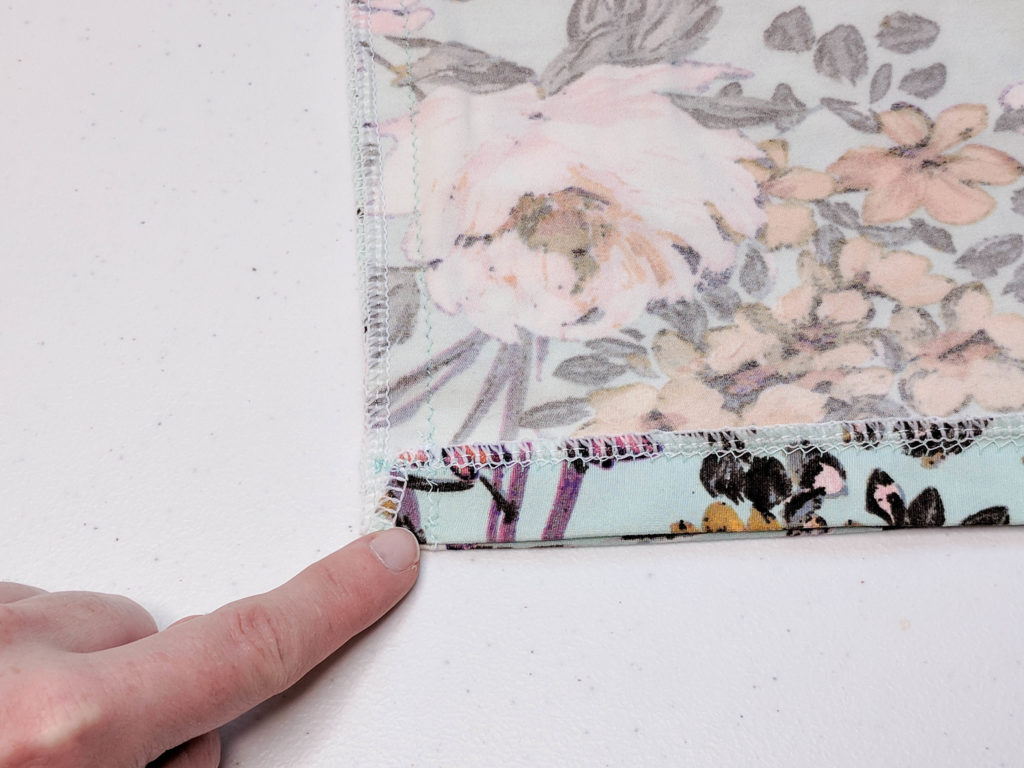
Press the seam allowance open.
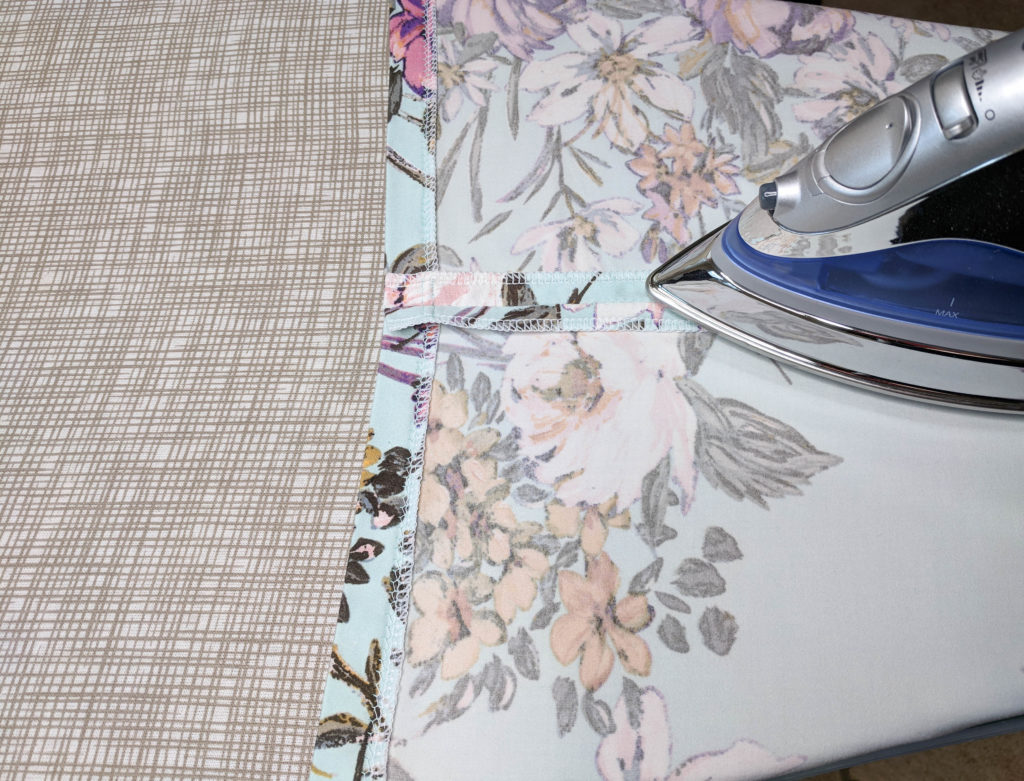
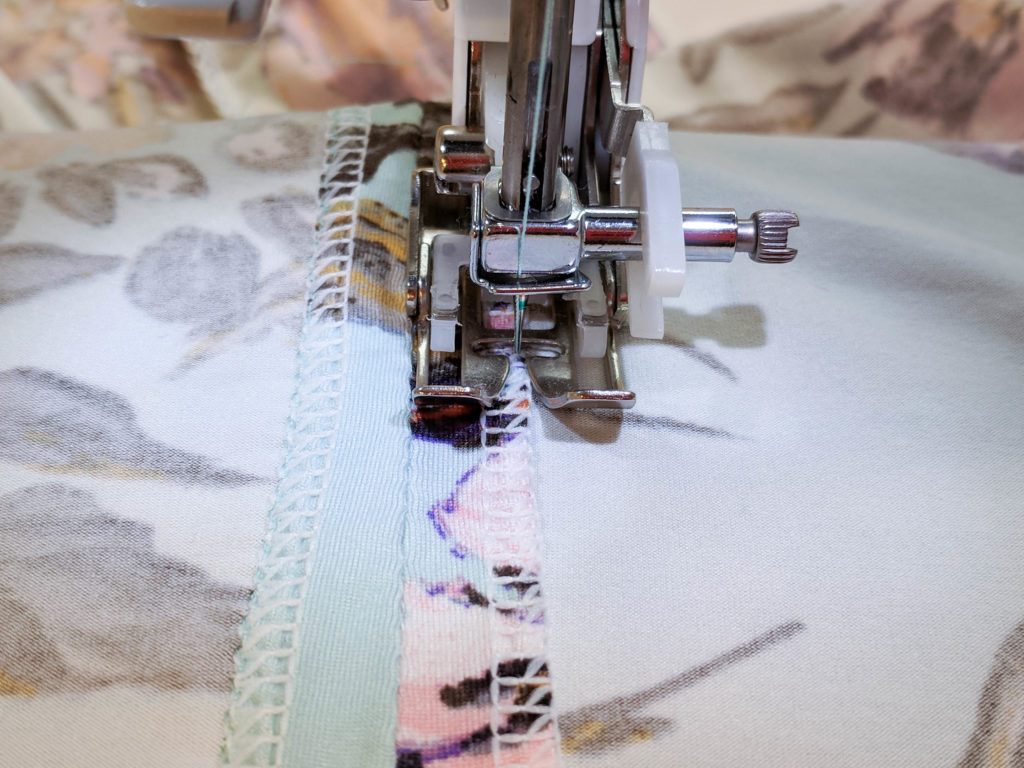
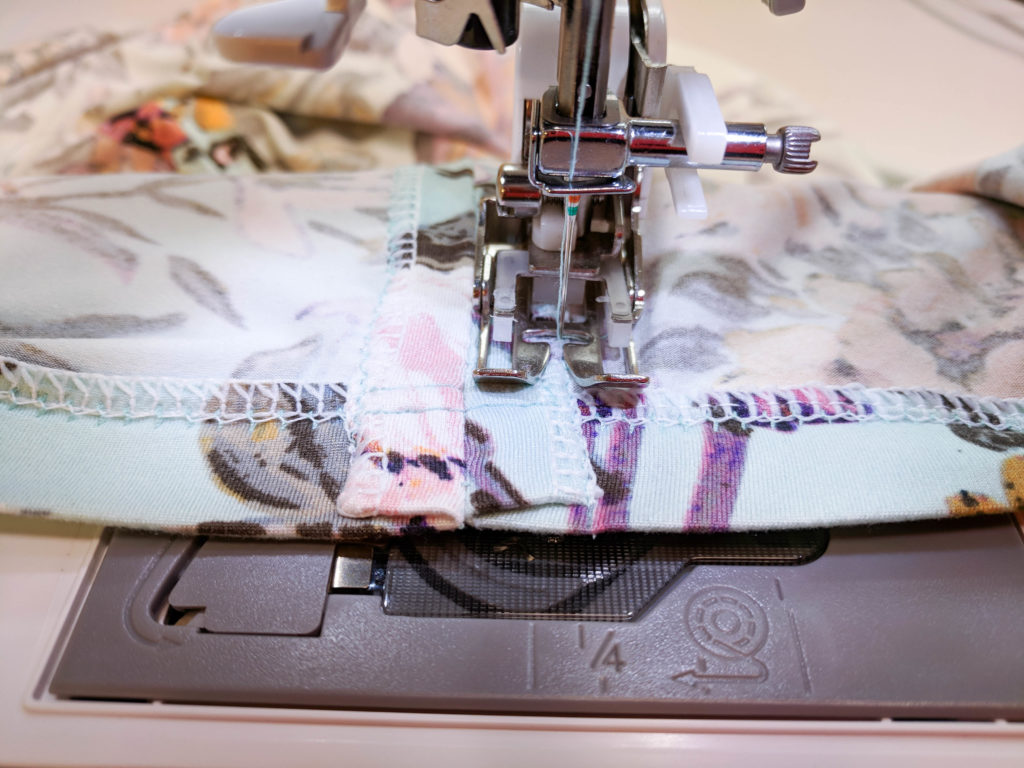
Edge stitch the outermost edge of the seam allowance to create a casing. (Do NOT stitch the top closed.)
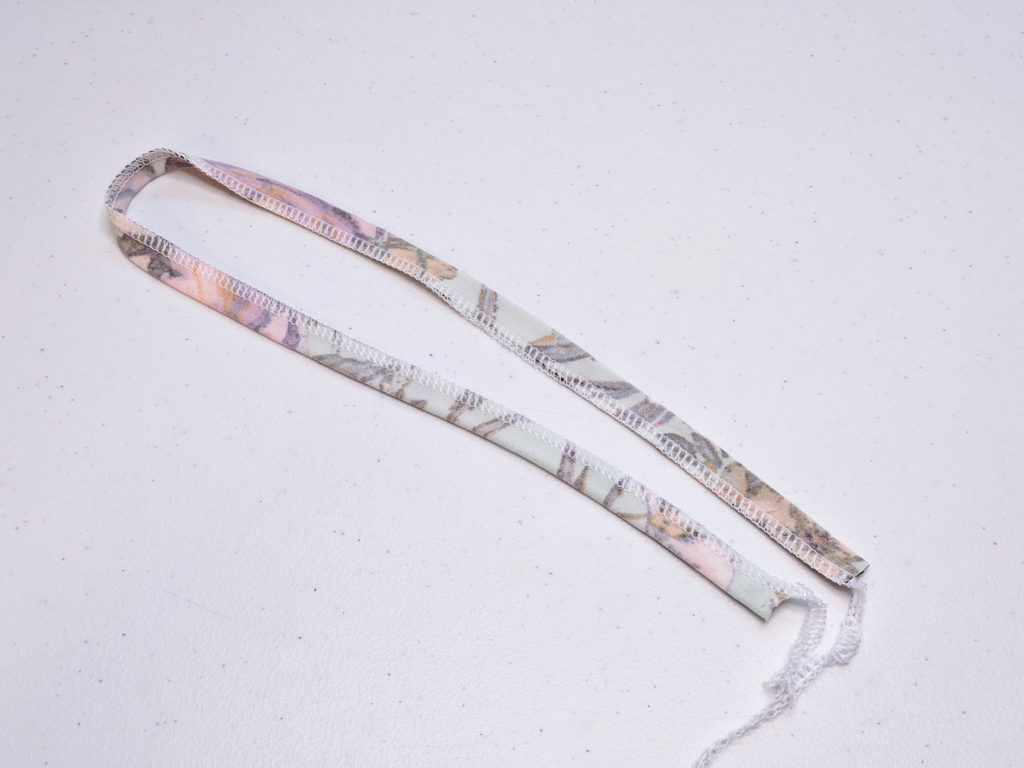
Make your drawstrings by putting right sides together and stitching on the long edge to make a tube. I used a quarter of an inch seam allowance for this step. Use a loop turner or a small safety pin to turn the tube.
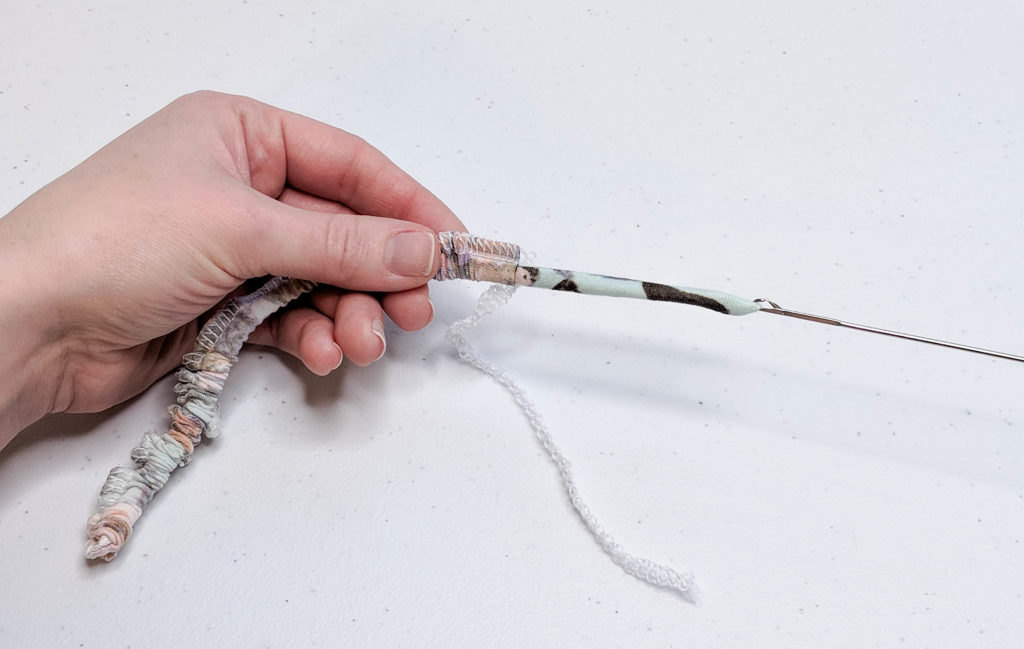
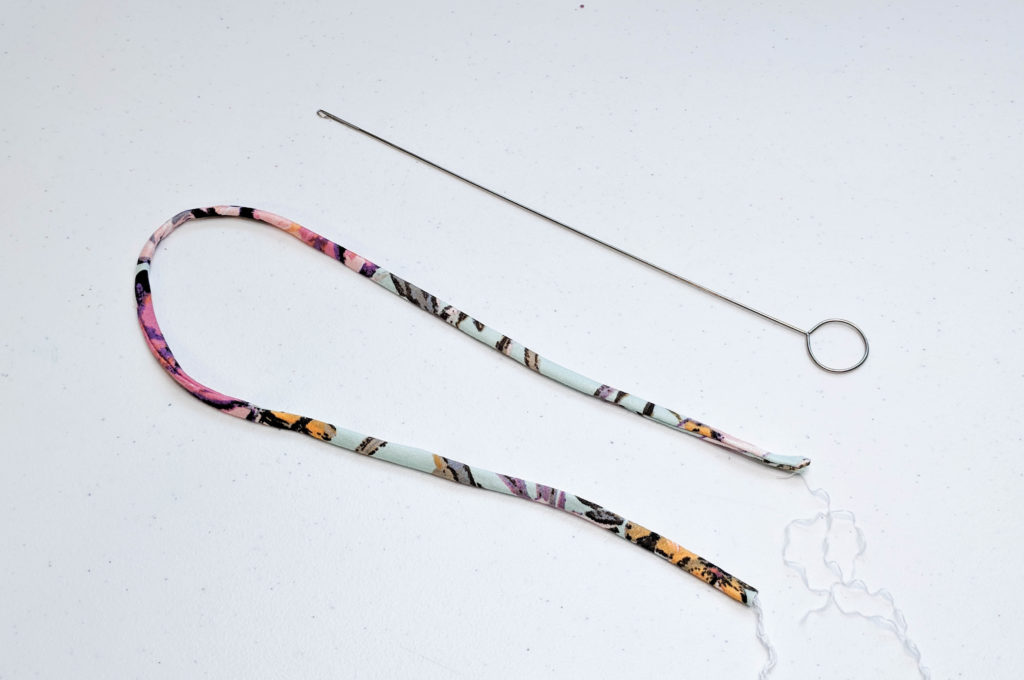
Using your safety pin, thread the drawstring through the casing on the skirt. Repeat on remaining casings.
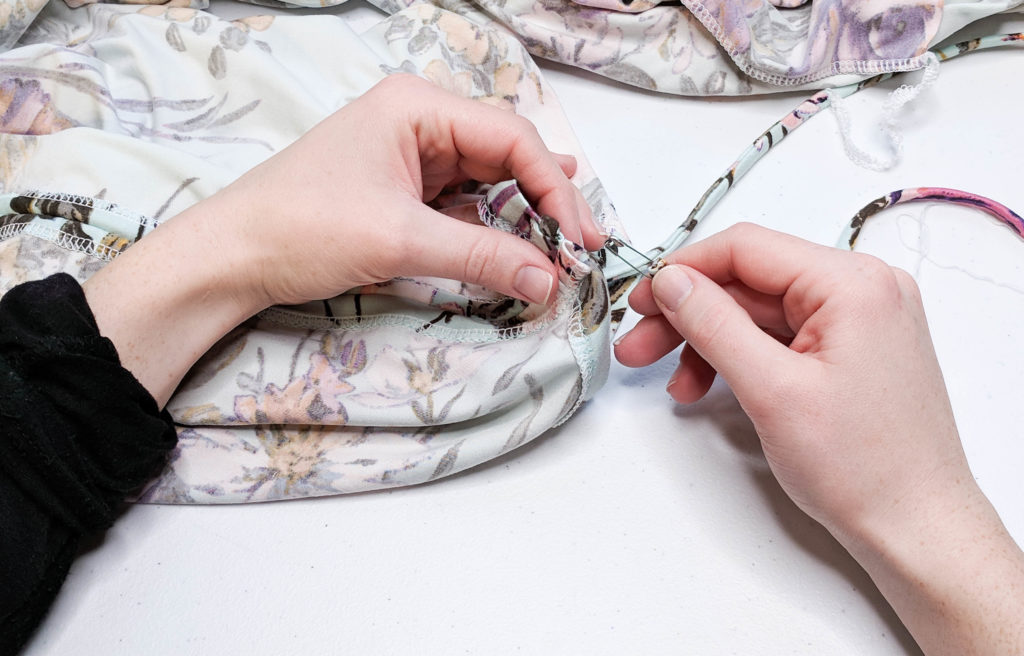
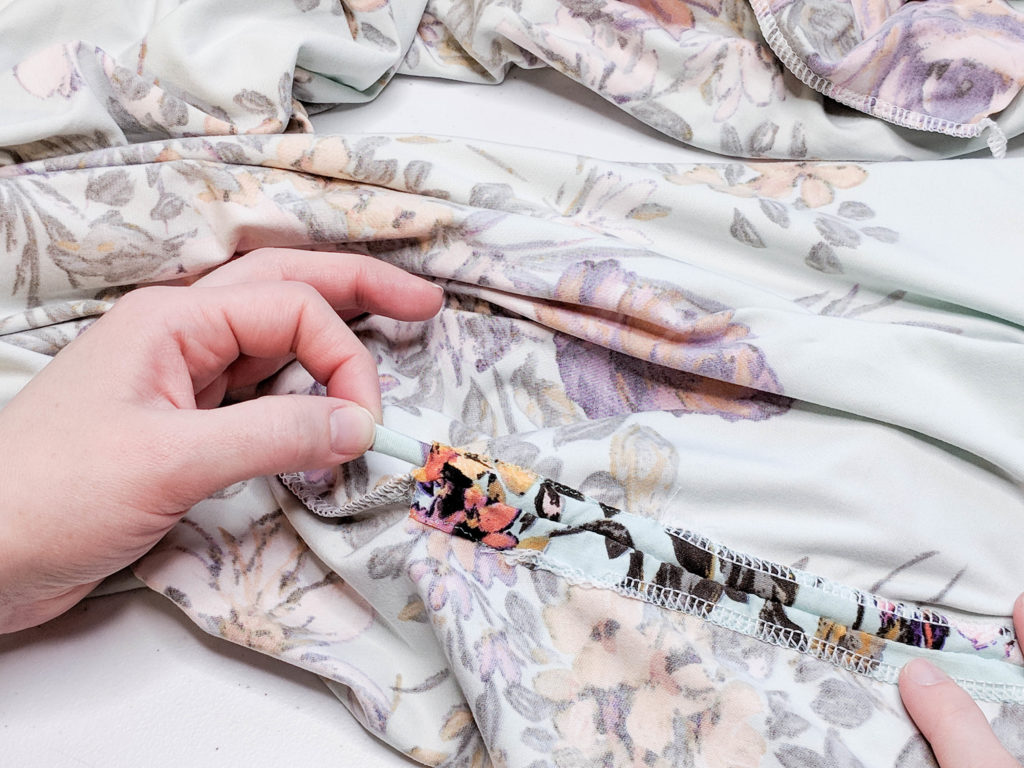
At the top of your casings, sew the drawstrings into place a quarter to a half an inch from the top.
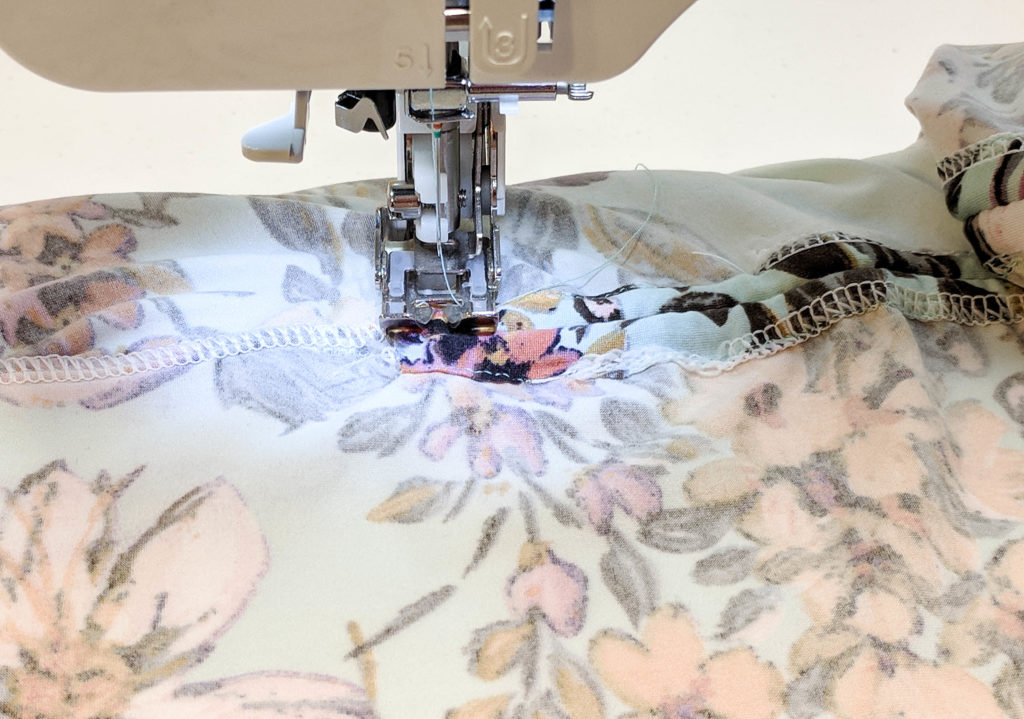
Take a drawstring and tie a knot at the very end of it. Repeat on remaining drawstrings.
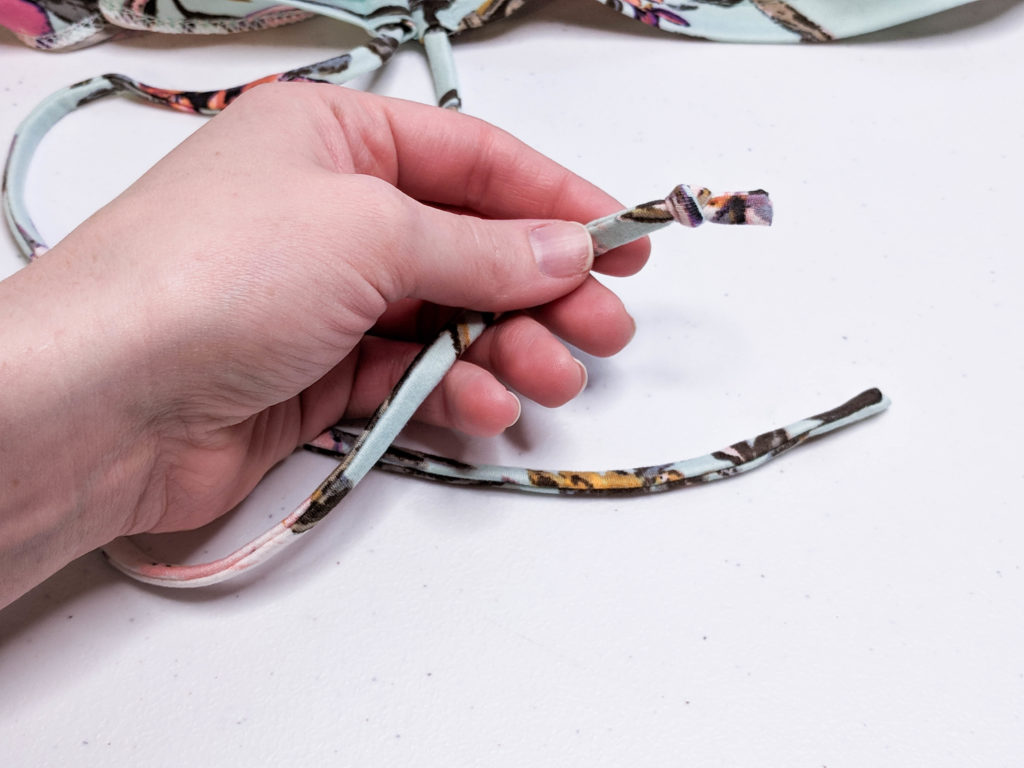
Pull on the drawstrings to create the ruching and tie a bow once you’ve achieve the amount of ruching you want.
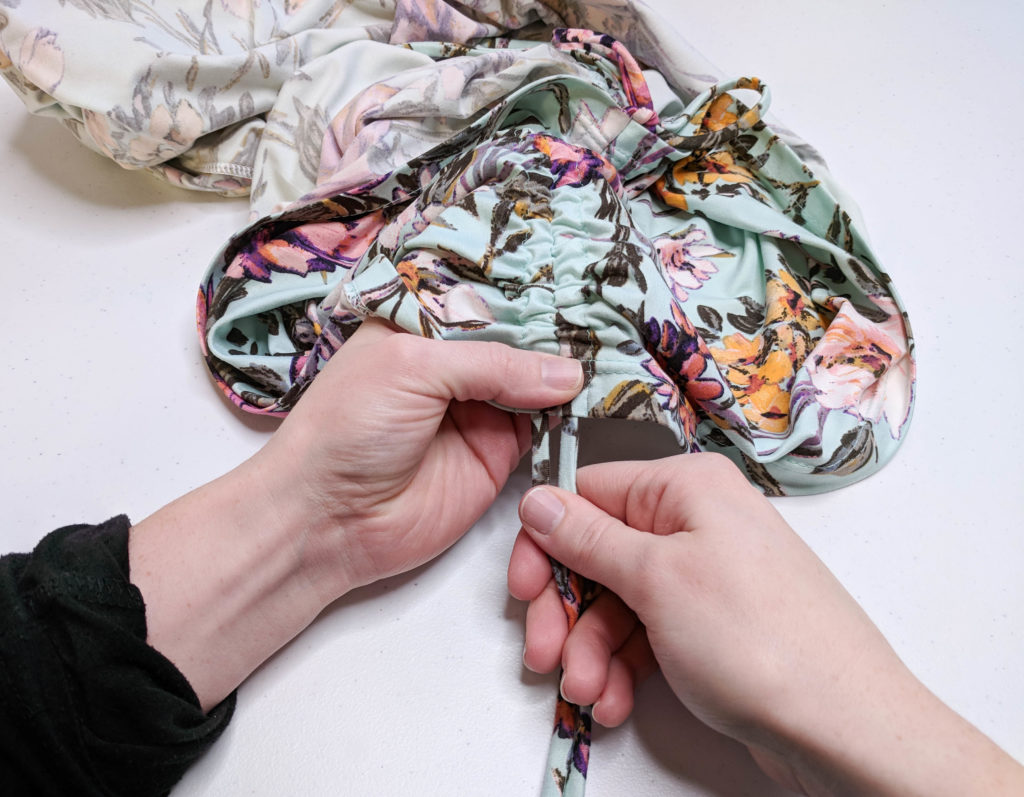
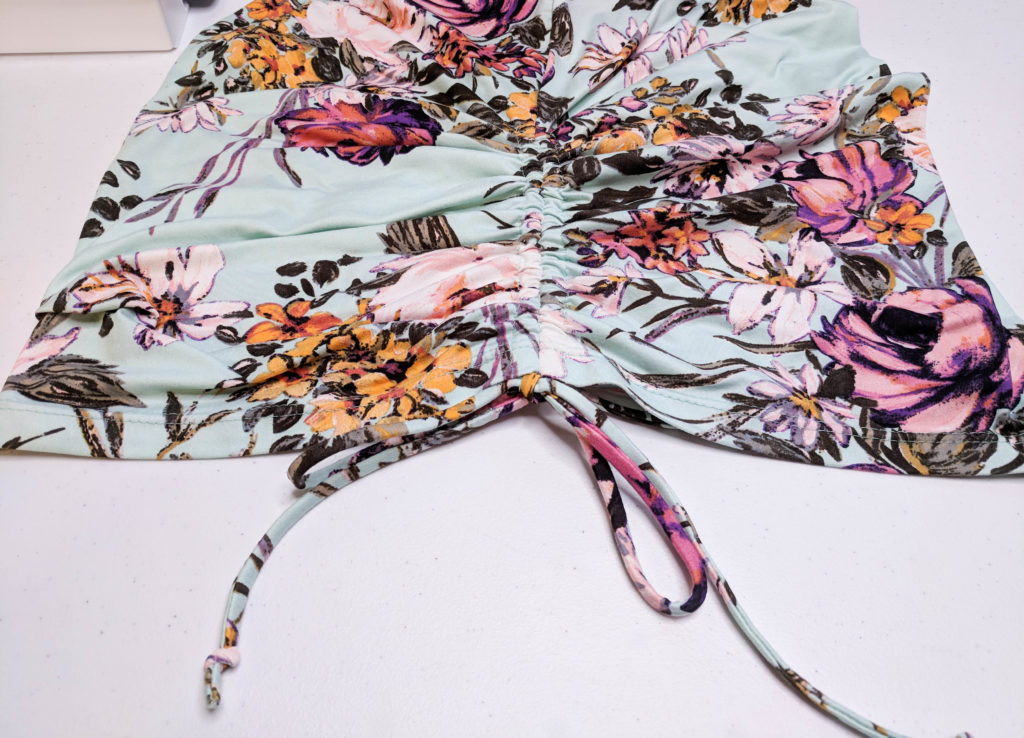
Finish the garment according to pattern instructions and you are done!
I hope you enjoyed this tutorial and love your new ruched skirt! Or dress, or top. Whatever you chose. 😉
Also, be sure to check out these other helpful sewing posts.
The Pocket Problem: How to Add Pockets to Leggings
DIY Sewing Pattern Weight Tutorial With Free SVG

Thank you for reading! <3