Sailor bows are a classic hair bow. It’s a fun hair accessory for little girls and they are fairly easy to make. If you’re interested in sewing your own sailor hair bows I’ve got a cute sewing pattern and tutorial for you below.
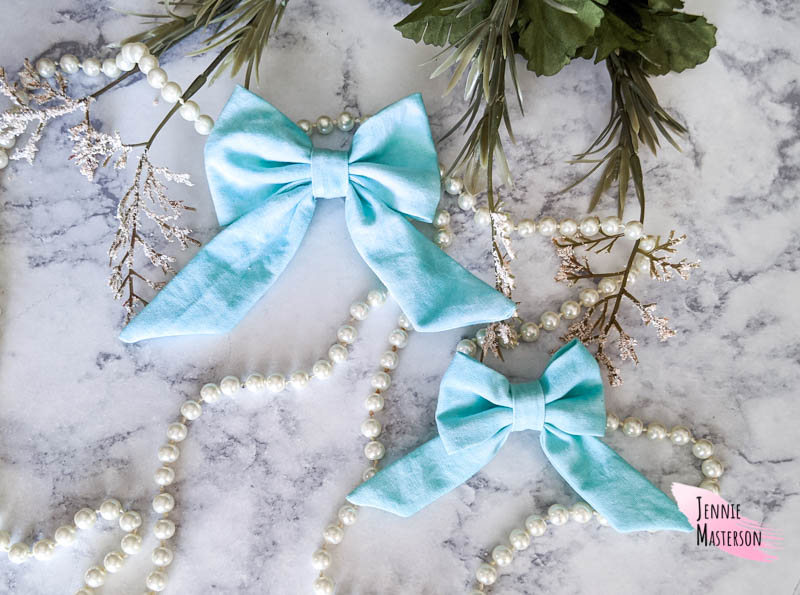
This sailor bow sewing pattern has two sizes, small and large. The small sailor bow measures about 3 inches tall and about 5 and a half inches wide. The large measures about 4 inches tall and about 7 inches wide.
*This post contains affiliate links.
Supplies
- 1/4 yard of fabric. A fat quarter would also work. (Most light to medium weight fabrics will work. I used quilting cotton.)
- Matching thread
- Alligator clips
- Hot glue gun / hot glue sticks
- Iron / Ironing board
- Pins or wonder clips
Get the Pattern Here
Download the pattern for the sailor bow here. There are PDF, SVG, PNG, and EPS files available.
Don’t like the ads? Get the ad free version of this sailor bow tutorial and pattern in my Etsy shop.
**This pattern is for personal and commercial (up to 50 times) use only.
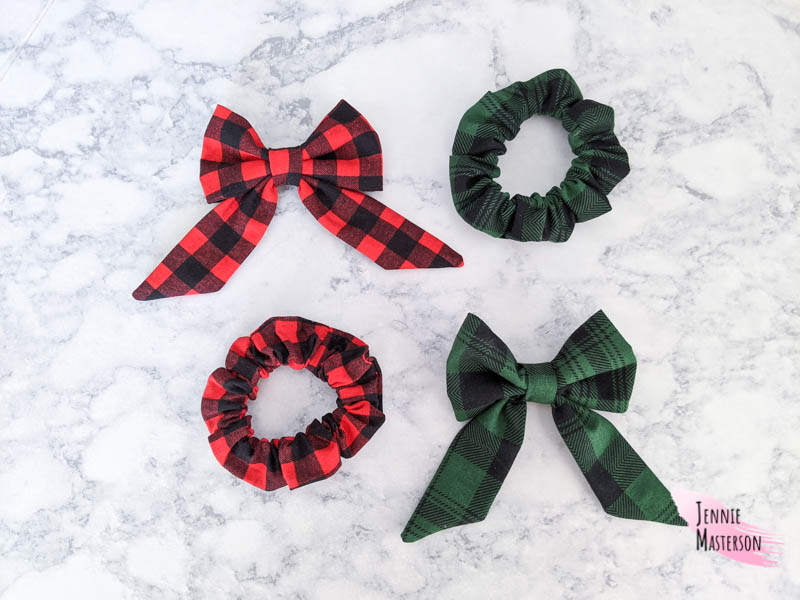
These also pair great for gift giving with a scrunchie! Check out my scrunchie pattern and tutorial.
Sewing Prep
Pre wash and iron your fabric to eliminate any wrinkles.
Cut out the fabric using the pattern pieces. Once it’s cut, you should have one bow piece, one tail piece and one tab piece.
Take the tab piece and fold one long side over to the center half an inch. Then fold the other side over until it overlaps the first fold by a quarter inch.
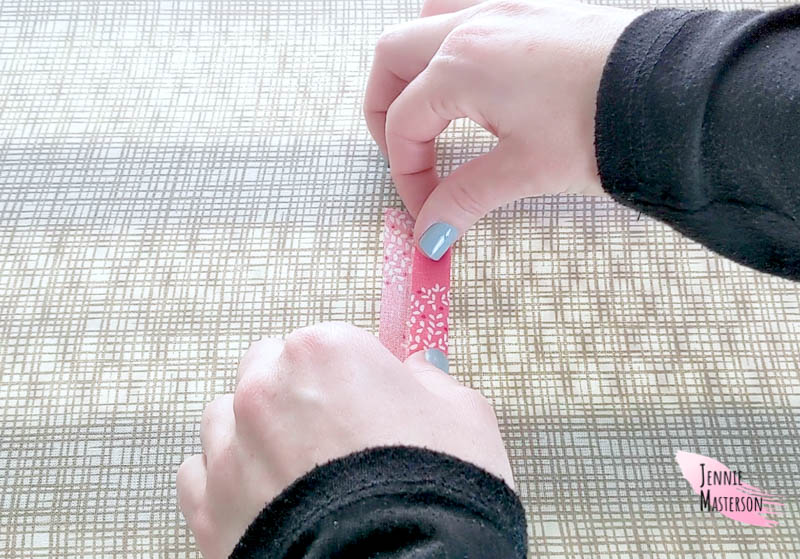
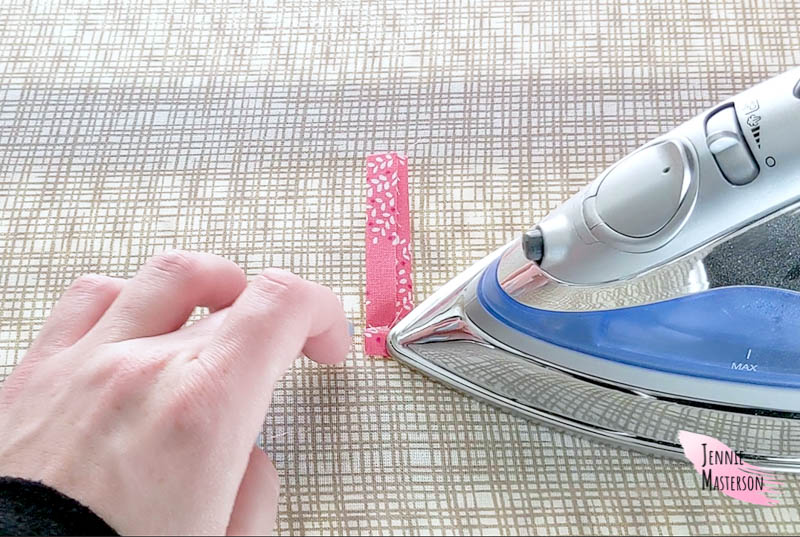
Iron the folded sides in place.
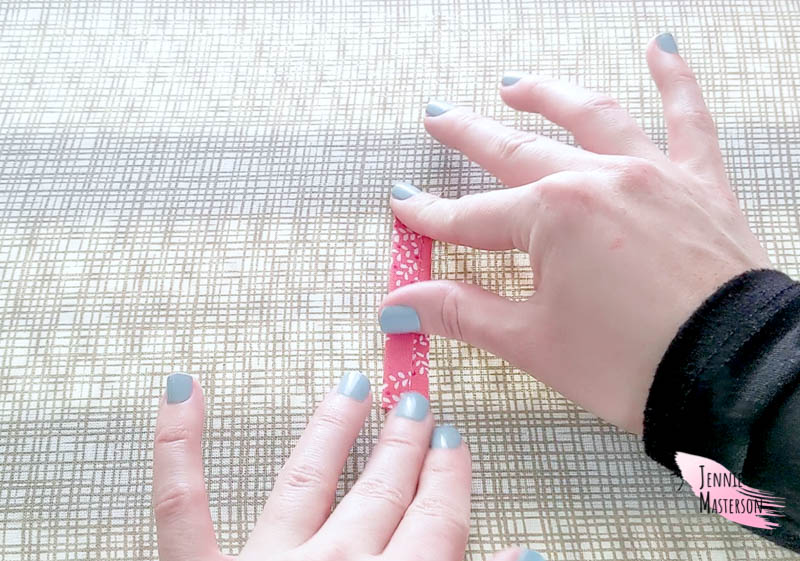
Fold the bottom of the tab piece up about a quarter inch and iron it in place.
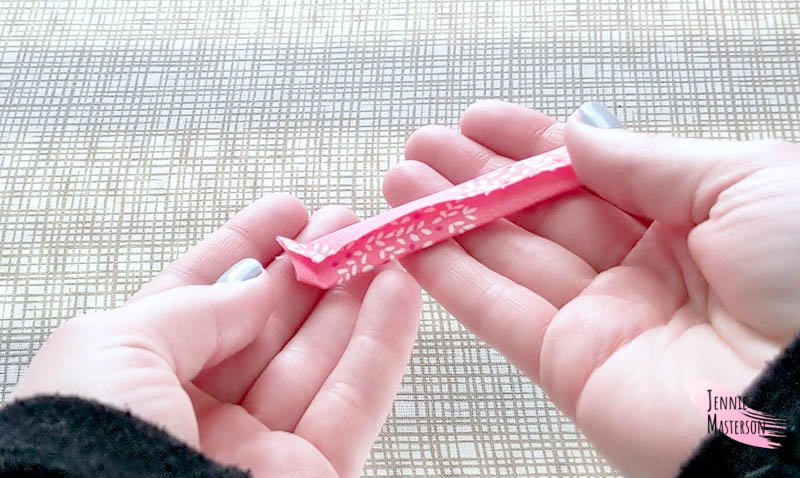
This is what you should have after you’re finished ironing. (The quarter inch you just ironed won’t stay flat and that’s okay.)
Take your bow piece and fold it in half long sides together with right sides together. Pin it so that it stays in place. Leave a two inch gap in the center.
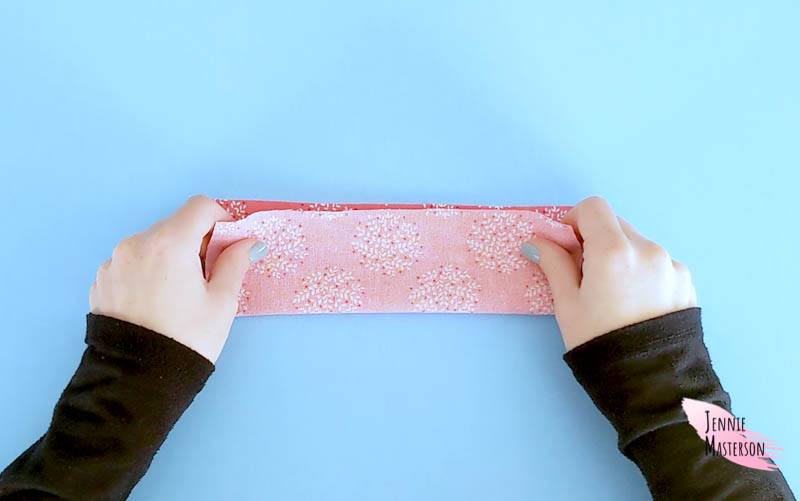
Repeat the bow folding and pinning steps with the tail piece.
Sewing the Sailor Bow Pieces
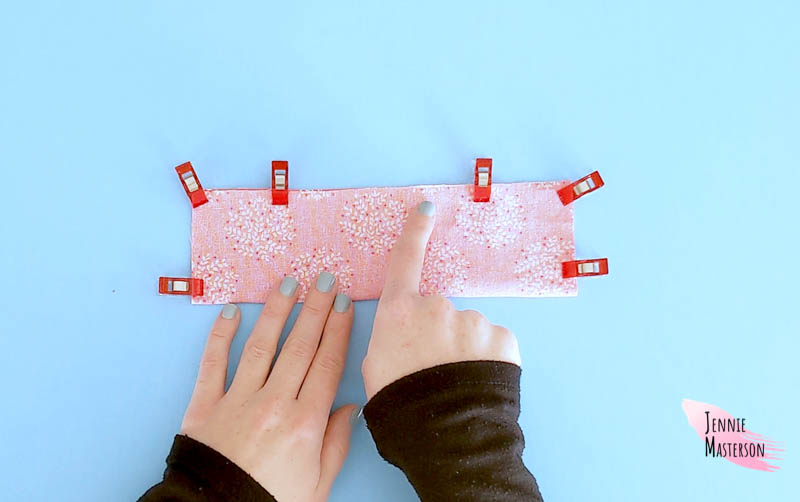
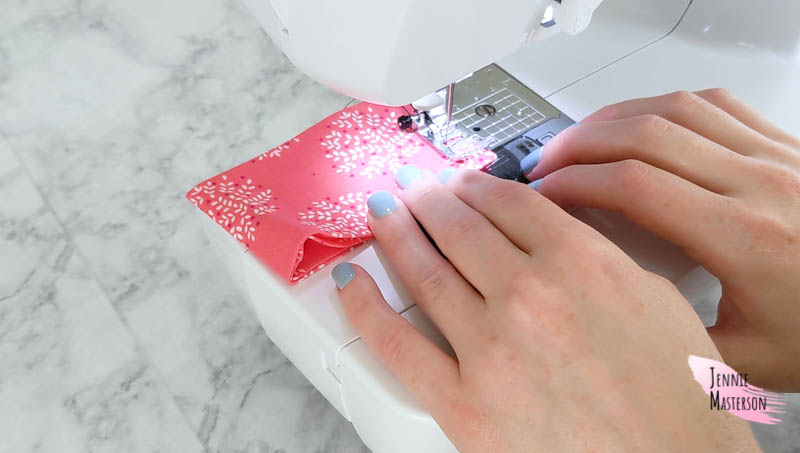
Using a 1/4″ seam allowance sew the bow and tail pieces up one side, skipping two inches at the top center, then sewing down the other side.
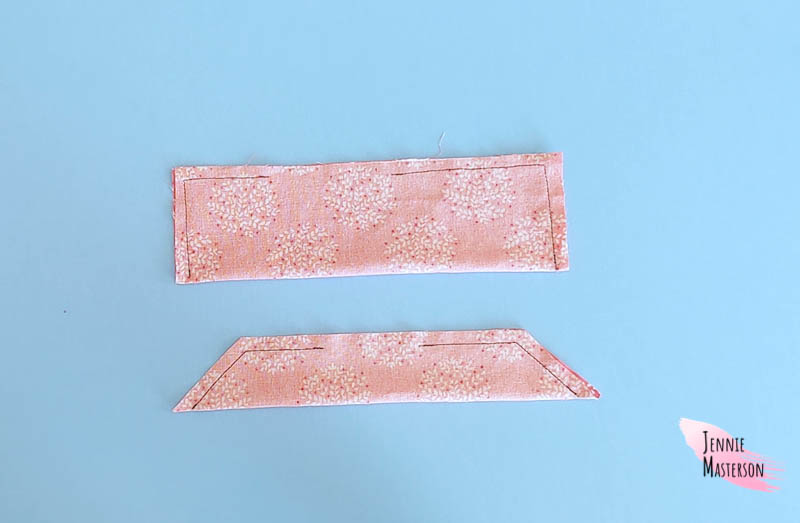
After you’ve sewn the bow and tail pieces this is what they should look like. There should be a gap on both pieces so that you can turn them right side out.
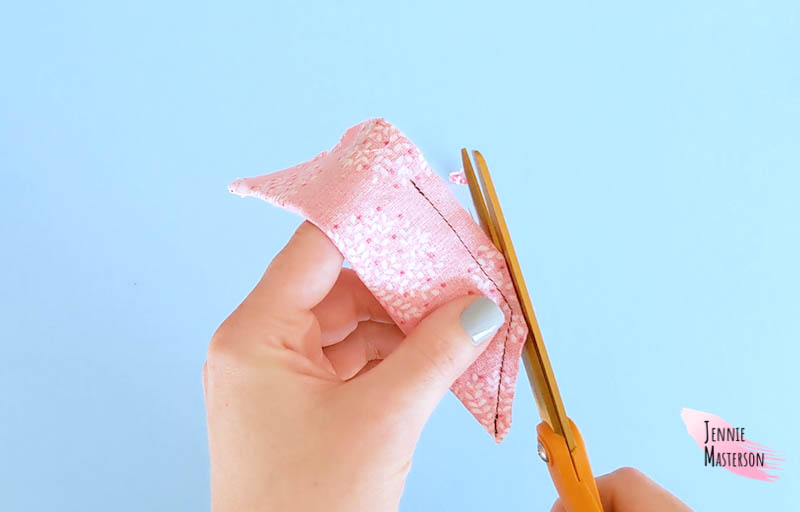
Clip the all of the seam allowance corners on the bow and tail pieces. (Don’t cut through your stitches.)
Turn the bow and tail pieces right side out through the two inch gap and iron them flat. (You can use a blunt object, such as the back end of a pen, to help push the corners out if needed.)
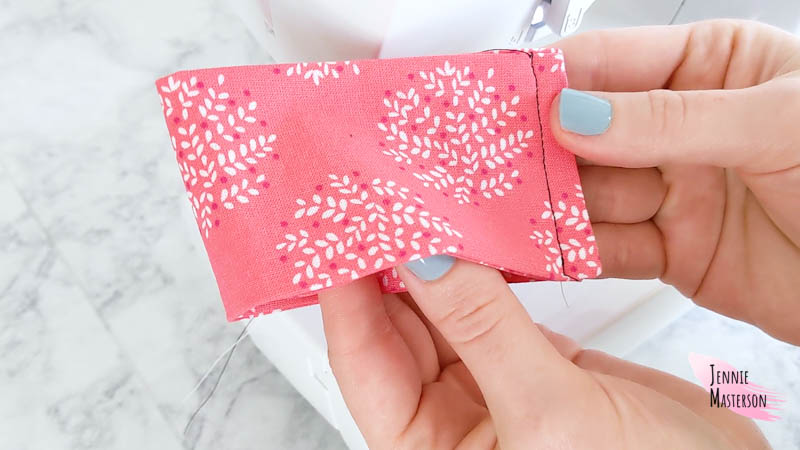
Take the bow piece and fold it in half short sides together. Sew down the side that has the seams using 1/4″ seam allowance. Make sure all your edges are lined up for an even bow.
You just created a loop with the bow piece and this is what it should look like.
Turn the bow piece so that the seam is on the inside of the loop. Finger press the seam open to flatten it out as much as you can.
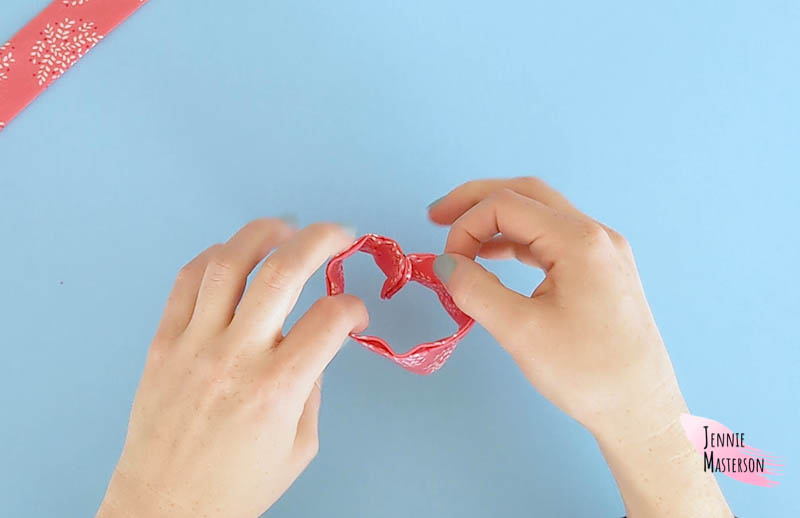
Find the center of the loop by folding it in half from the seam. Line up the seam with the center of the bow piece. (You can mark the center with a pin or finger press it to help you keep track of it.)
Repeat these steps with the tail piece so that it has a marked center too.
Assembling the Sailor Bow
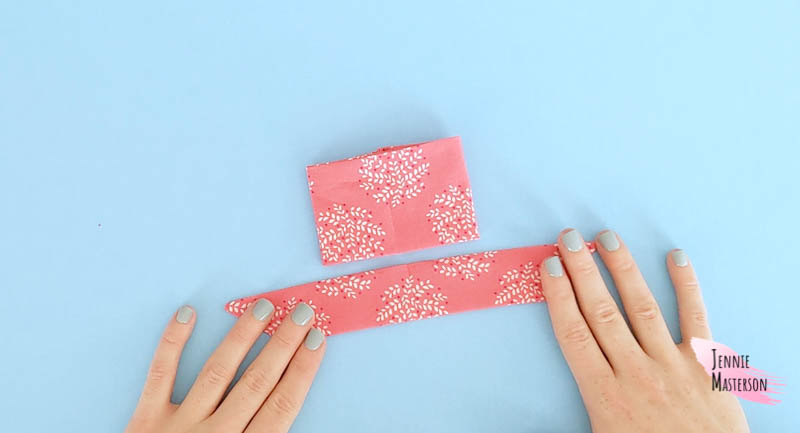
Place the bow and tail pieces flat, laying the tail piece below the bow piece and lining up the centers. (Make sure the gap from turning is facing down.)
There are two options for the next step. You can choose whichever you would like.
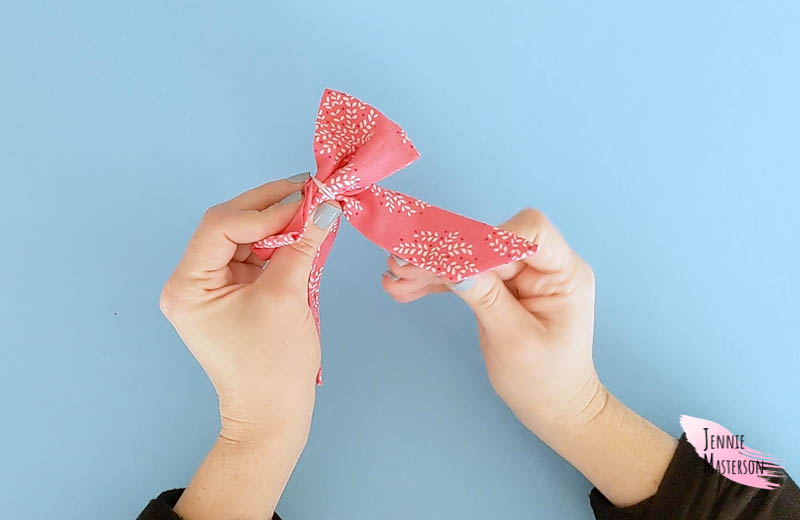
OPTION 1: Take a bit of thread and tie it tightly around the center of both pieces to make them stay together. (This is where you will see the bow take shape.)
OPTION 2: Use a hand sewing needle, sew the pieces together. Sew a few long stitches through the center of the tail piece, then through the center of the bow piece.
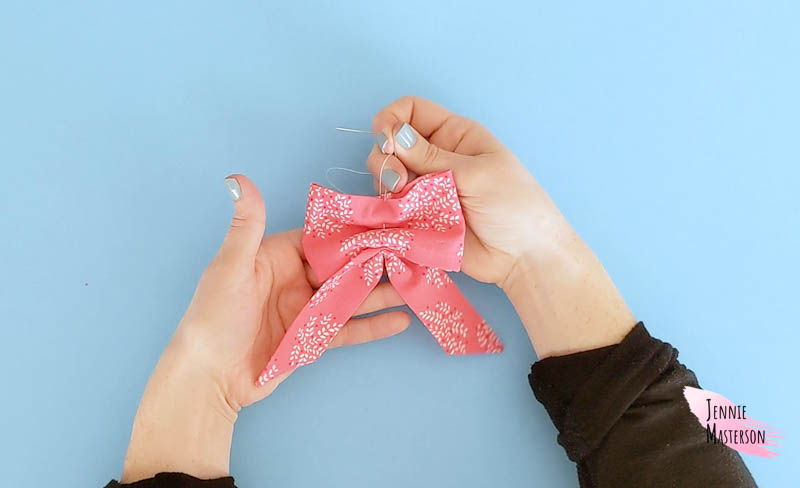
Pull tight to scrunch them up together. Then wind the thread around the center of both pieces a few times. Tuck in the excess thread behind the other threads, then snip it off.
Finishing the Sailor Bow
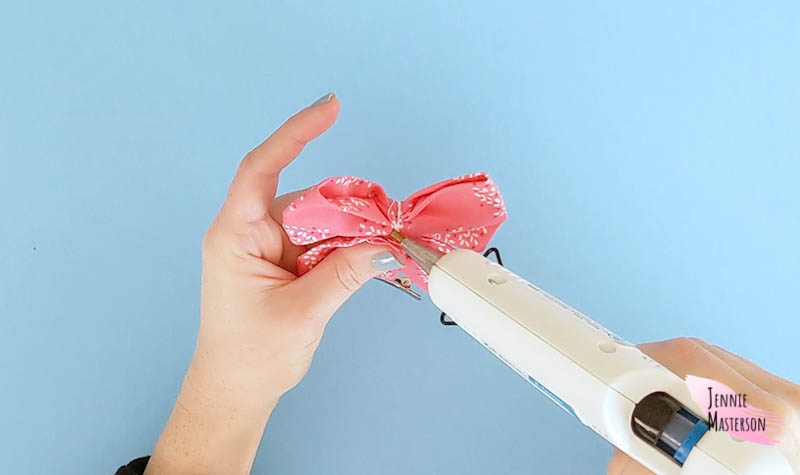
With the raw edges of the center tab piece facing up, take the alligator clip and clip it onto the tab piece right underneath the end that was ironed over a quarter inch previously. (This will leave you with a quarter inch overhang above the clip.)
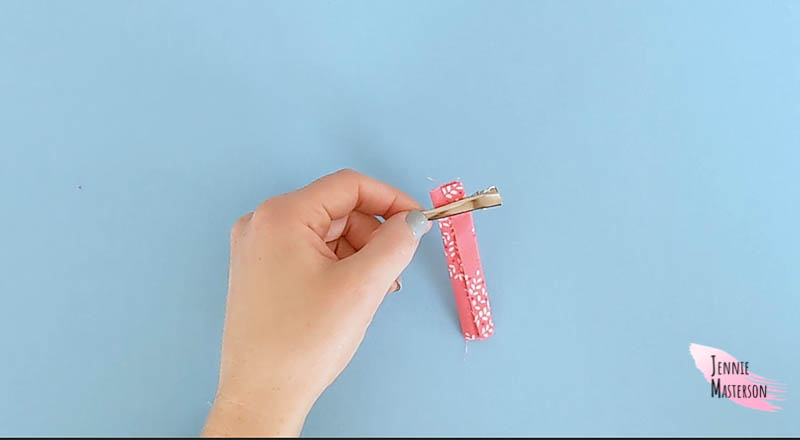
Put some hot glue on top of the alligator clip and fold the quarter of an inch overhang of fabric onto it.
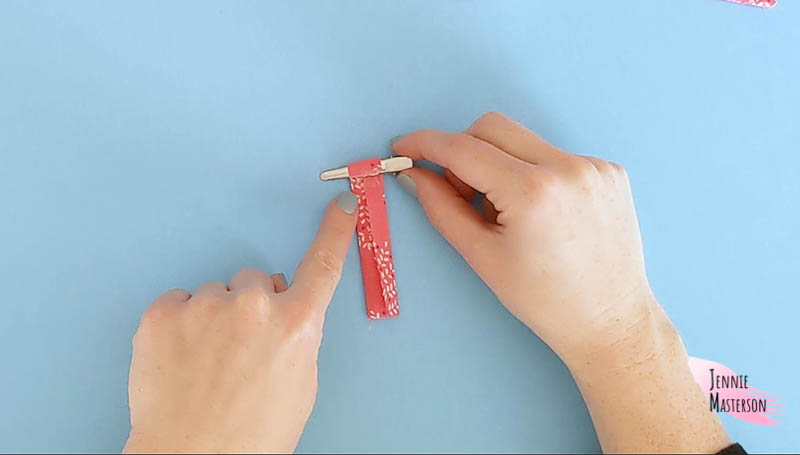
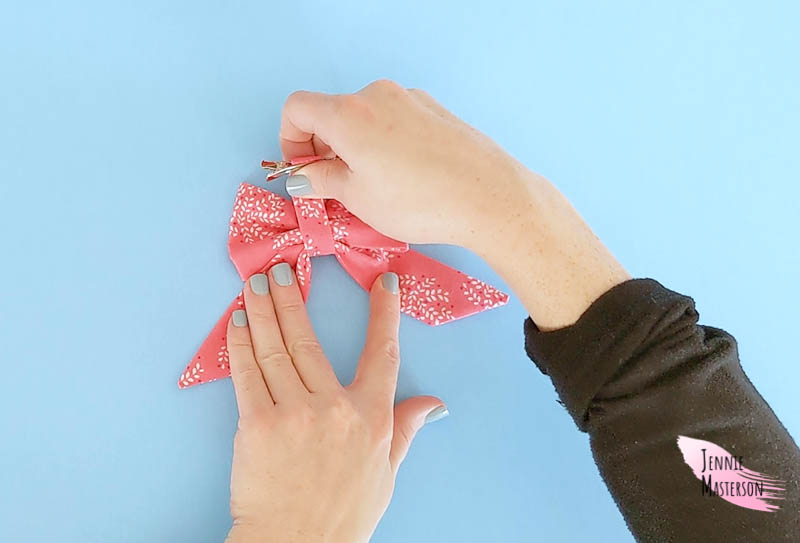
Flip the bow and tab pieces over. Vertically line up the raw edge of the tab piece with the center of the bow’s back side and hot glue it in place.
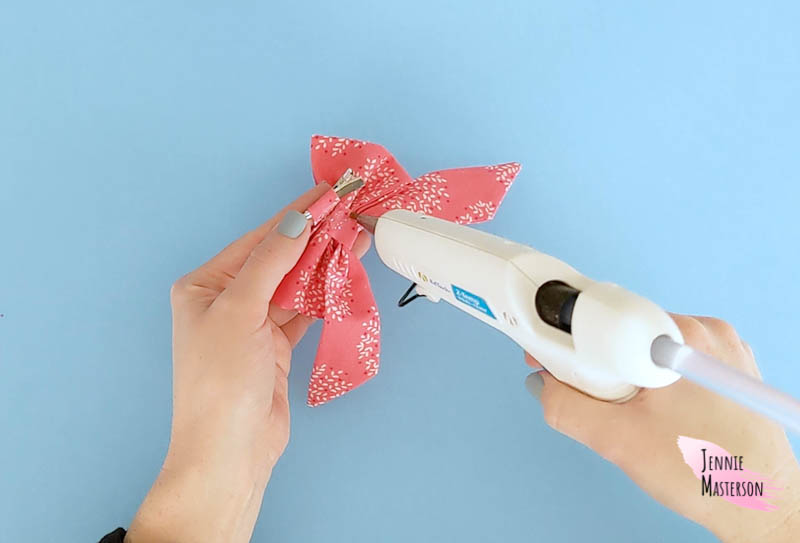
Turn the bow over and wrap that center tab all the way up the front of the bow and back around to the back side. Hot glue the remaining bit of tab piece in place on the back side of the bow.
Hold it in place a moment and let the glue cool down.
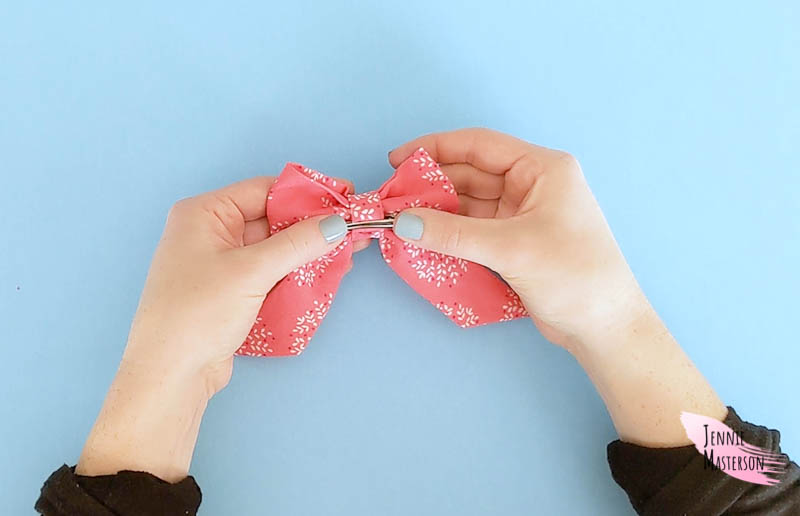
You can adjust the center tab as needed to make the bow even on both sides.
The bow is finished!
Enjoy your new sailor bows! Thank you for reading.
Looking for more hair bow and accessory patterns? I’ve got you covered! Check out the posts below.