Learn how to make your own sewing pattern weights with this easy tutorial. Free SVG included! lose the hand cramping pins and just use pattern weights.
It seems like decorative pattern weights keep popping up in the online sewing community. They look so fun and cute! I eyed them with envy for a while, but finally decided it was time I make some cute pattern weights for myself. So, using my cut machine, some tile, and a few images, I made my own pattern weights. In this post I’ll walk you through how I did it so you can make some too.
*This post contains affiliate links
Pattern weights are really easy to make and are so useful. They are to take the place of pinning a pattern to fabric. I’ve been using my pattern weights for a while now and I don’t know if I could ever go back to pinning my patterns to my fabric. Using pattern weights has really sped up my cutting out process.
Pro tip: something else that has really helped speed up my cutting out process is using a rotary blade and a cutting mat.
Pattern Weight Supplies
- Backsplash tiles (Sampler) I got mine at Lowes, but any home improvement store would probably have something like them.
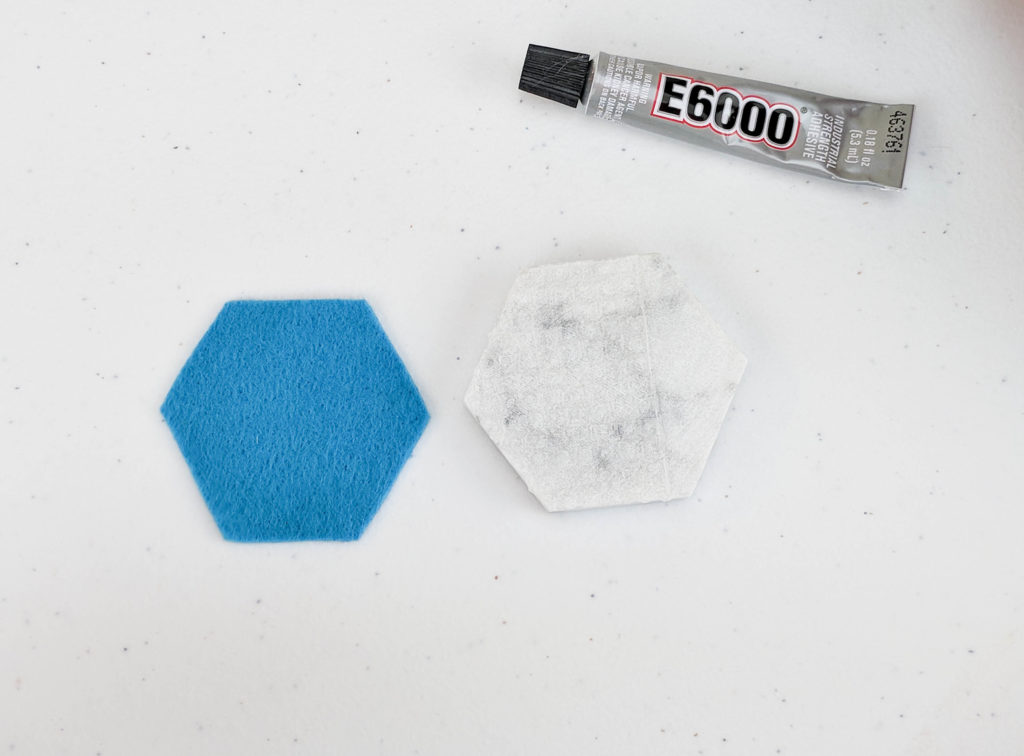
- Glue (I used E6000, however, hot glue may work as well.)
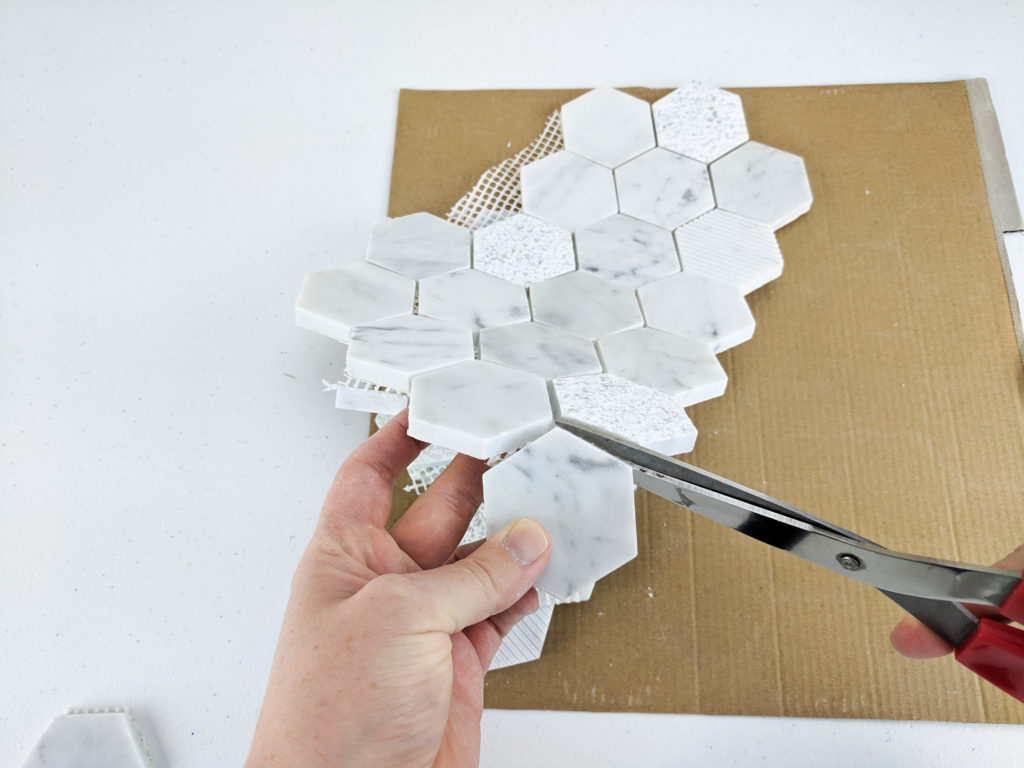
The tiles come glued together on a netting. Cut them apart.
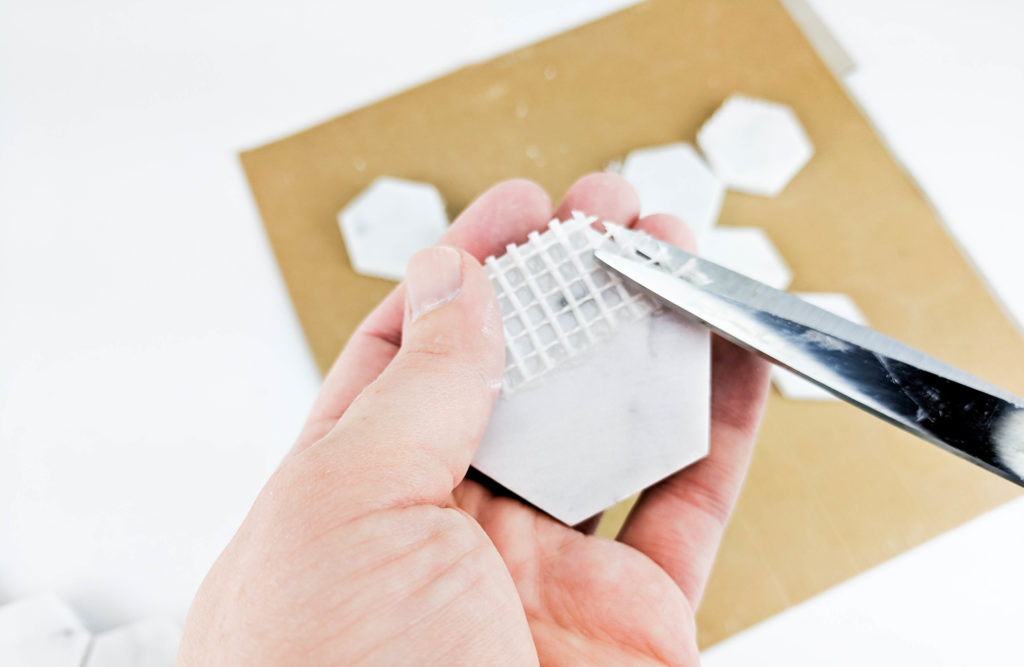
Trim off any excess netting from the tile edges.
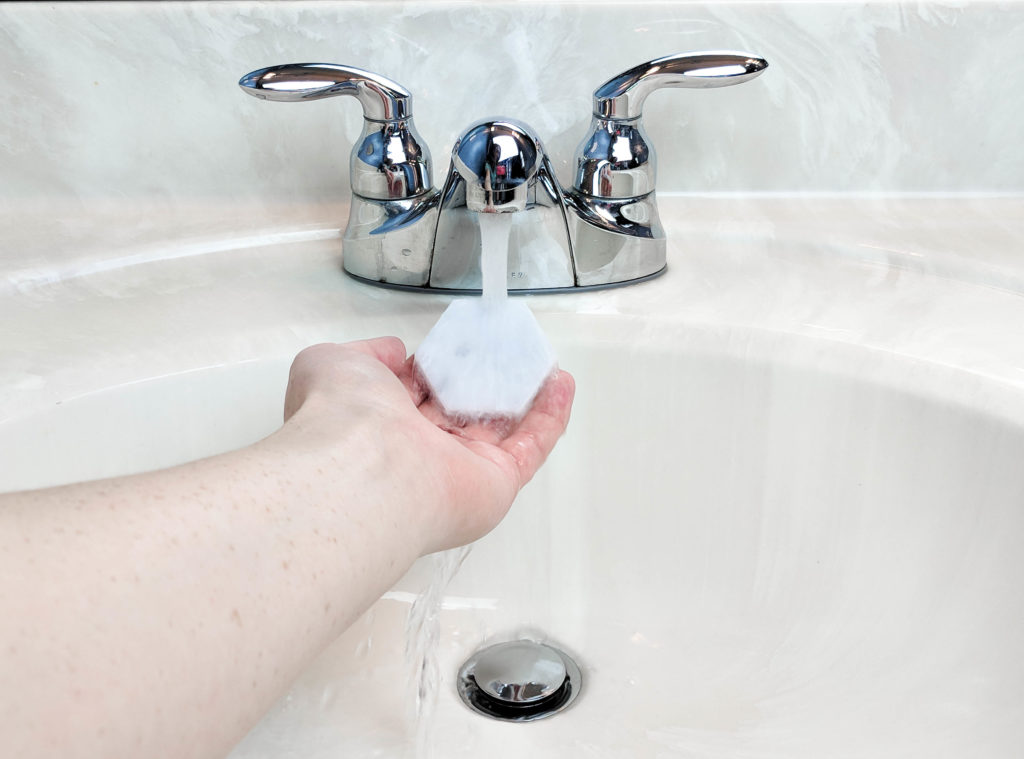
Wash the tile to get rid of any grit or net trimmings. Dry really well.
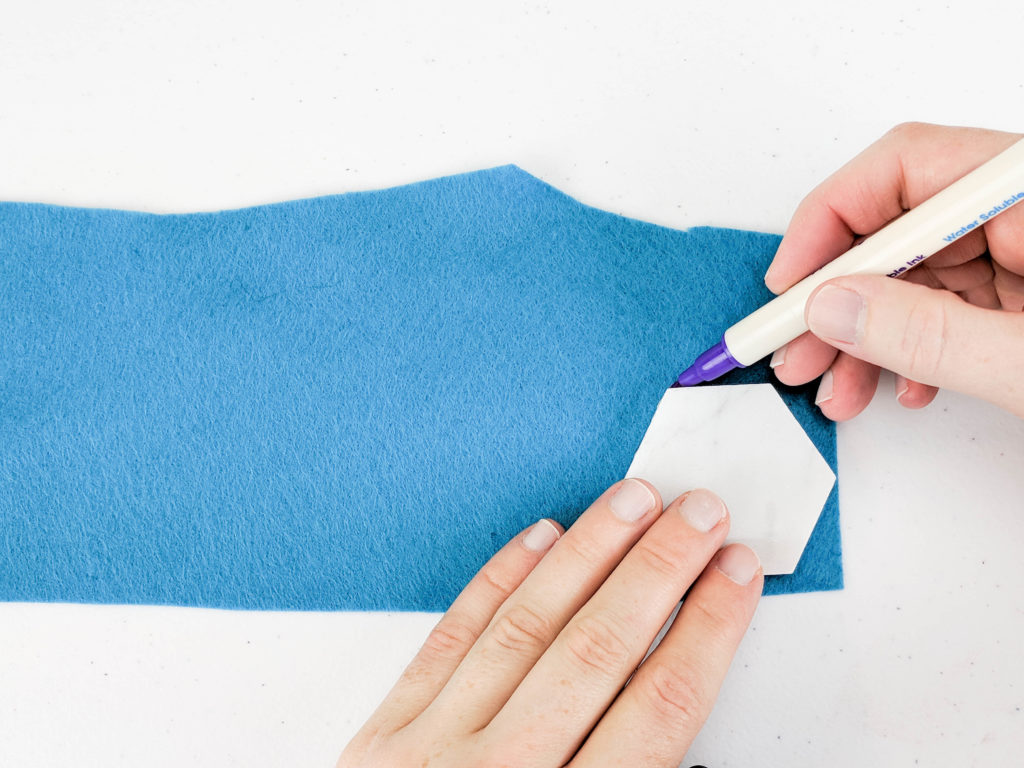
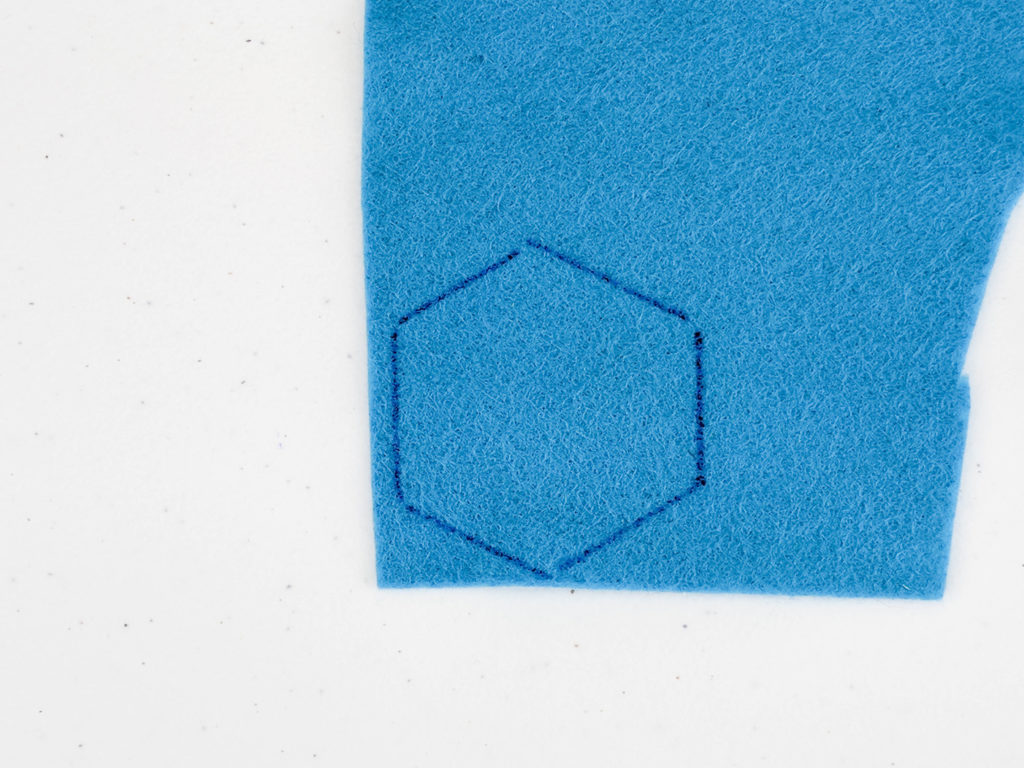
Once its dry, trace your tile onto the felt. I used a washable fabric pen so I could wash off any that got on the tile.
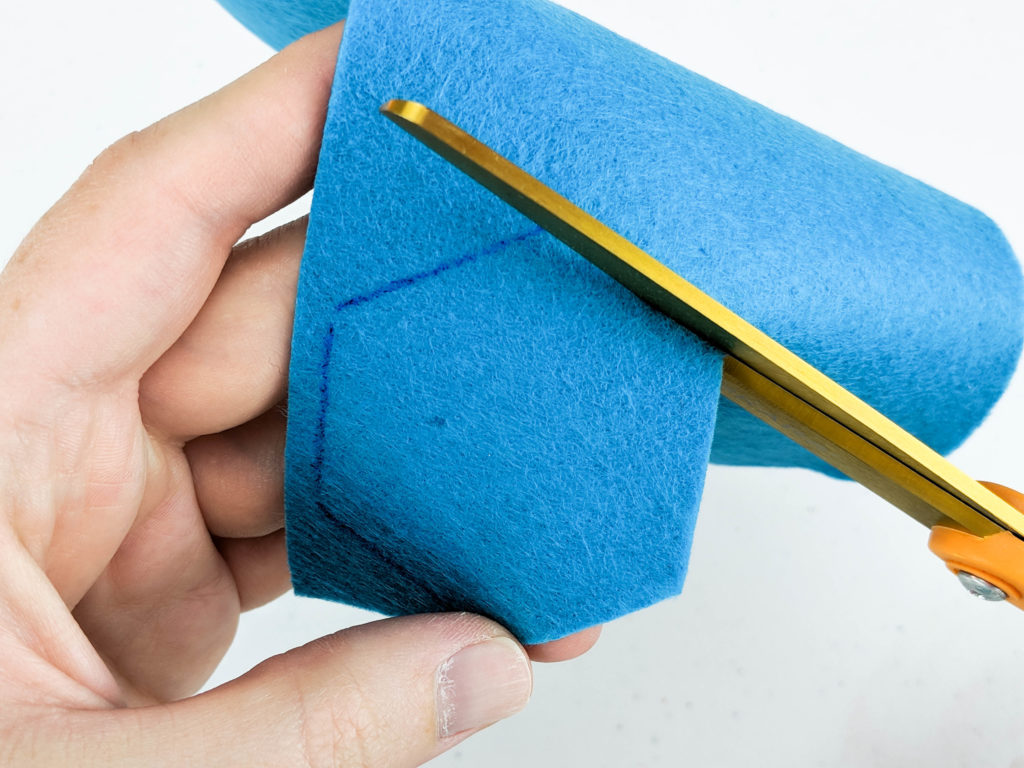
Cut out the felt just inside the lines traced.
Put some glue on the back of the tile and place your felt on top of it. (Make sure not to put too much glue on, or it will sink through the felt and get on your hands.)
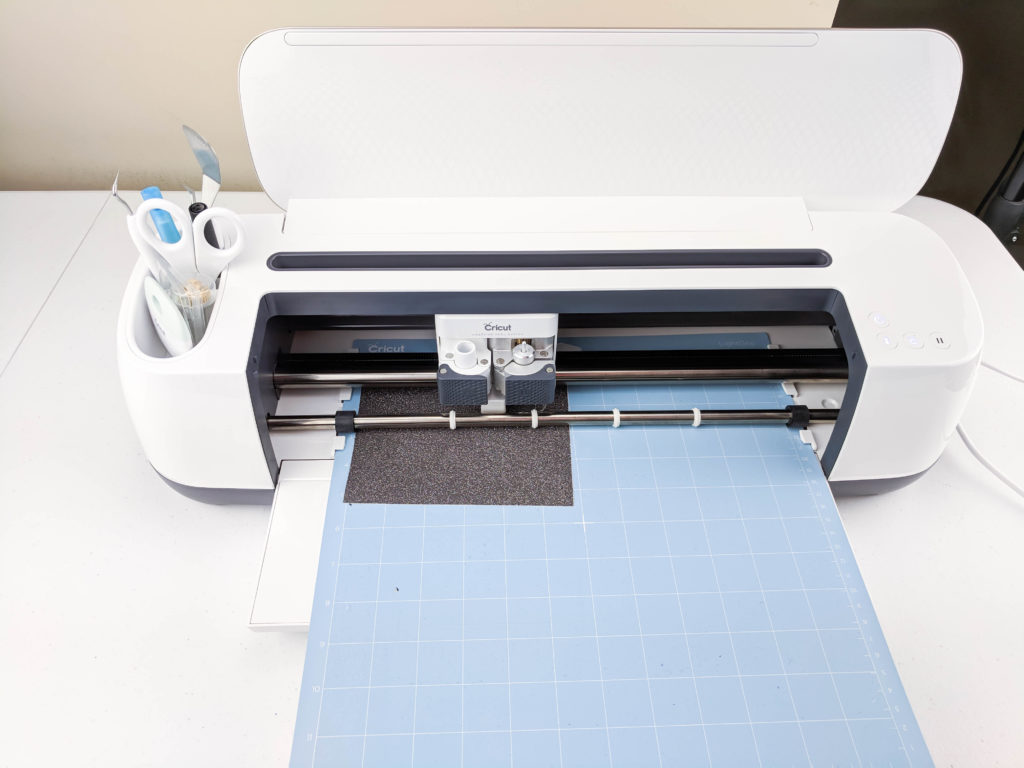
Measure the tiles to see how big your images need to be. Size your images in your design software as you want them to appear on your tile. Cut the images out using a cut machine.
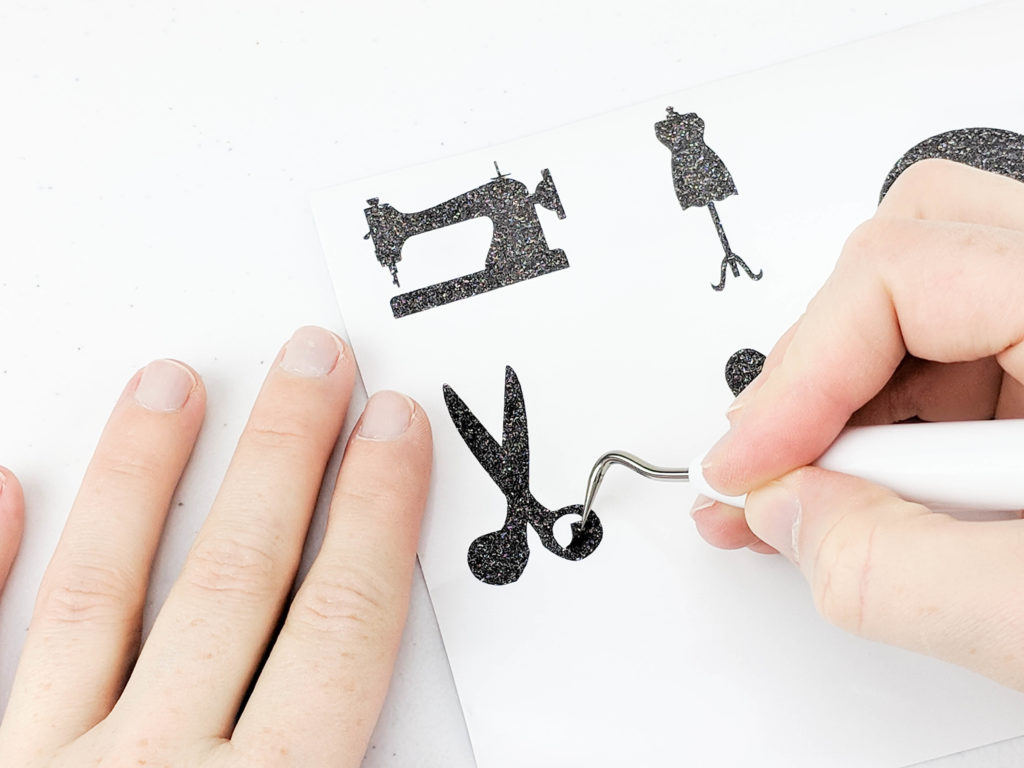
Weed out the bits of vinyl you don’t need from the designs.
Pick an image and place a piece of transfer tape on top of it press down so the transfer tape adheres the the image.
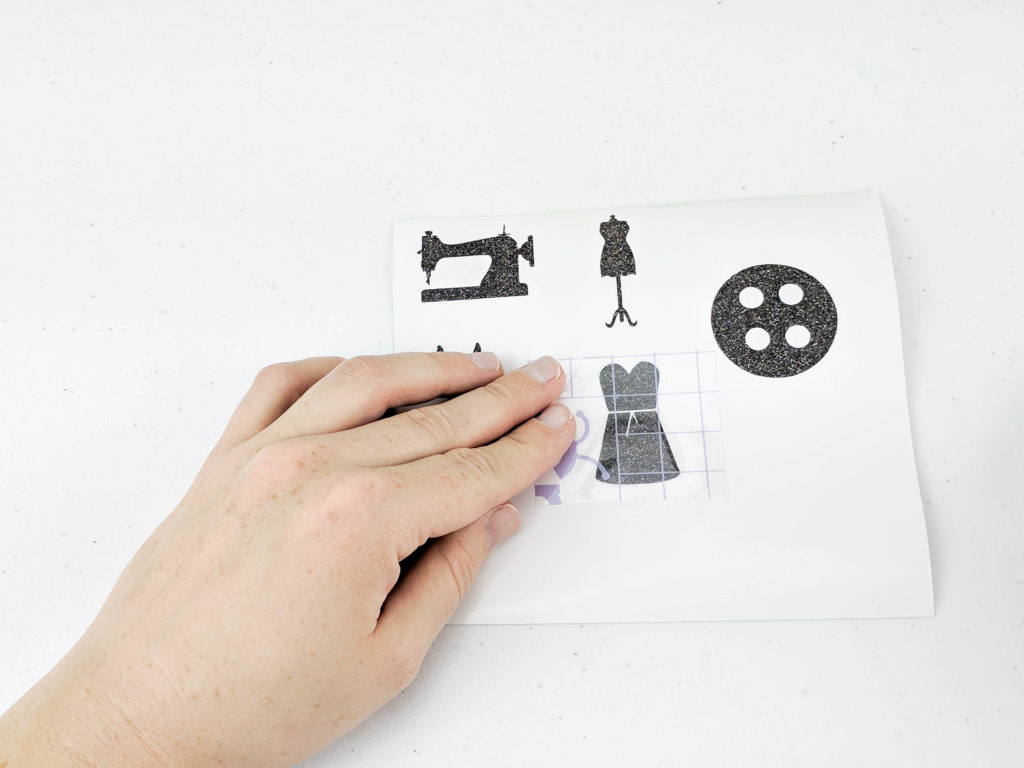
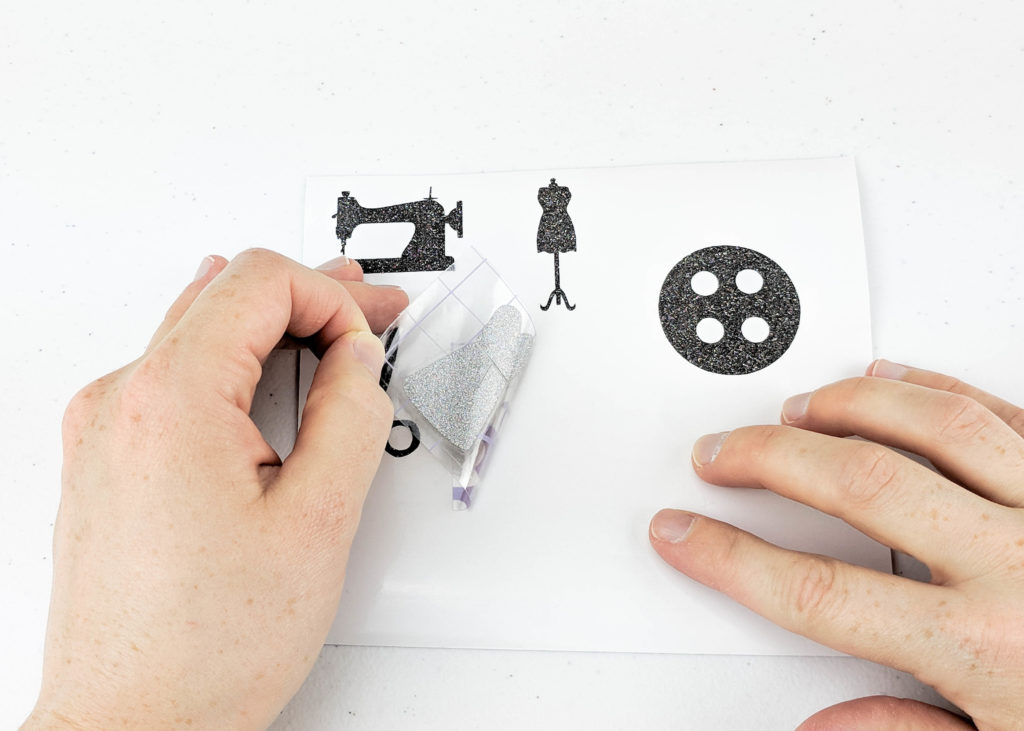
Pull up the transfer tape carefully making sure the image stuck to it.
Carefully place image on top of the tile. Once you put it down, you can’t move it so make sure you are pleased with the placement of it before you touch it to the tile.
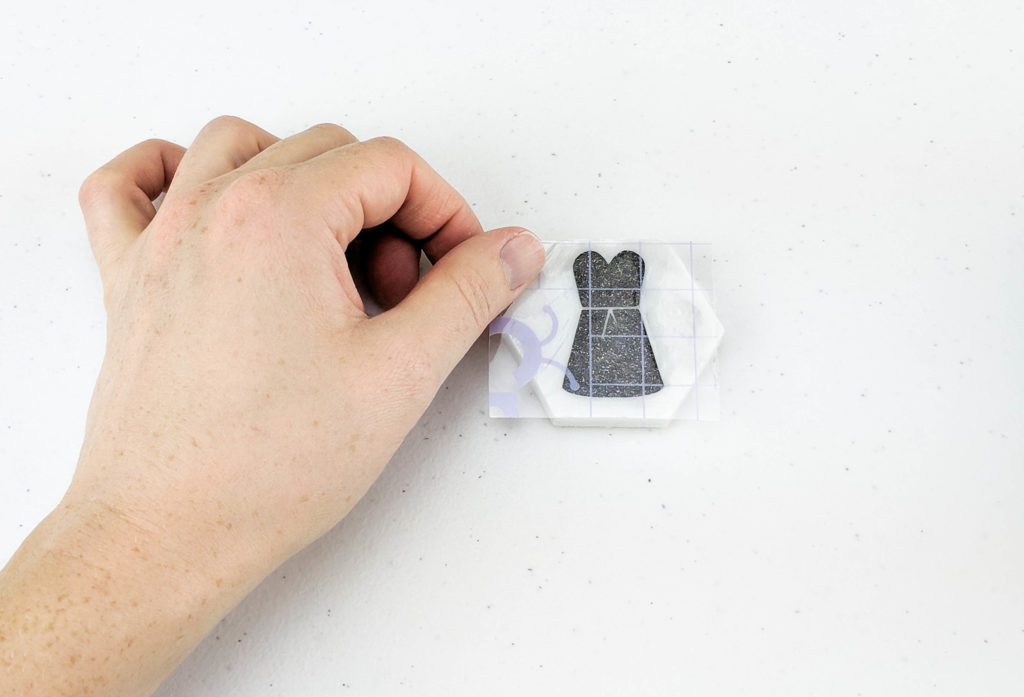
Firmly rub the image onto the tile before lifting the transfer tape, to help it stick.
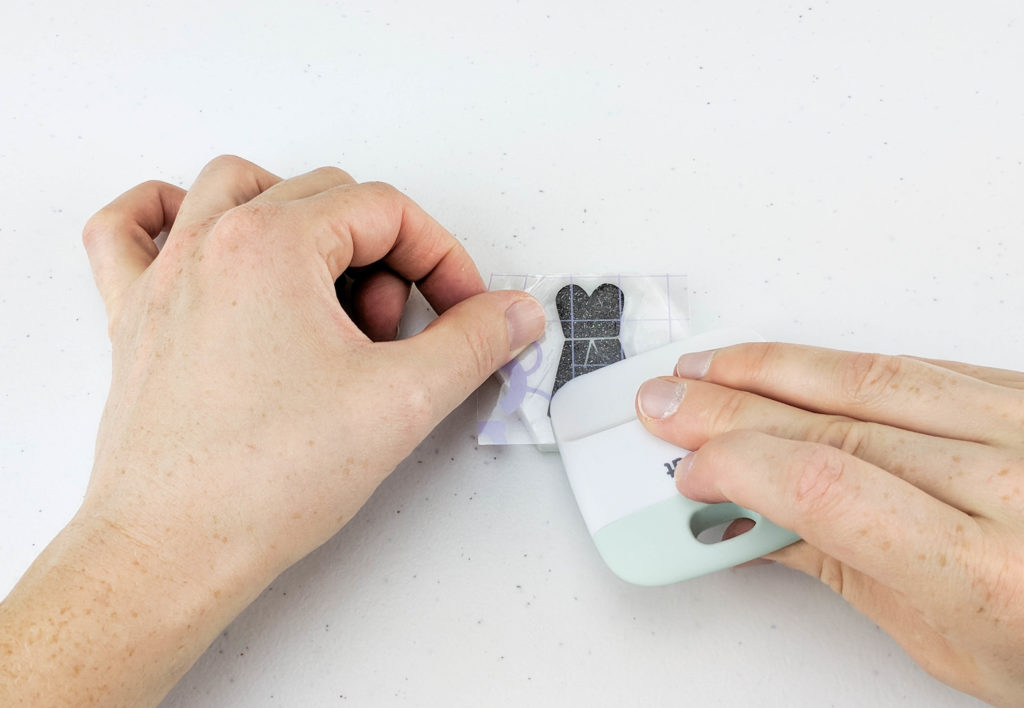
Carefully lift the transfer tape away from the tile.
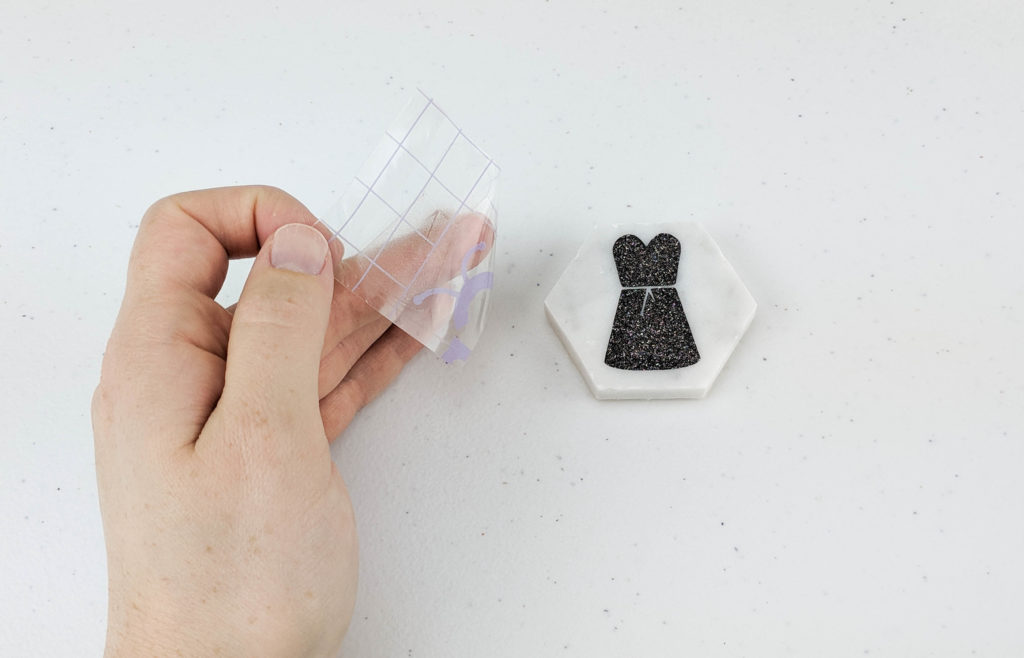
And that’s it! How cute are these?! They are so fun to use while cutting out a sewing pattern.
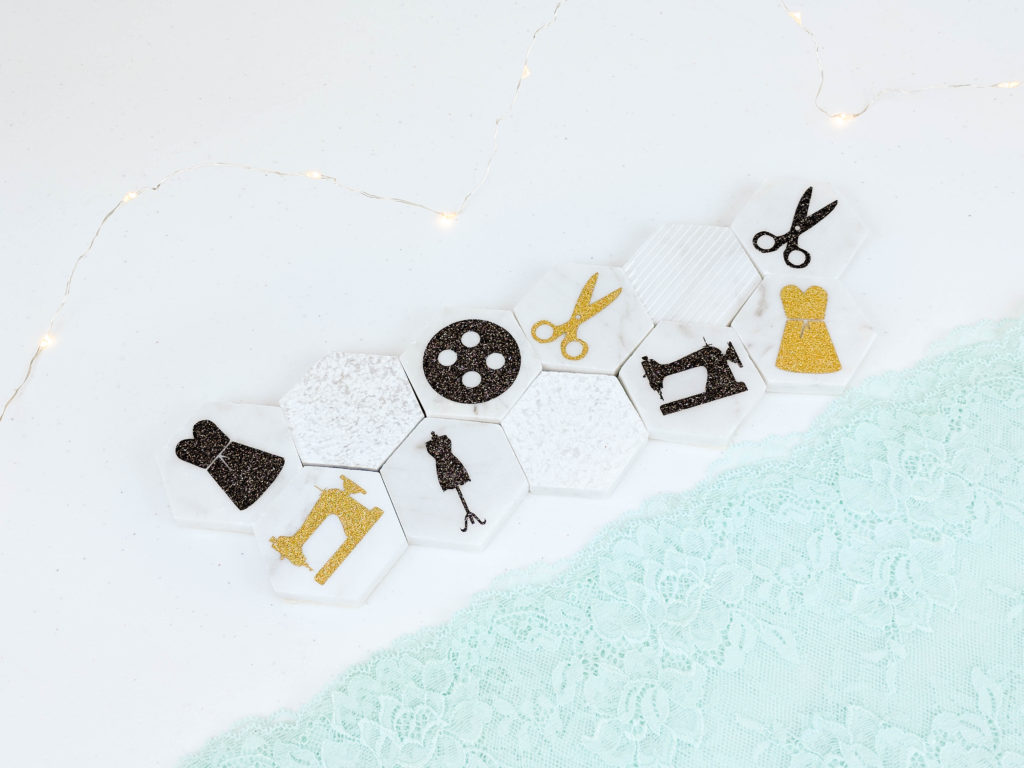
I hope you enjoy making these. Thanks for reading!
