*This post contains affiliate links.
Making Christmas ornaments is a really fun way to enjoy the Christmas season. It’s also a great activity to do with family or friends. I’m including some free winter themed SVG’s in this post so that you can also make some fun Christmas ornaments.
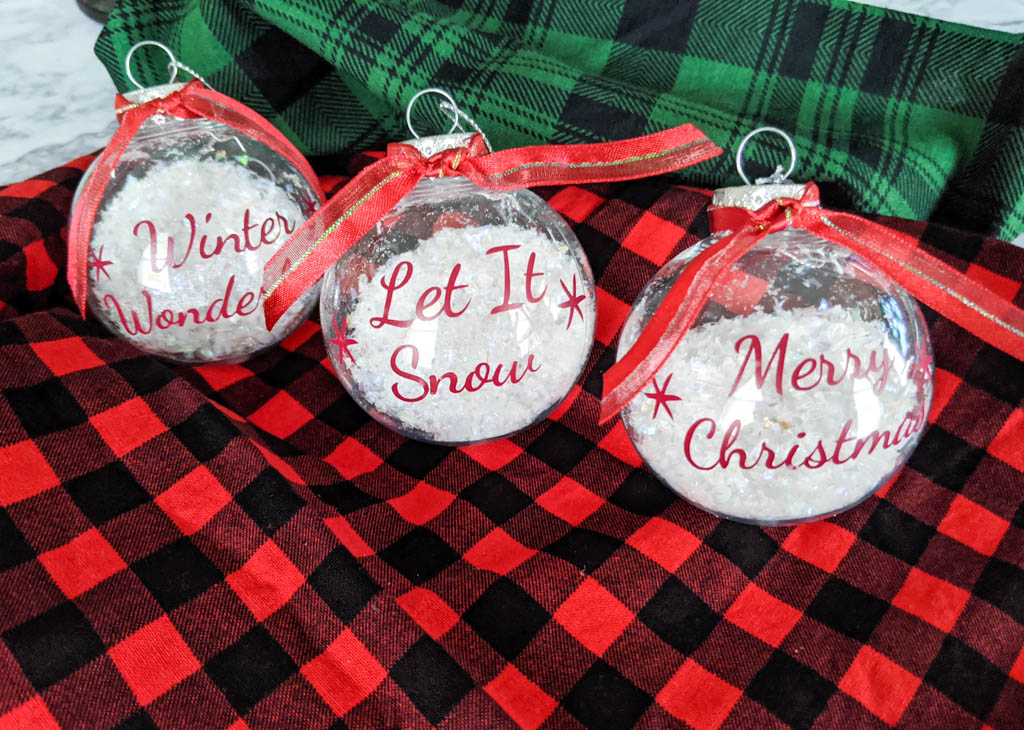
There are three different winter themed SVG options:
“Let it snow”,
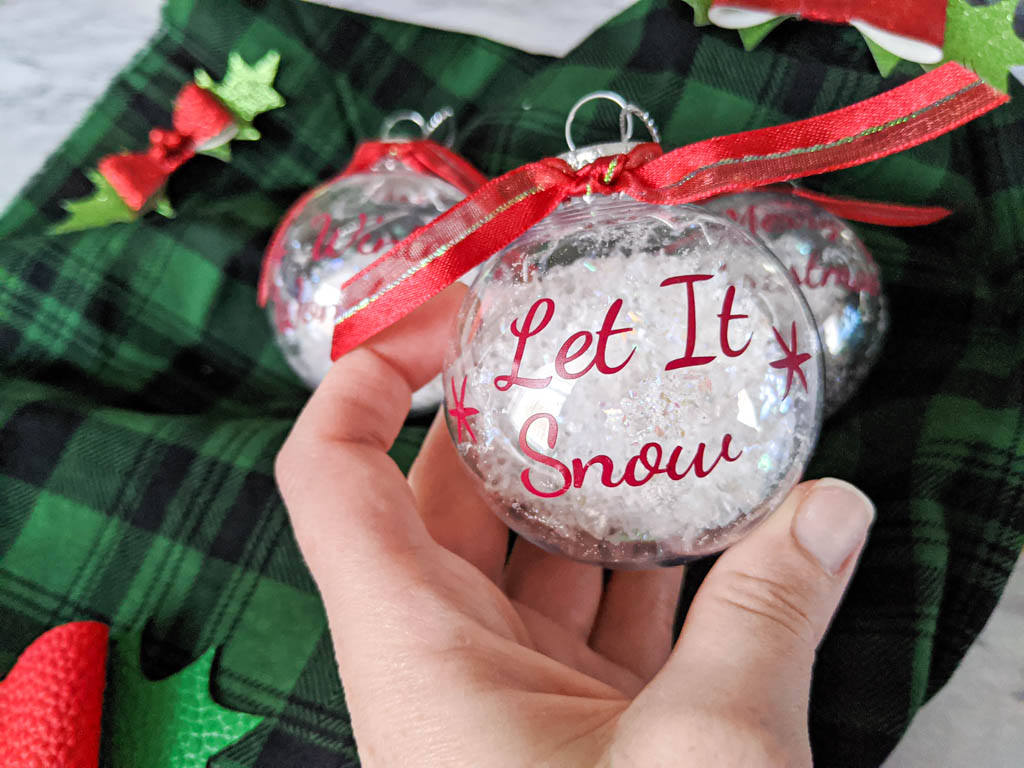
“Winter wonderland”,
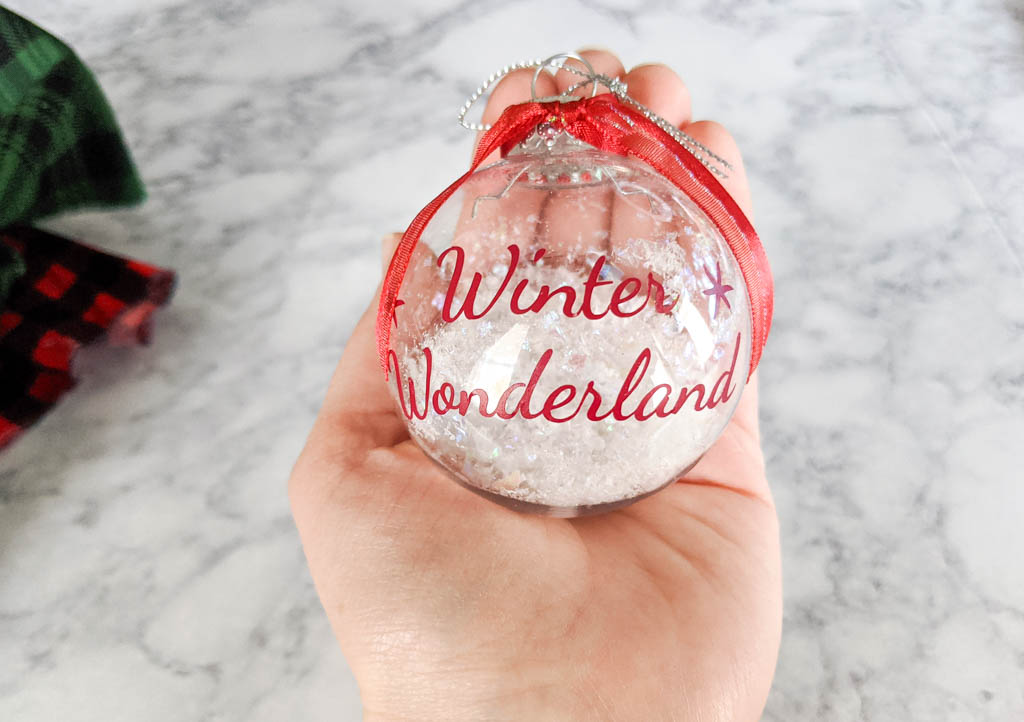
and “Merry Christmas”.

I’m linking to several of the supplies I used to make these ornaments, However, you can also find most of these things at the dollar store.
Supplies
- Clear ornaments (You can use glass or plastic.)
- Vinyl
- Transfer tape
- Weeding tool
- Faux snow
- Ribbon
- Scissors
- Glue (Optional)
- Scrap piece of paper (Optional)
Get the Files Here
Click the pink button above to access the free SVG files.
*These files are for personal and commercial (up to 50 times) use only.
Looking for more DIY ornaments? Check out these candy cane ornaments.
Filling the Ornament
Open the ornament by pulling it’s lid off. Take a scrap piece of paper and roll it up to act as a funnel for the ornament.

Pour faux snow into the ornament using the paper funnel to prevent spilling. I filled my ornaments to about a third of the way full. You can fill the ornament as much as you would like.
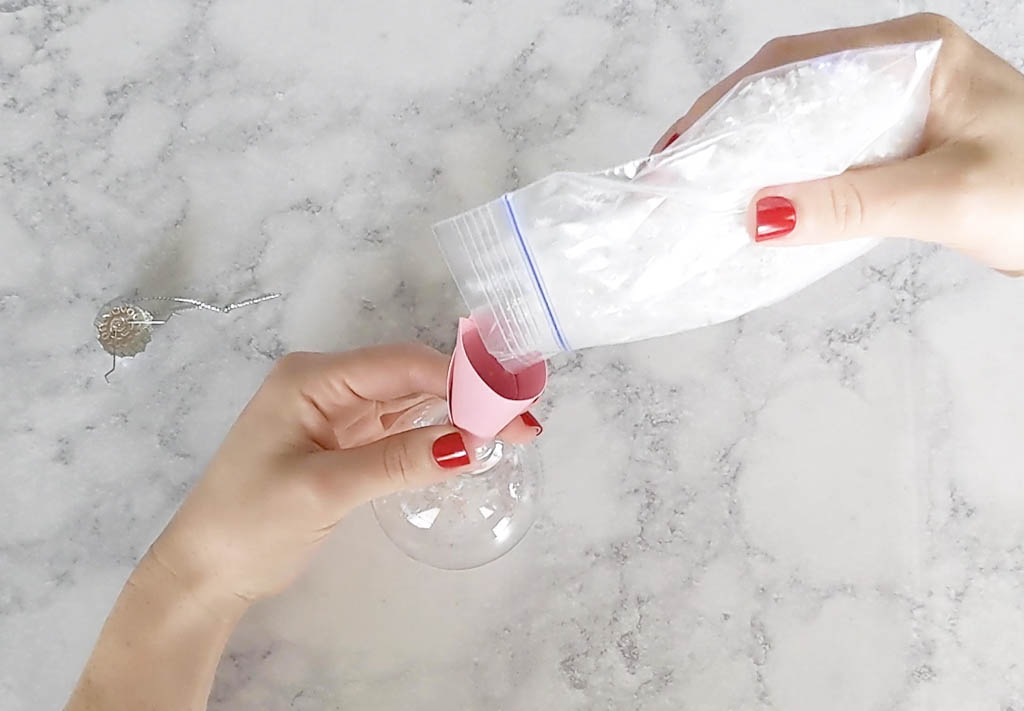
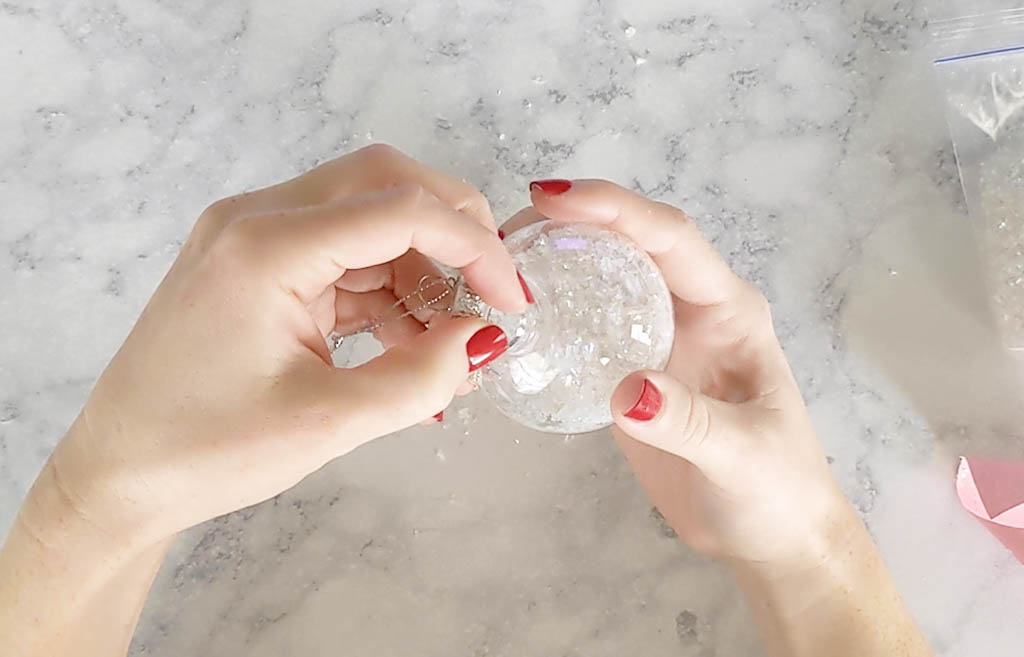
Place the lid back on the ornament and clear your workspace of any spilled faux snow.
Cutting the Vinyl
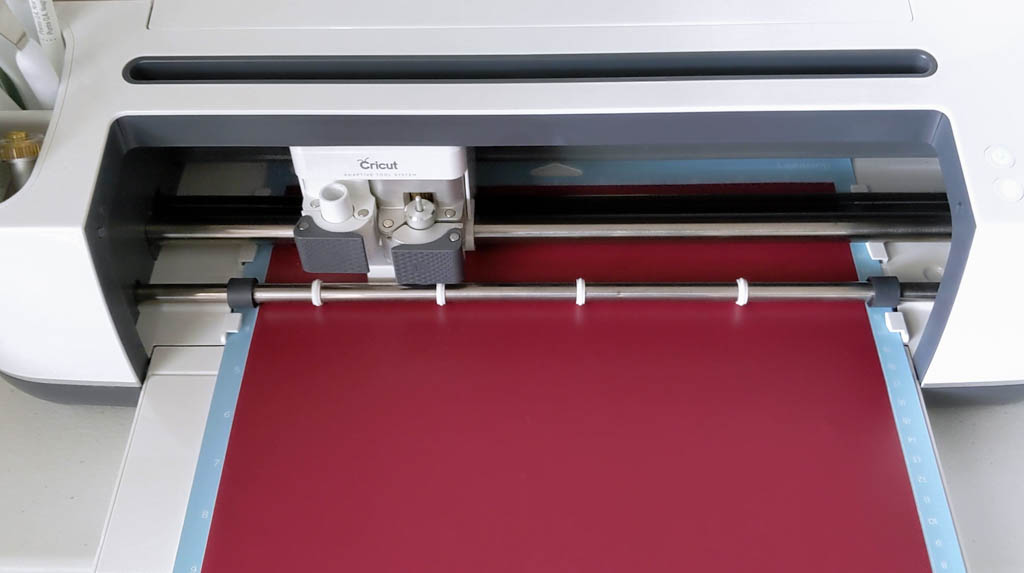
Load the SVG into your cut machine software. If you’re using Cricut design space, “attach” the SVG so it cuts properly. Select the material type and send it to cut.

Place the vinyl onto the cutting mat and load it into the cut machine. Cut the vinyl.
Adding the Vinyl to the Ornament
If you used a larger sheet of vinyl, cut it down to size so you can save the rest for other projects. Weed out all the excess vinyl that isn’t part of the design.
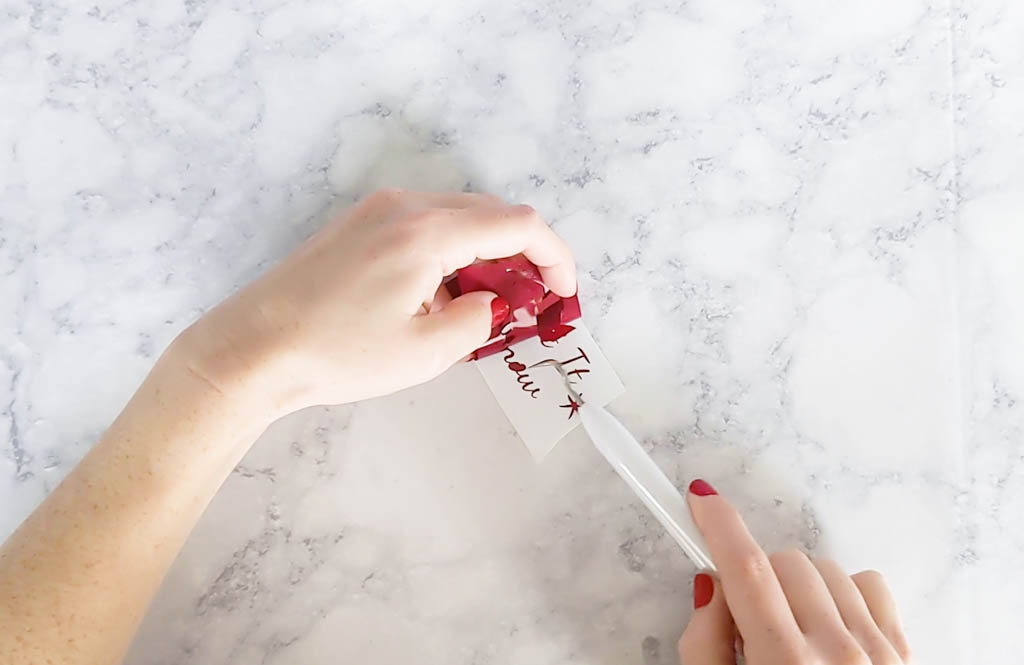
Cut a piece of transfer tape to fit the design. Peel the backing from the transfer tape and place it sticky side down on top of the vinyl. Rub the letters to help the vinyl stick to the transfer tape.
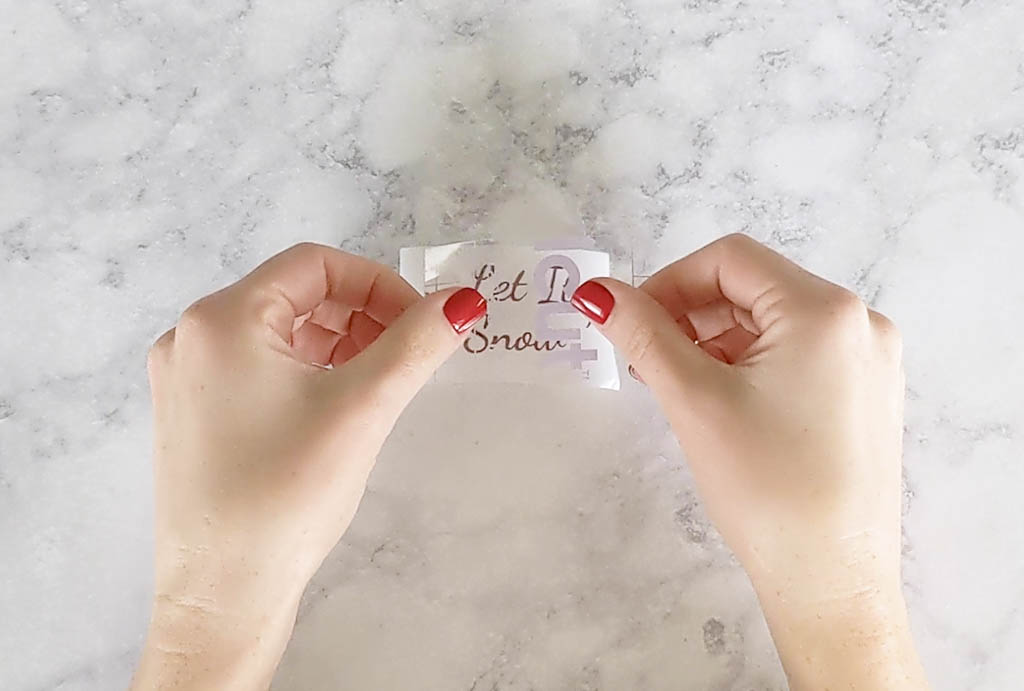
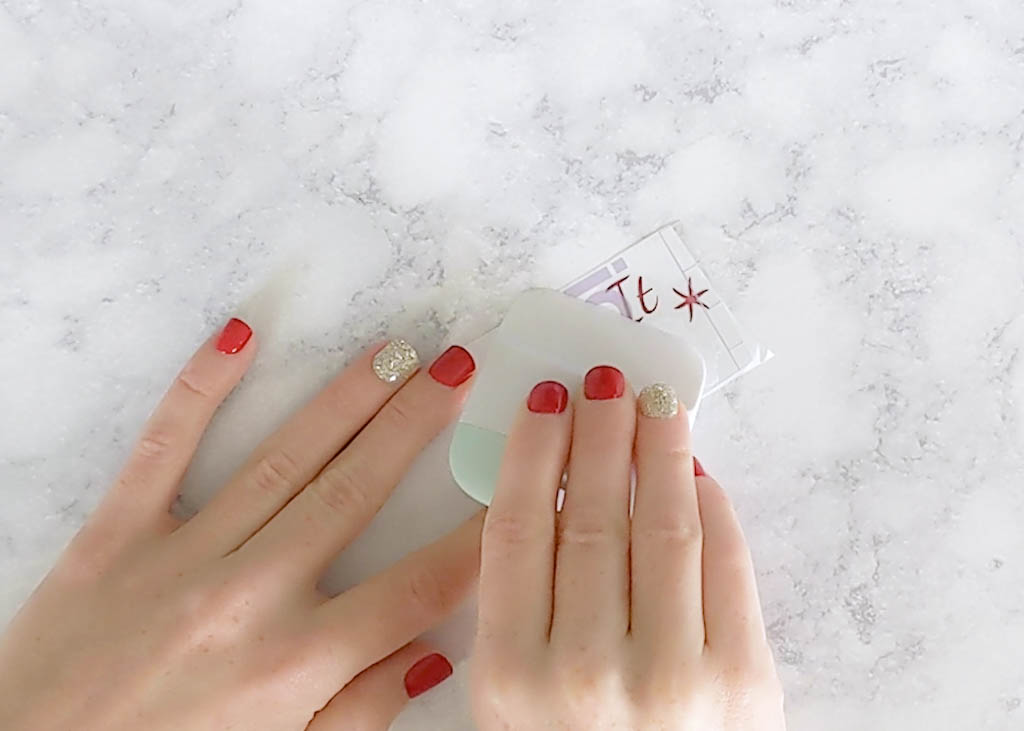
Peel the transfer tape from the vinyl’s backing. The vinyl should come up with the transfer tape.
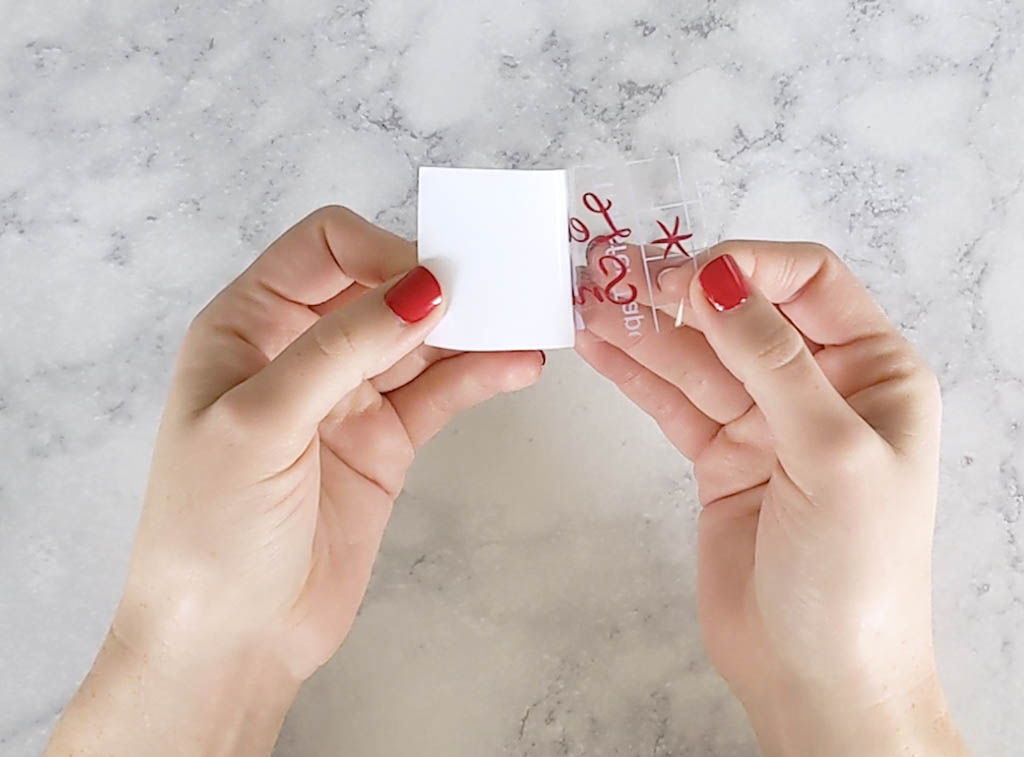
Line up the vinyl design with the center of the ornament.
Tip: If you are using plastic ornaments, try to keep the ornament seams on the sides of the vinyl so they aren’t as noticeable.
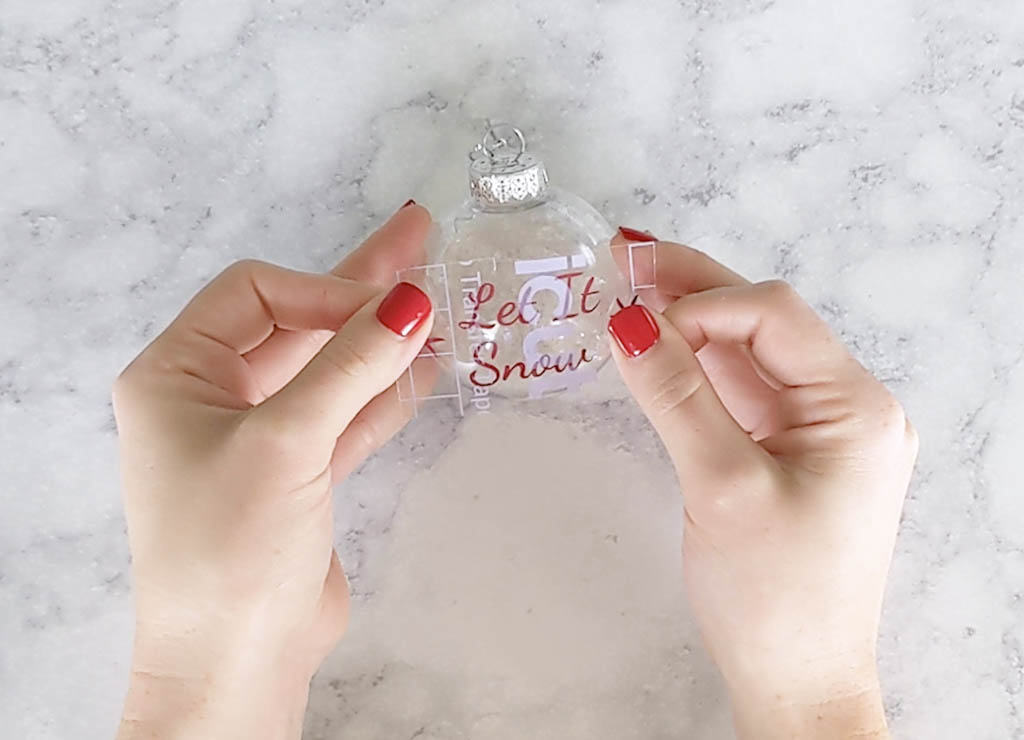
I found the next step to be easier if you work with it in sections. For example: Press down the word “let” and peel up that section of the transfer tape, then press the word “it” and peel up that section of the transfer tape, and then do the same thing with “snow.” Peeling up after every word instead of trying to do the whole phrase at once.
This part is a little tricky because the vinyl is delicate and the transfer tape will try to cling to the vinyl. Work slowly and gently so you don’t rip the vinyl.

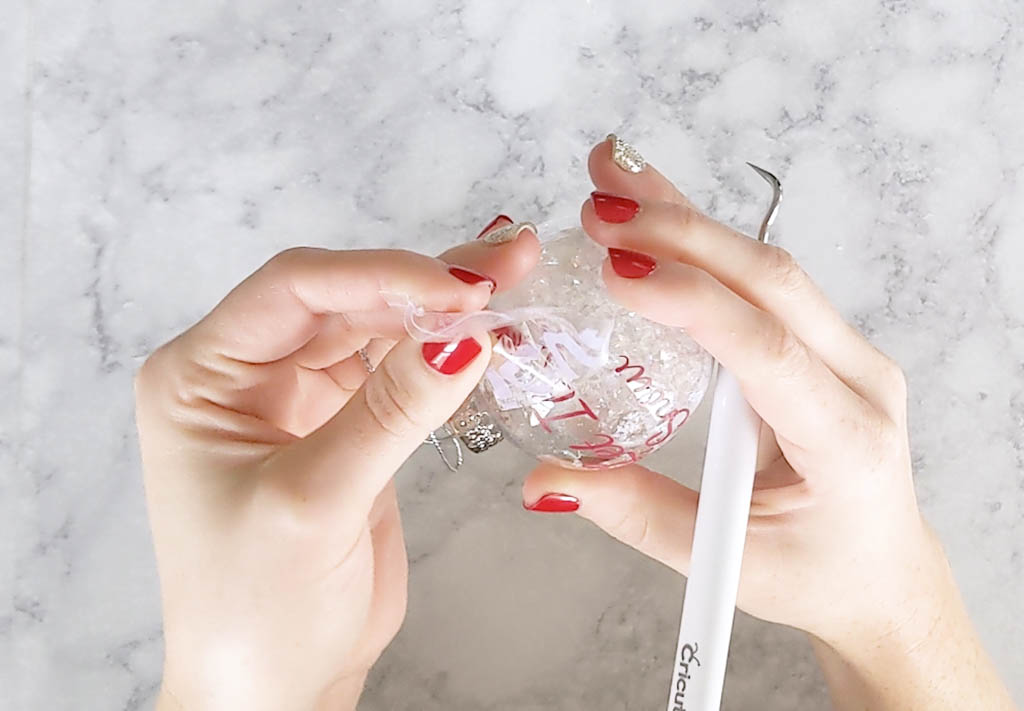
Tip: I used my weeding tool to help keep things in place as I peeled the letters up. I also used it as a burnishing tool to help the vinyl cling to the ornament.
Adding the Bow
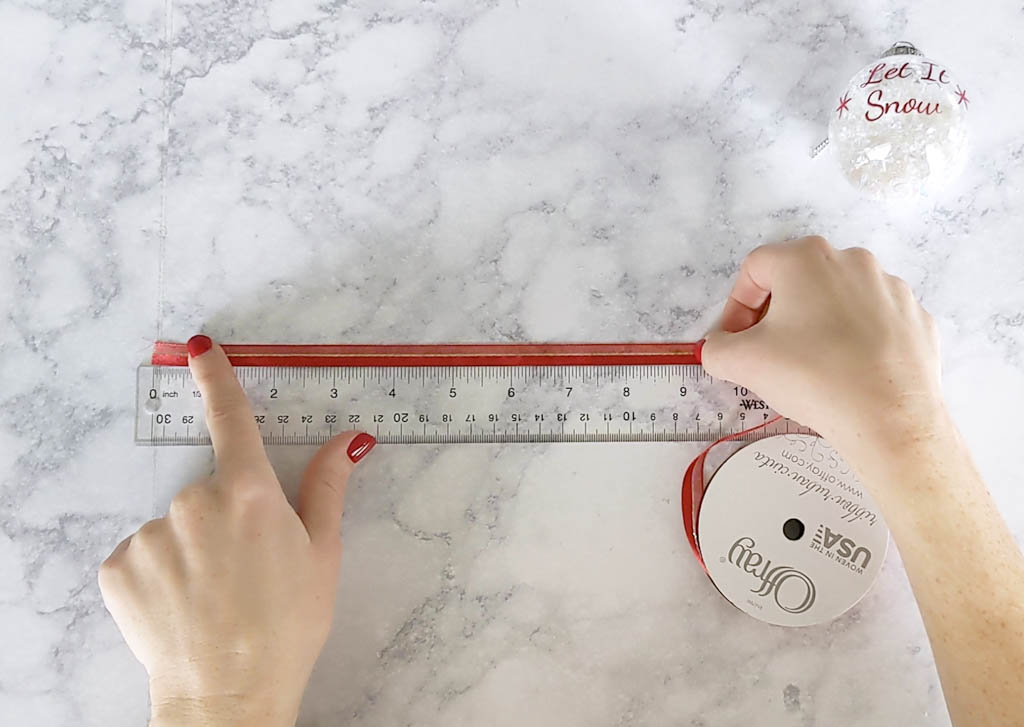
Cut a strip of ribbon approximately nine inches long.
Tie the ribbon around the top of the ornament in a double knot. If you want the ribbon to be a bit more secure you can glue it to the top of the ornament before tying the knots.
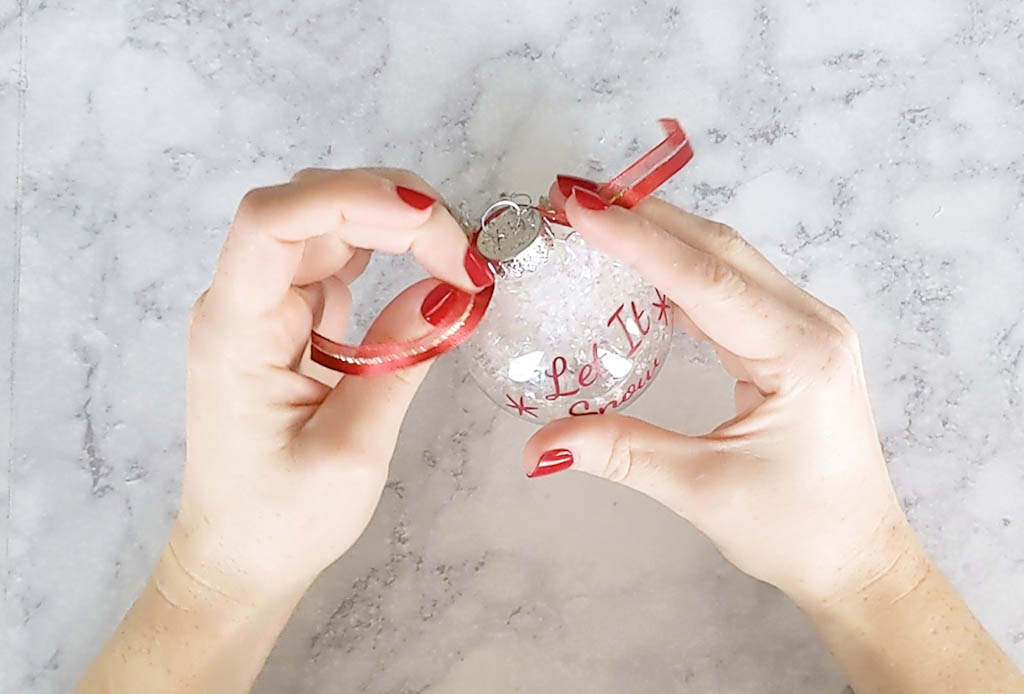
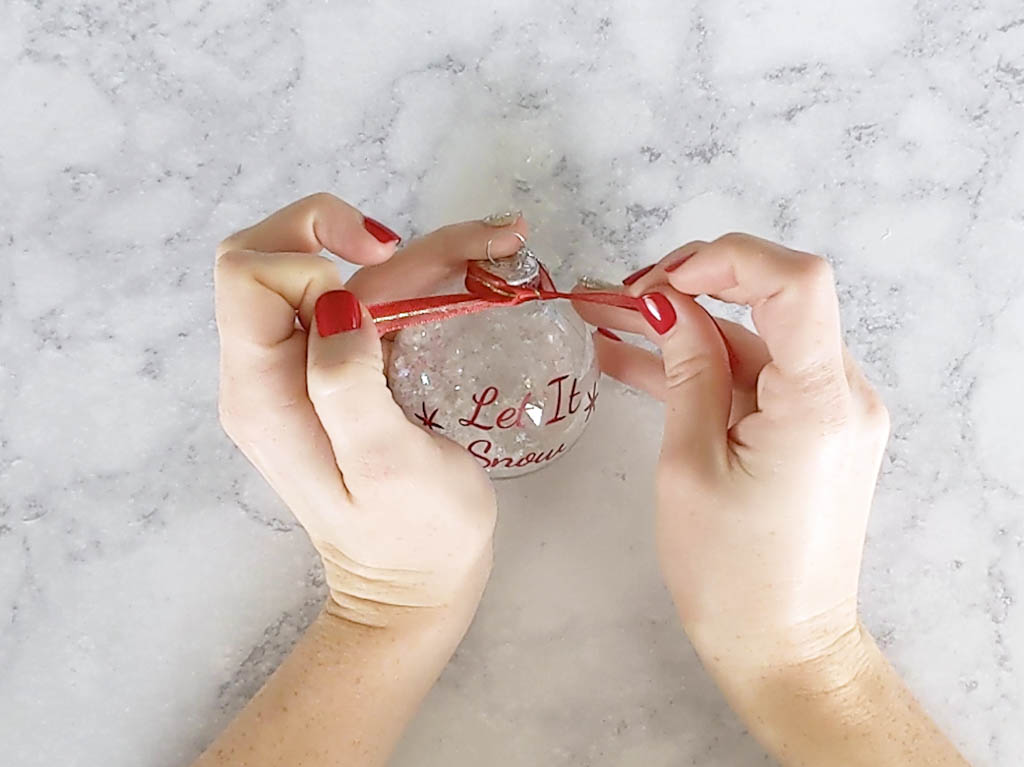
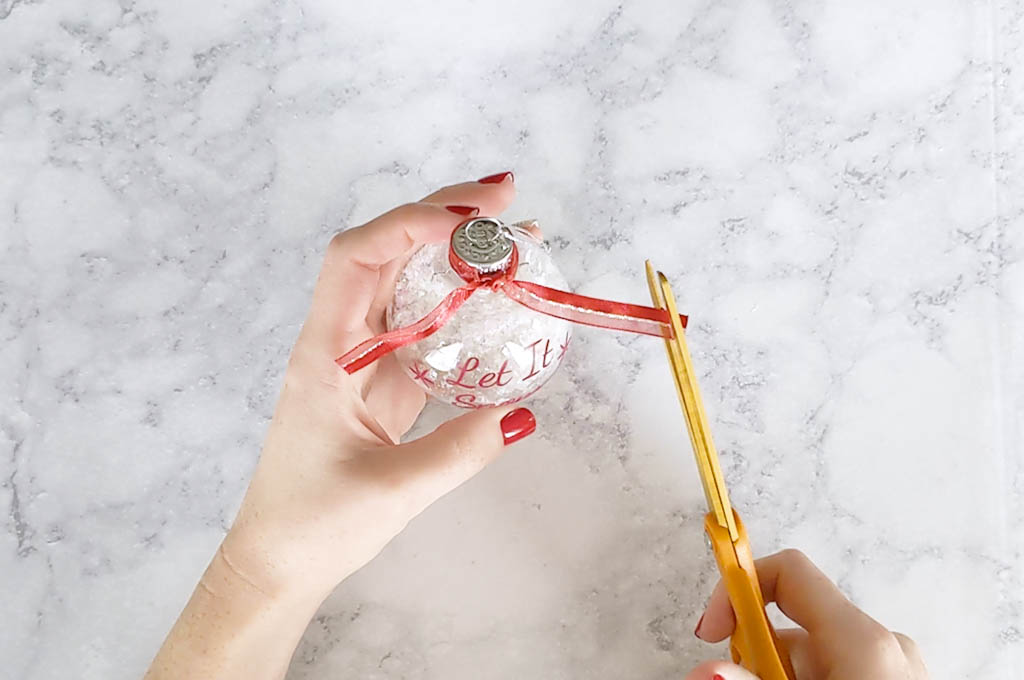
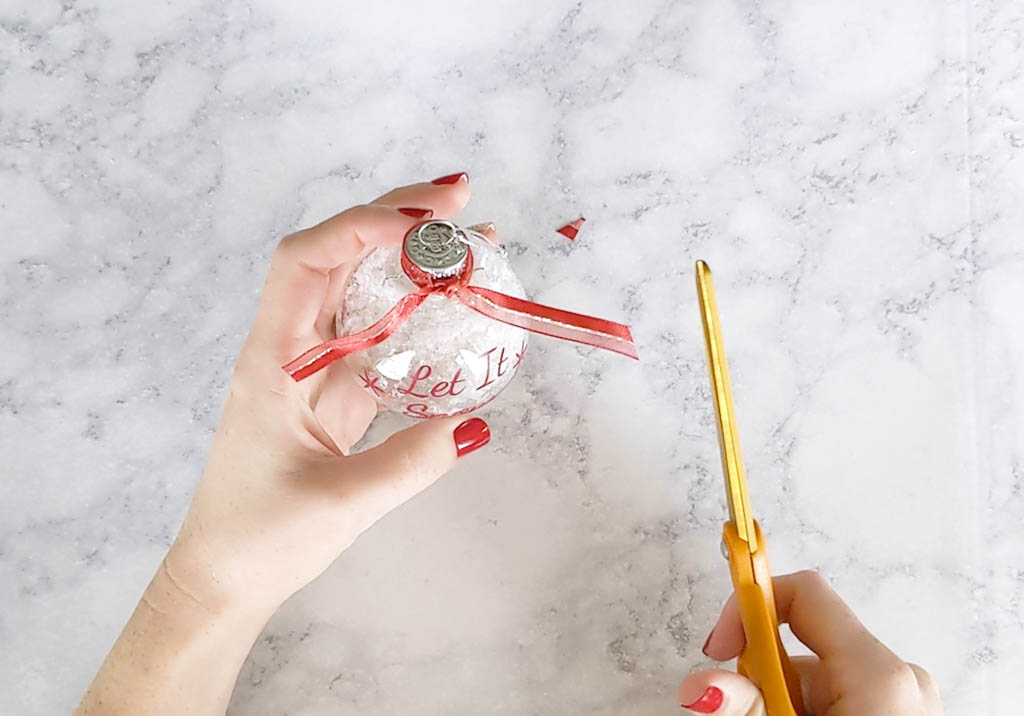
Cut the ribbon tails off at an angle to finish them.
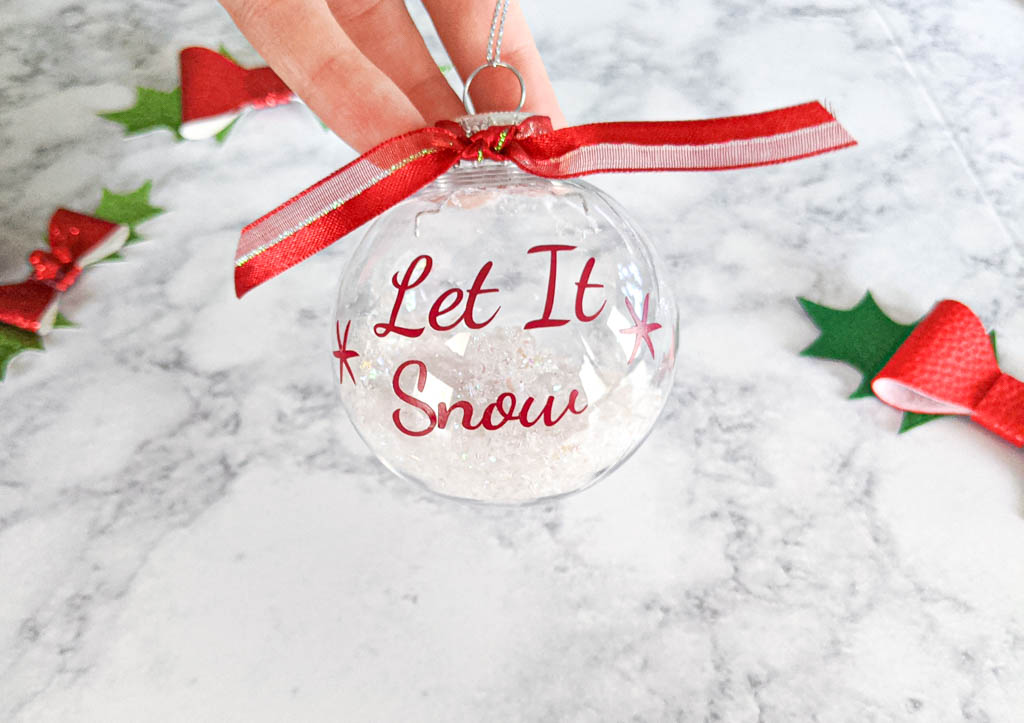
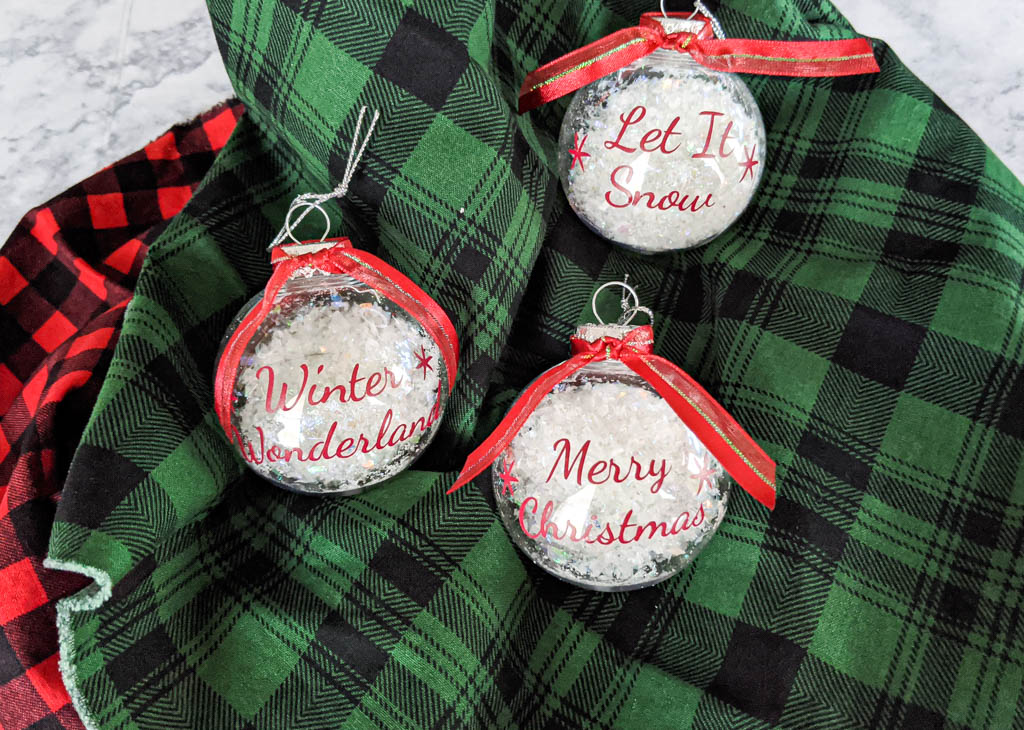
The ornament is finished and ready to be hung on the tree or given as a gift! I hope you have fun making these winter themed ornaments. Thank you for reading and have a Merry Christmas!
