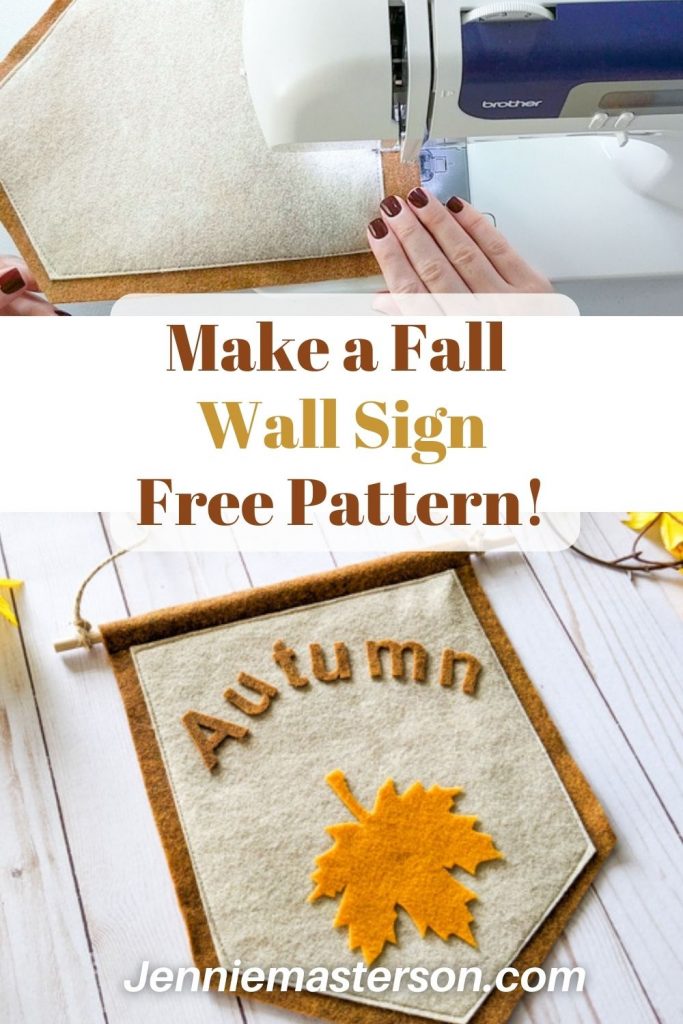
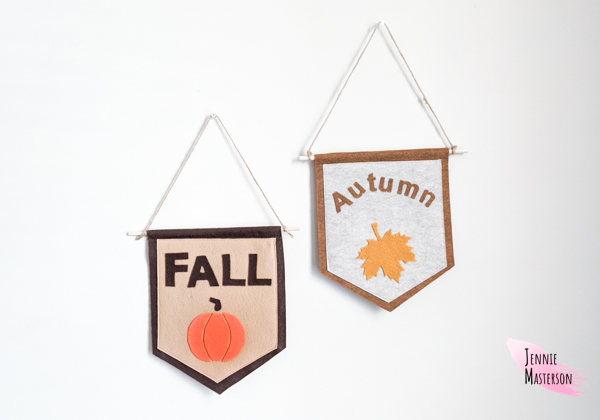
Fall is just about here and I’m excited for all the fall decor! Autumn is my favorite season and with it comes all things spiced and colorful. This fall sign is perfect for adding a warm autumn feel to your home, not to mention it’s a really fun and easy sewing project. I’m sharing two different versions of this sign because I couldn’t decide which I liked better and they were lots of fun to make!
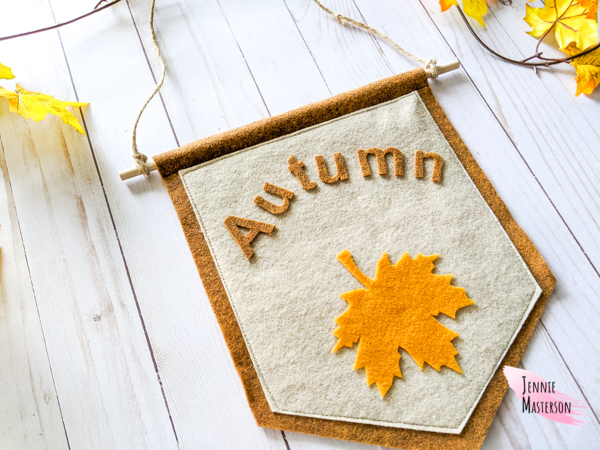
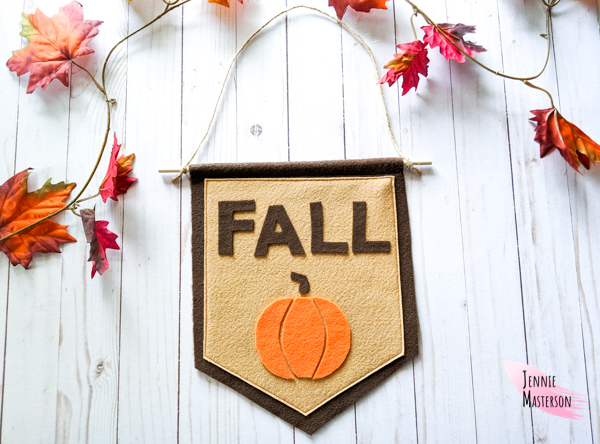
You can choose either “Autumn” or “Fall” and pair it with a pumpkin or leaf.
Also if you are looking for some more fun fall sewing projects, check out this adorable candy corn pillow.
*This post contains affiliate links.
Ready to learn how to make these cool signs? Here’s what you need.
Supplies for Fall Sign
- 12″ X 18″ Felt 2-3 colors of your choice. (I like the look of browns and tans for the base and oranges, yellows, and reds for the pumpkin or leaf.)
- Matching thread
- Scissors
- Fabric marker or pattern weights
- Sewing pins
- Fabric glue (Optional)
- 1/4″ Wooden dowel 12″ long
- Twine or hemp rope
- Hot glue gun (Optional)
If you’re using the SVG:
- Cut Machine that can cut fabric ( I use a Cricut Maker)
- Rotary Blade
- 12×24″ cutting mat
Get the Free Pattern Here
To get access to the free pattern, click the button above and enter your name and email address. Once you do that you will be directed to the instant download of the PDF pattern.
There’s also an SVG for cut machines included. It is in the zip file with an EPS and a PNG.
*This pattern is for personal and commercial (up to 50 times) use only.
PDF Pattern Assembly
This is a no trim pattern. Just line up each page to the black line of the next page and tape or glue it together.
Sewing Prep
Once the pattern is put together cut out the felt. You can do this by pinning the pattern to the felt, using pattern weights to hold it in place, or using a fabric marker to trace the shapes and then cut. When cutting by hand, my favorite method is to use the fabric marker because it feels easier to me.
You can also cut this out with a Cricut and a rotary blade. Just upload it to design space, “hide” the layers you don’t want, and send it to cut.
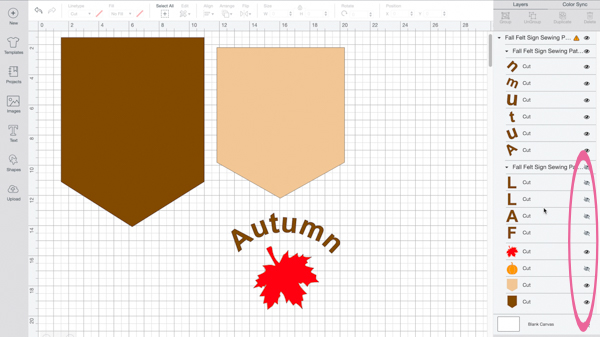
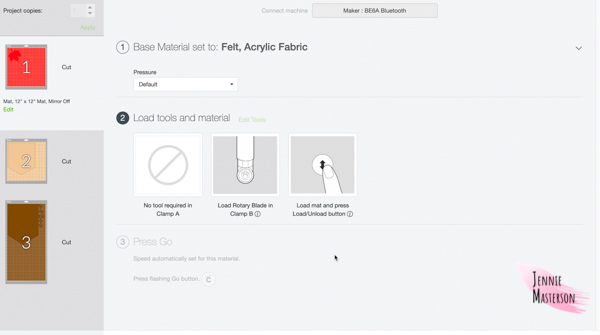
Once you have the felt cut, you should have one back piece, one front piece, one word, and either a pumpkin shape, or a leaf shape. (The pumpkin has four pieces.)
Sewing the Fall Sign
Place the front piece on top of the back piece, line up the bottom corners of both pieces leaving a half an inch gap on both sides. Pin in place.
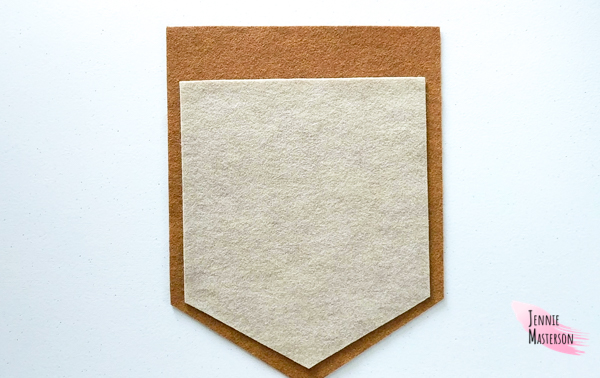
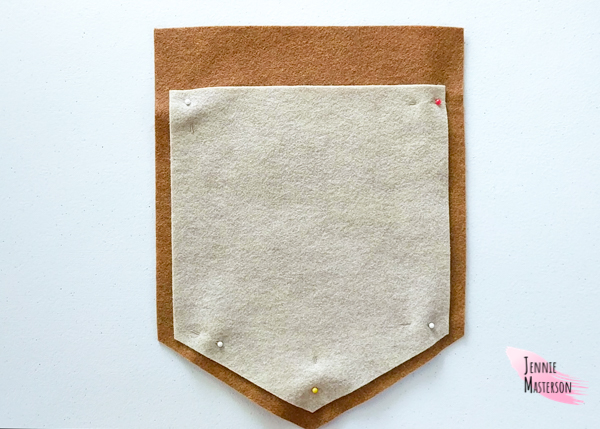
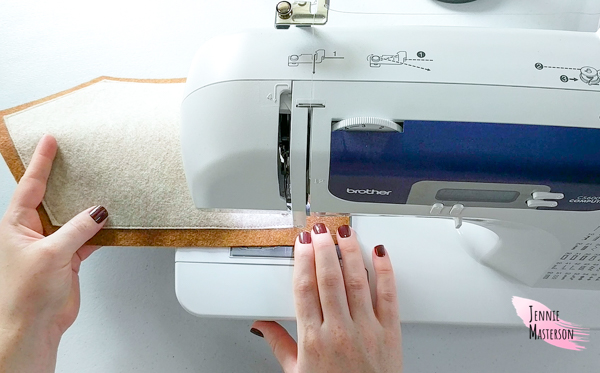
Sew 1/8″ from the edge of the front piece all the way around. Don’t forget to back stitch at the start and stop of the seam.
Fold the top of the sign over to the back side 1″ and pin in place.
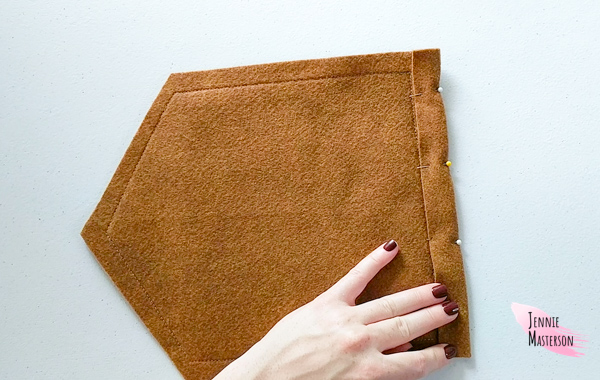
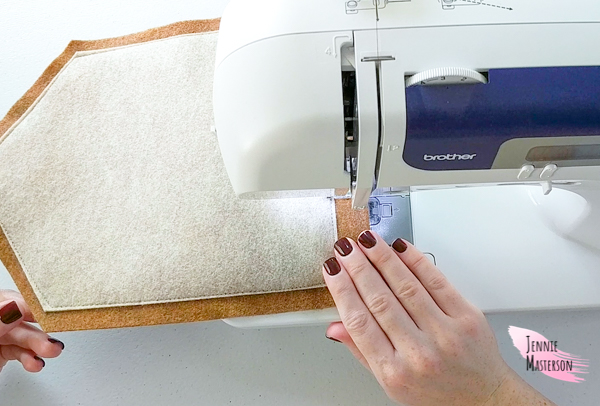
Edge stitch in place creating a casing. (Tunnel.)
Align the letters on the front of the sign. “Fall” will go straight across but “Autumn” will curve. You can either free hand this, or follow the guide given in the pattern. (Guide is only for “Autumn”.)
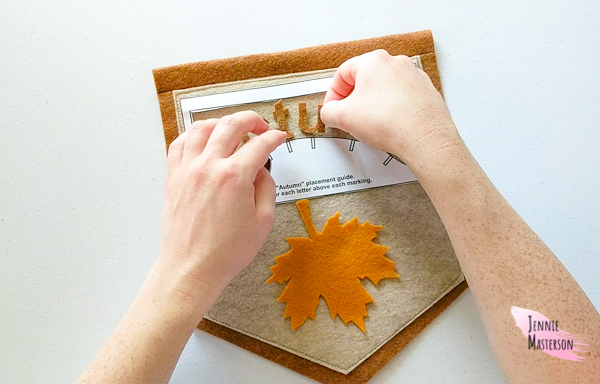
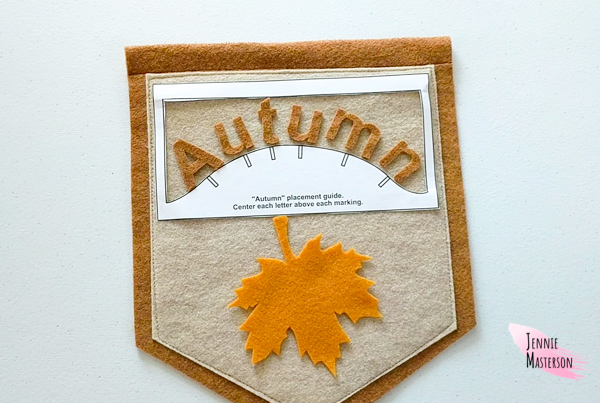
Either pin in place and sew, or use fabric glue to adhere the letters in place.
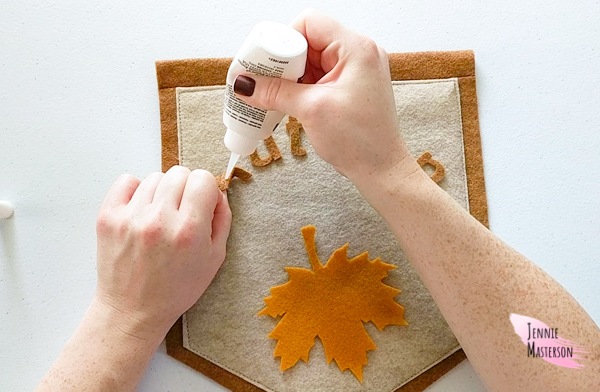
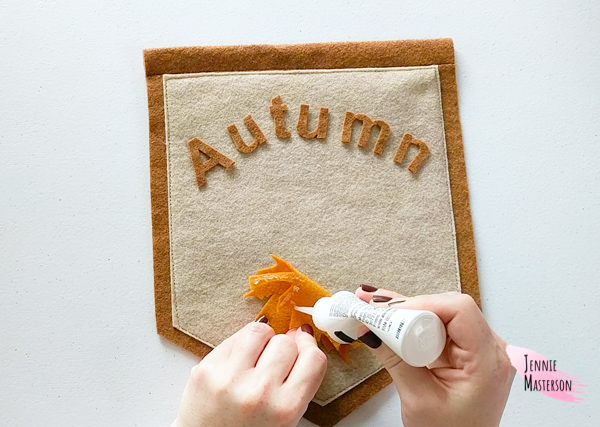
Align the pumpkin or leaf (whichever you chose) in the bottom center about 1 1/2″ from the bottom tip of the front piece. Either pin this in place and sew, or use fabric glue to adhere the pieces to the sign. If you used fabric glue, let the glue fully dry before moving on to the next steps.
Finishing the Fall Sign
Take the wooden dowel and run it through the casing.
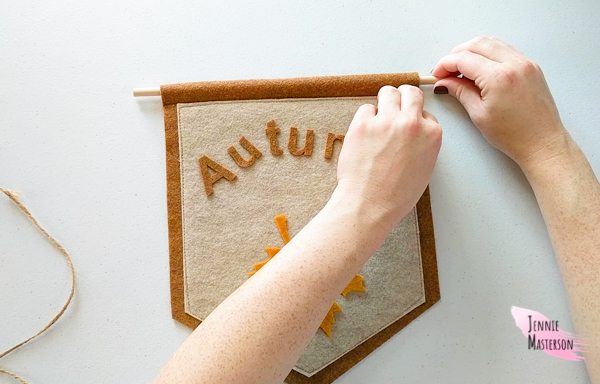
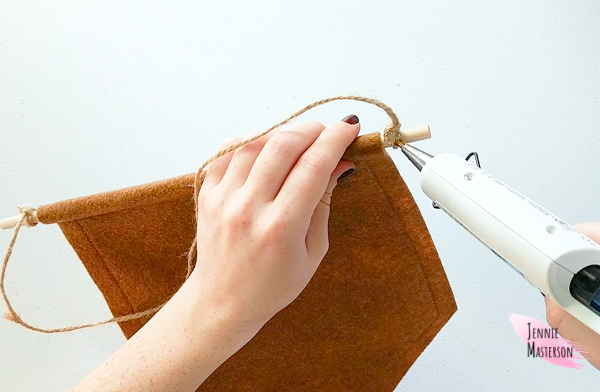
Cut a piece of twine about 28″ long. Tie it on to each end of the wooden dowel in a double knot. You can either clip the excess twine, or leave it.
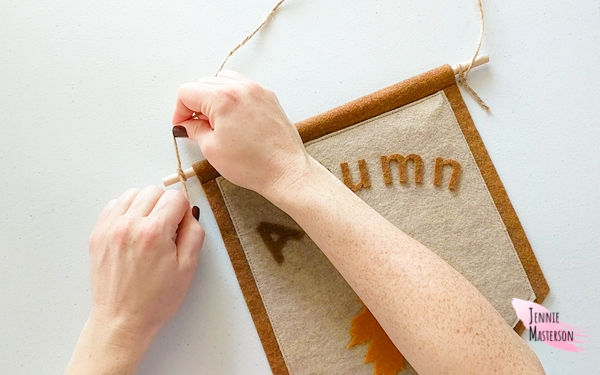
If you want the twine to not move after placement, hot glue it in place.
That’s it! The fall sign is done!
Final Thoughts on Fall Sign
These come together very quickly and make for such cute decor. I hope you’ve enjoyed this tutorial and get some good use out of the free pattern. Thank you for reading!
