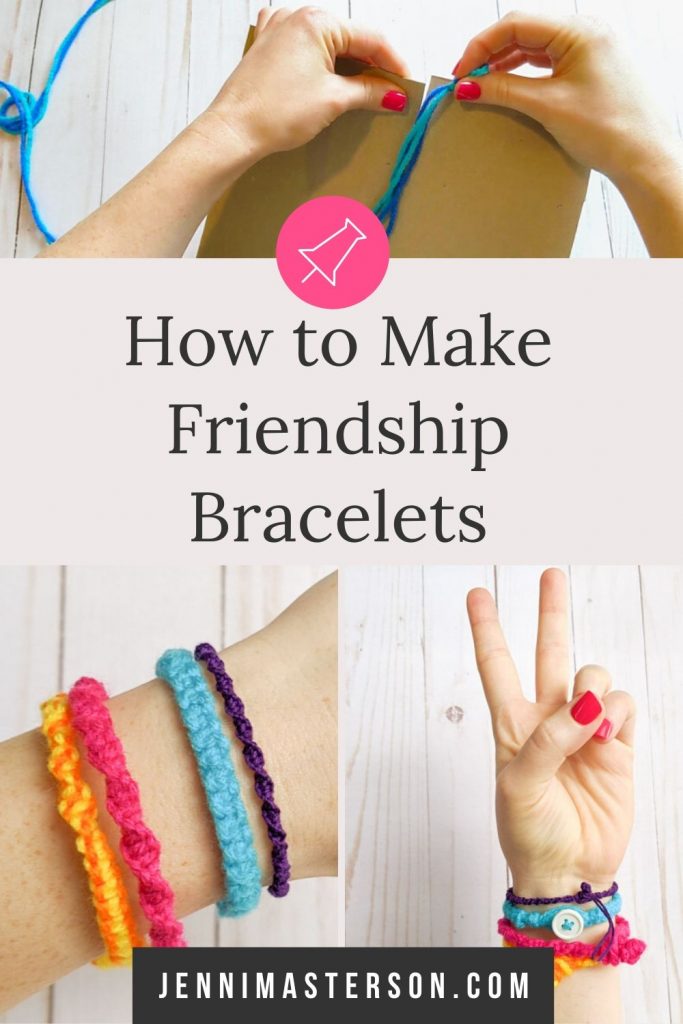
Learn how to make some cool friendship bracelets using macrame knots! These are a snap to make and they’re fun to make with friends.
Remember being a kid and making friendship bracelets at every summer camp and sleepover party? I’ve been feeling a little nostalgic lately and remembering the friendship “hemp bracelets” my friends and I used to make as kids. We called them hemp bracelets because we made them out of hemp rope. I didn’t actually know we were tying macrame knots until I was an adult trying to learn how to macrame!
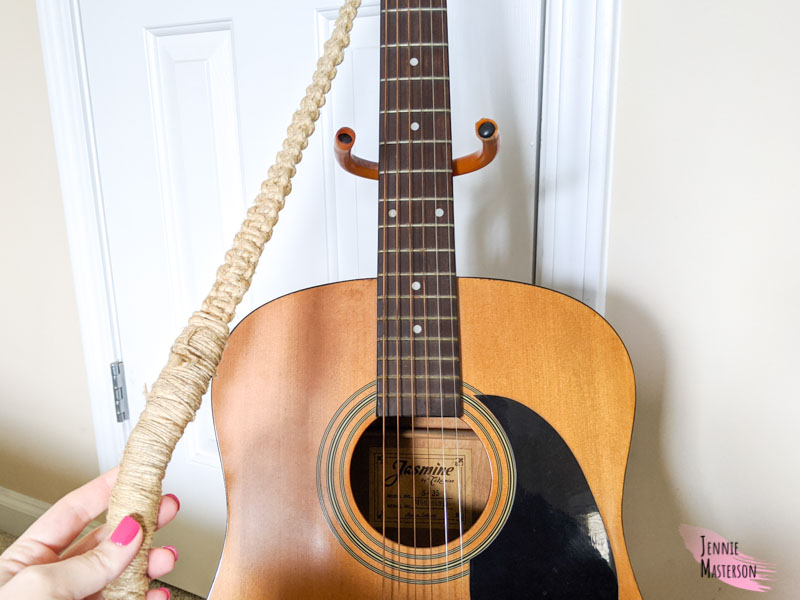
Funnily enough, I actually learned how to make these bracelets from my older brother, who learned from our older cousin. They made all sorts of crazy stuff with these knots, bracelets, necklaces, anklets, really all the accessories. My brother even made a guitar strap using this macrame knot method!
*This post contains affiliate links
Supplies for Friendship Bracelets
I am using yarn for this tutorial. As I mentioned above, you can also use hemp rope for these. Another option is embroidery floss.
To help hold these in place while you work on them, you can use tape or a piece of cardboard. (I cut up a used cereal box for my cardboard.) As kids, we also used safety pins to help hold the strings. You can use whatever you have on hand.
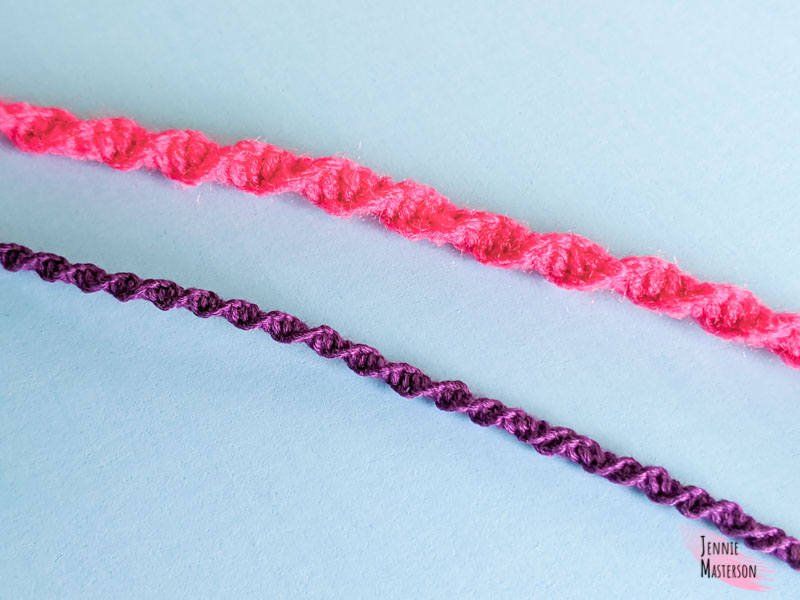
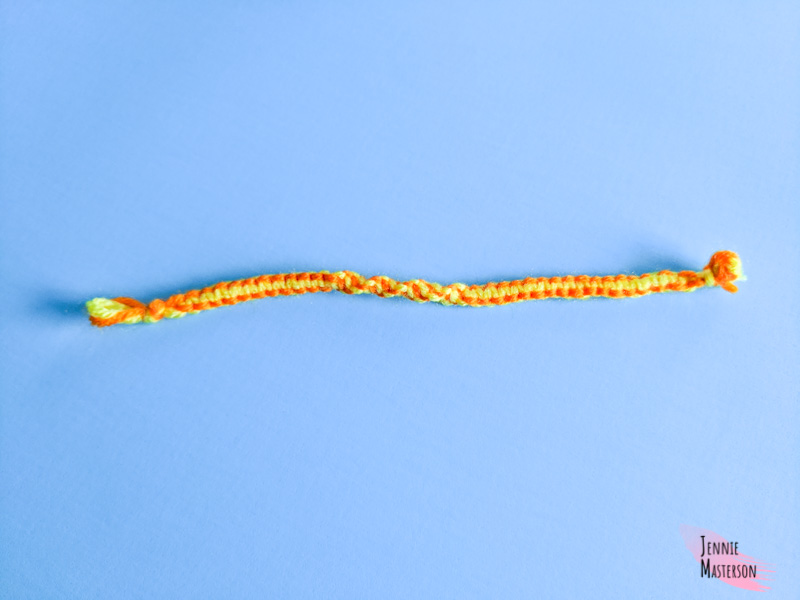
In the photo below, you can see that the choice of materials will affect how the bracelet looks when it’s finished. One bracelet is made with yarn, and the other with embroidery floss. The embroidery floss comes out a bit smaller than the yarn.
Now let’s make some bracelets!
Also if you’re looking for more fun jewelry to make, check out these pom pom earrings, or Druzy earrings.
Friendship Bracelet Prep
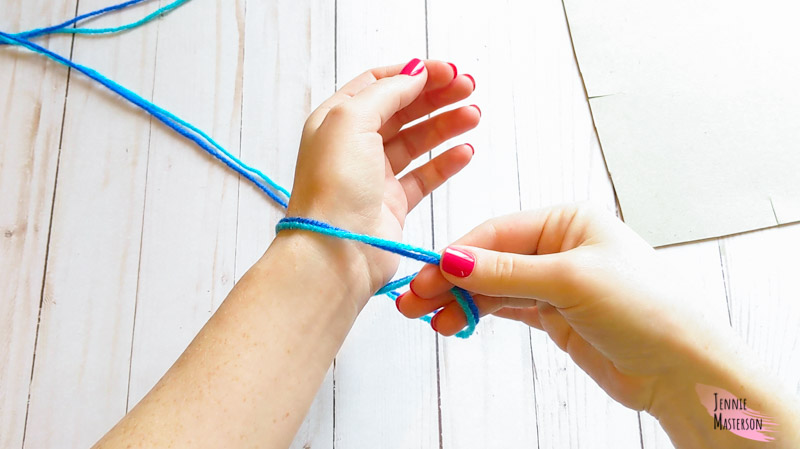
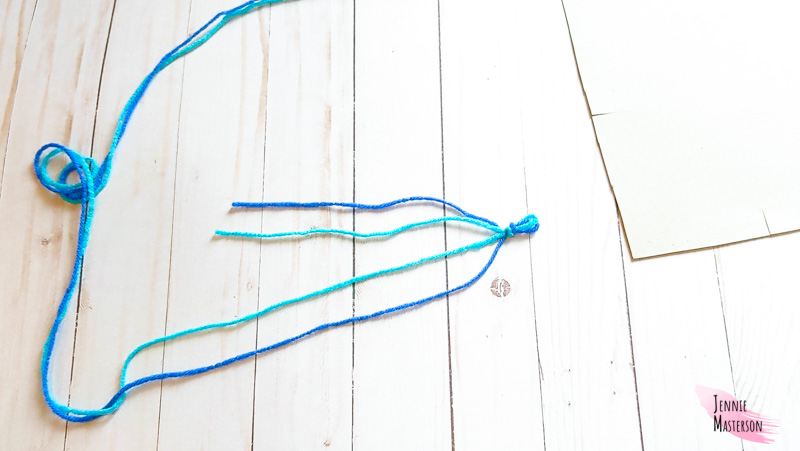
Take the yarn and cut two strings about forty inches long each. (You may need to adjust the length a little depending on your wrist size, but you probably won’t know yet until you’ve made one.) Put the two string side by side and treat them as one for this part.
Take one end of the pair and wrap it around your wrist to get a wrist measurement.
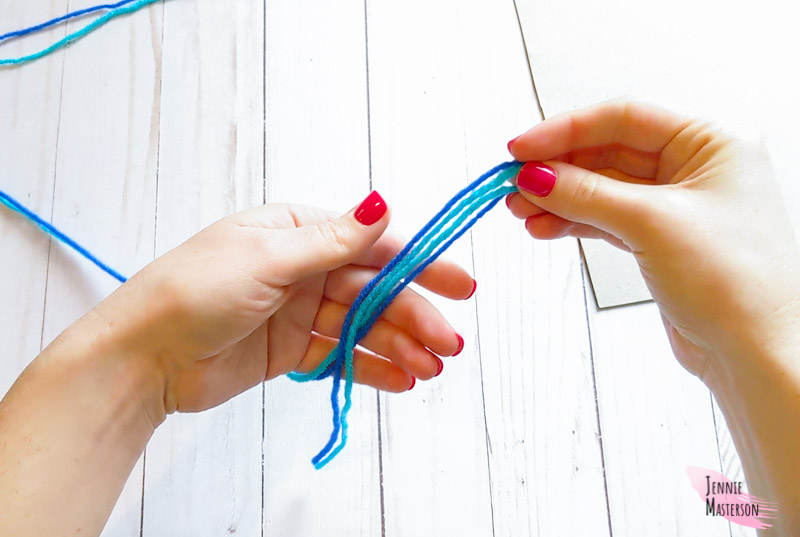
Add about 2 inches to the wrist measurement, and fold the the pair of strings over.
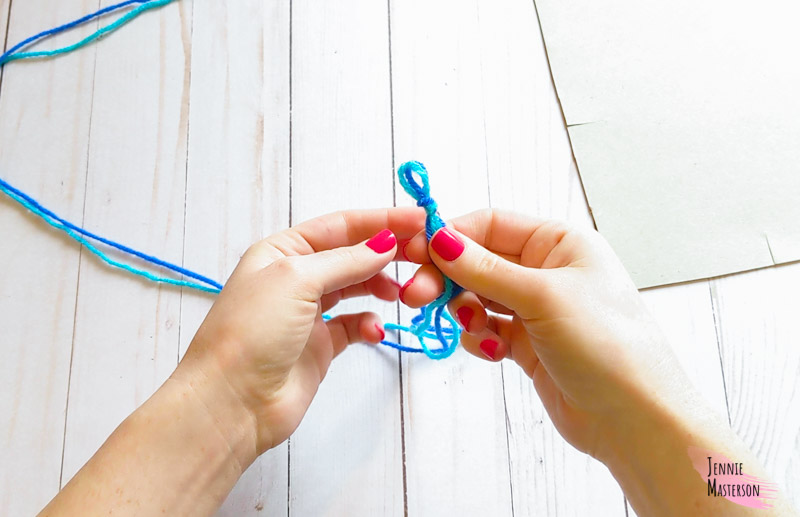
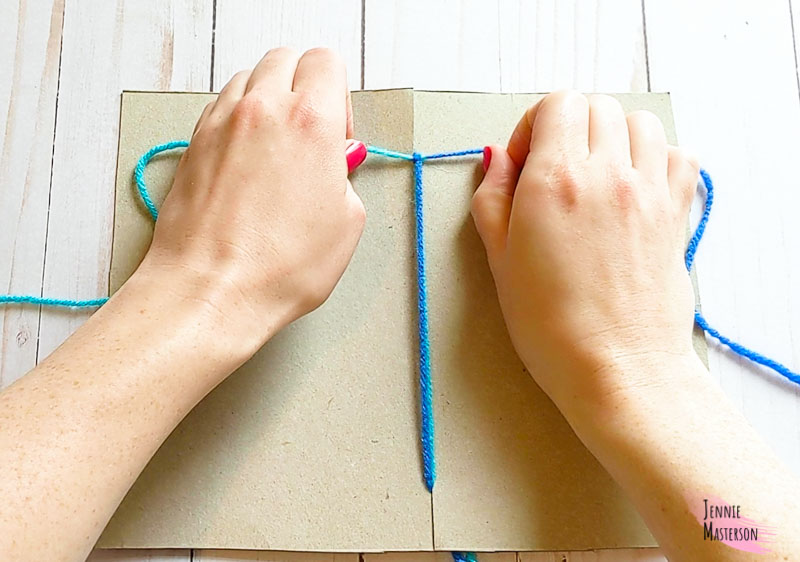
Using the folded end of the strings tie a simple overhand knot on the bight leaving a small loop at the top.
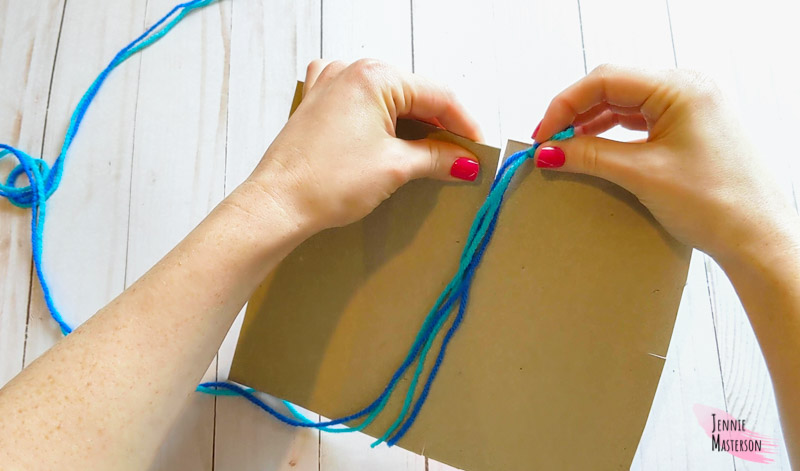
Now you’ll need to hold the loop and the short strings down to keep them taught enough to tie knots around.
You can do this by either taping the loop and the short strings down on a flat surface, or you can cut a slit at the top and bottom of a small piece of cardboard, then slip the loops in one side and the short strings in the other.
Tying the Knots
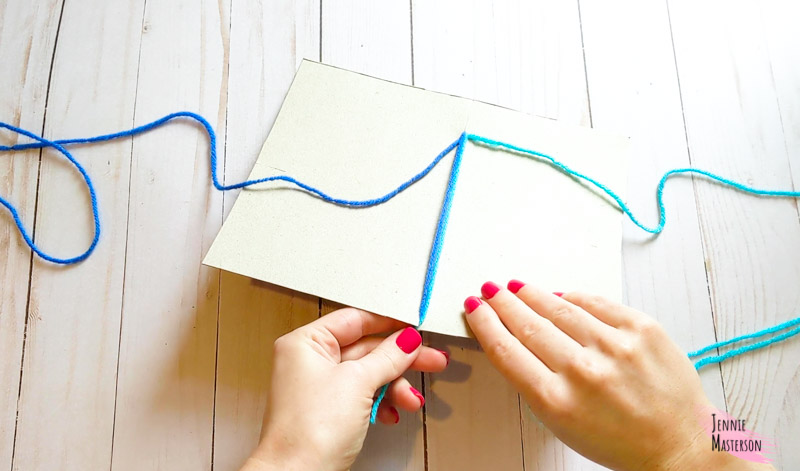
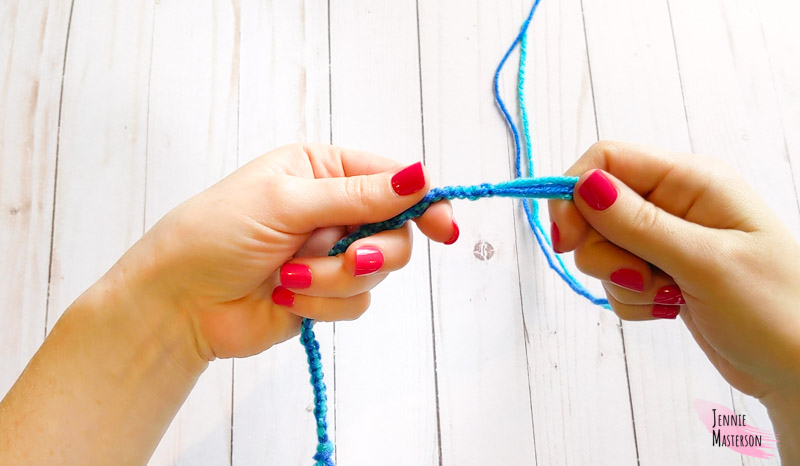
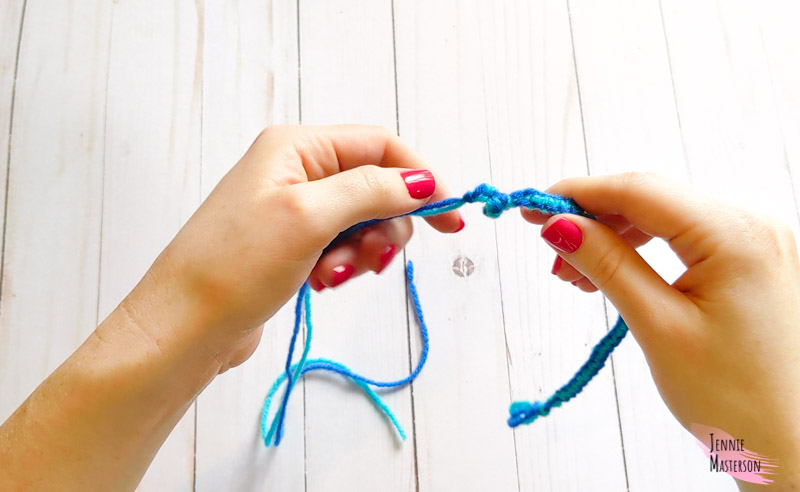
You’ll start the bracelet by tying a single knot around the two center strings. I always start by taking the left string over the center strings and placing the right string on top of the left string. (see image below)

Then thread the right string under the short strings and through the hole.
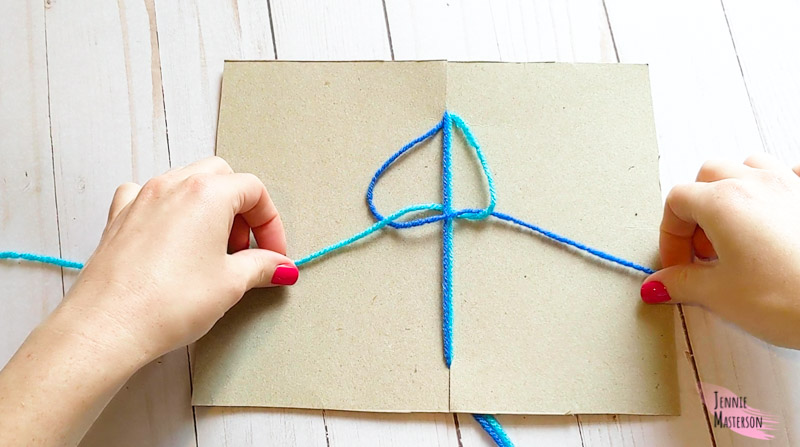
Pull it tight all the way to the top by the two loops.
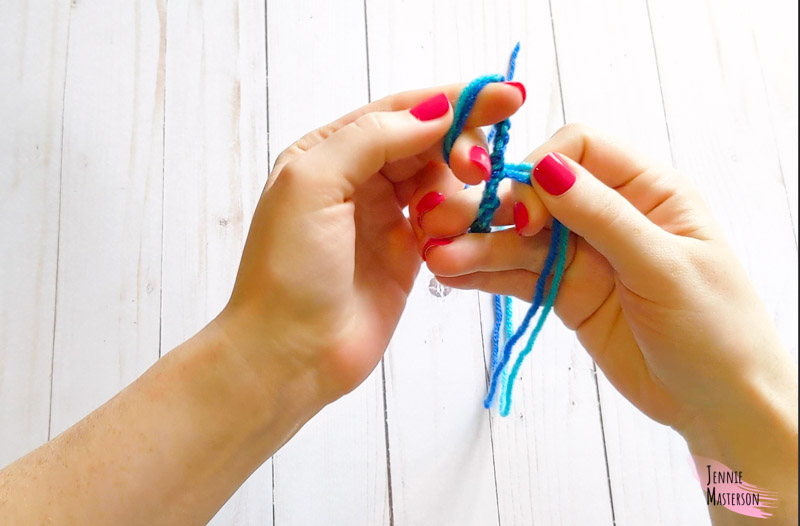
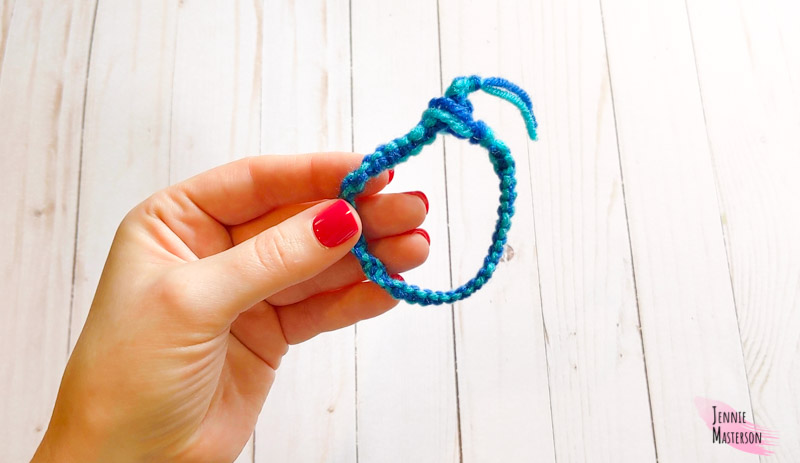
You’ll continue to tie knots like this all the way down the two short strings until the bracelet fits your wrist.
Starting the knot on the same side every time will give you a twisted appearance to the bracelet.
To achieve a straight pattern on the bracelet instead of a twisted one, you just alternate the side that you start the knot from.

Finishing the Friendship Bracelets
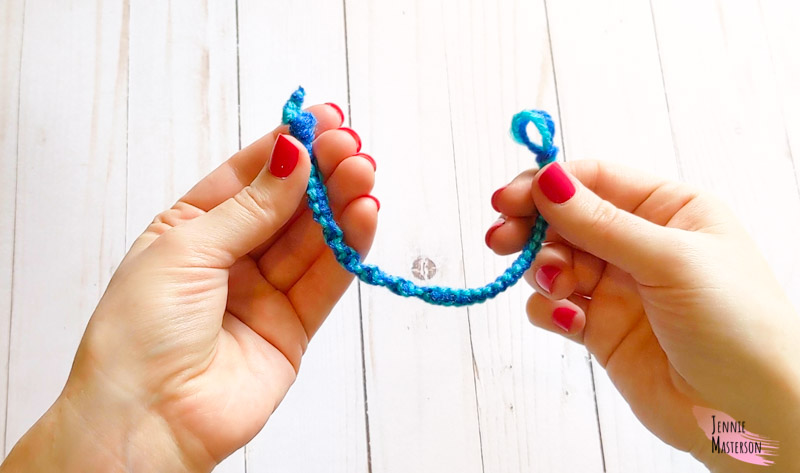
Once you have the bracelet the length you want, tie a simple overhand knot with all four of the strings together. This will secure all previous knots tied.
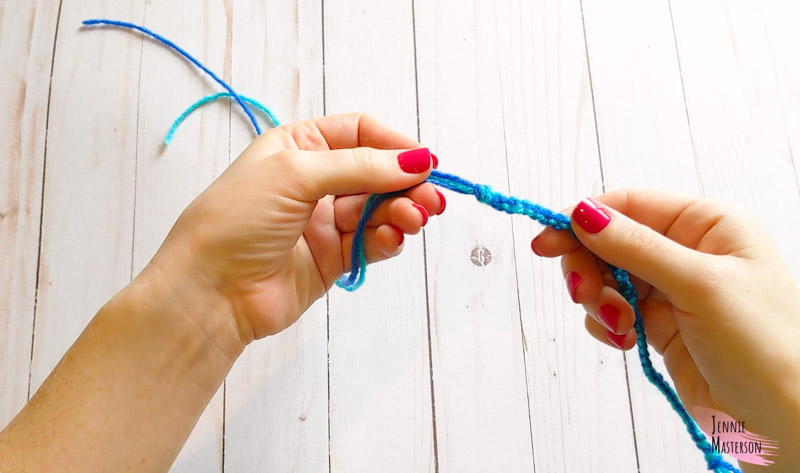
To close the bracelet take the bottom where we just tied the knot and push it through the loops at the top of the bracelet.
You can tie more knots on the last knot of the bottom if the bottom slips out of the top loops too easily, or if you want it to be more secure. Just make sure that you don’t make it so big that it not longer fits through the loops.
You can either leave a few tails for a fun look, or trim them all off
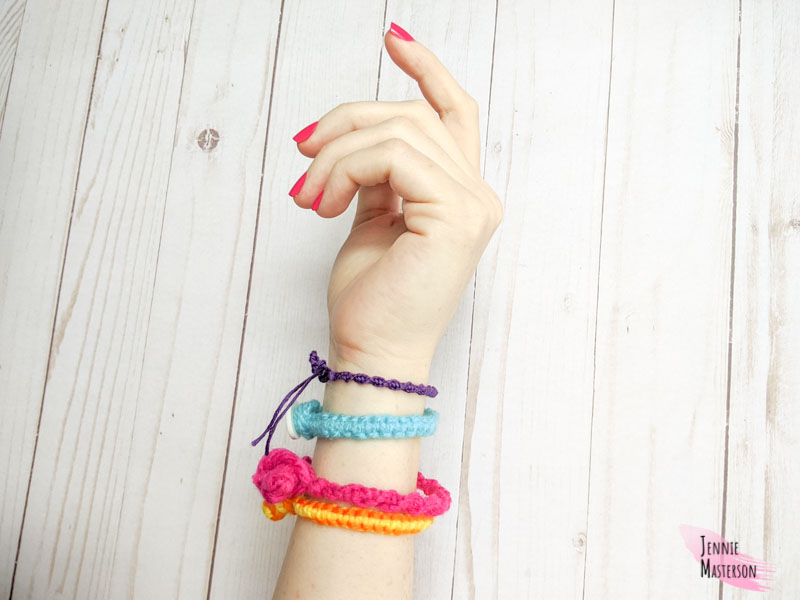
Alternatively, you can add a button that will fit through the end loops to secure it on your wrist. Just use an embroidery needle and thread the strings up the button holes, then back down. When all the strings are back on the bottom of the button, tie them in knots to keep the button on. Trim any additional strings.
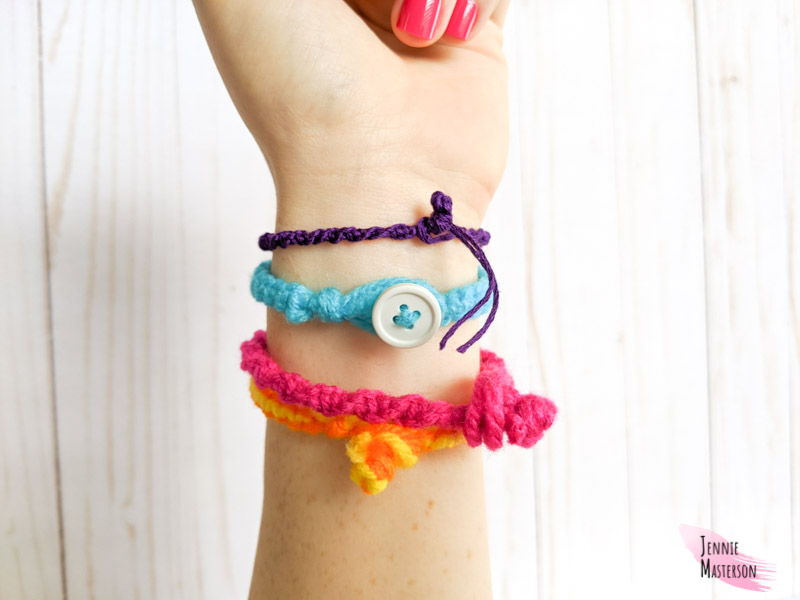
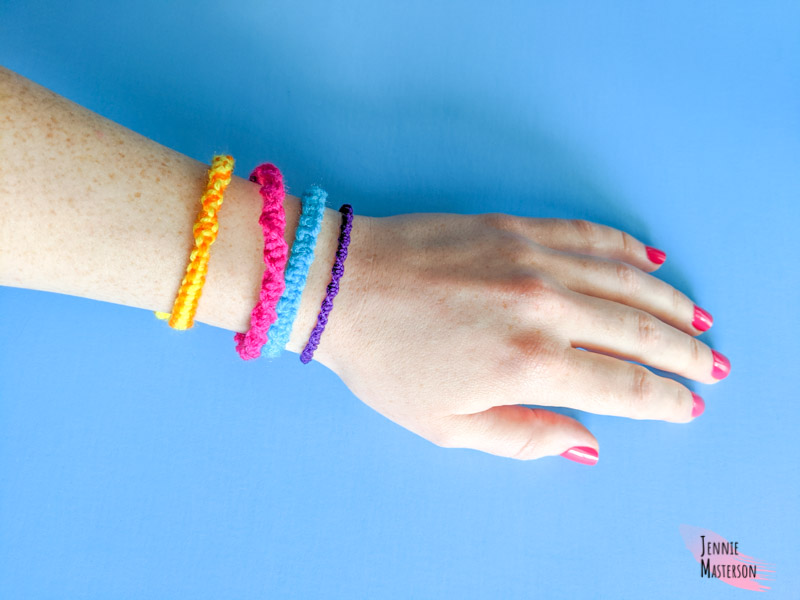
The bracelet is now finished!
Another fun thing you can do with these bracelets is alternate between the straight knots and the twisted knots to create a more visually interesting friendship bracelet.
As kids, we would even string beads on them here and there. Some people also make keychains out of these.
Now that the bracelet is finished, you can wear them, give them to friends or simply enjoy them!
A Little More Info
The Timeless Appeal of Macrame Bracelets
Macrame bracelets are a classic accessory that continues to charm both young and old. Rooted in a rich history, these intricately knotted bracelets are more than just a fashion statement—they symbolize friendship, creativity, and personal expression. If you’ve ever wondered about the origins of macrame bracelets and what made them so popular, you’re not alone. Let’s dive into the fascinating story of how these unique accessories came to be.
The Origins of Macrame Bracelets
The art of macrame, which involves knotting cords or threads to create patterns, dates back centuries. It is believed to have originated with 13th-century Arabian weavers who used decorative knots to finish the edges of hand-woven textiles. This technique gradually spread to Europe via trade routes and became a popular craft during the Victorian era. While macrame was initially used for larger projects like wall hangings and curtains, its versatility eventually extended to smaller items, including jewelry.
Macrame bracelets likely emerged as a way to create portable and meaningful keepsakes. The intricate knotting patterns symbolized care and effort, making these bracelets a heartfelt gift. The use of colorful cords and beads allowed artisans to add personality and flair, further enhancing their appeal.
What Made Macrame Bracelets Popular?
Macrame bracelets gained significant popularity during the 1960s and 1970s, thanks to the rise of the bohemian and hippie movements. These handmade accessories perfectly complemented the free-spirited ethos of the time, emphasizing individuality and a connection to nature. The simplicity of macrame—requiring only basic materials like cord, beads, and patience—also made it an accessible craft for anyone to try.
In modern times, the charm of macrame bracelets endures due to their timeless aesthetic and sentimental value. Social media platforms like Instagram and Pinterest have played a role in their resurgence, showcasing countless design ideas and tutorials. DIY enthusiasts are drawn to the craft for its therapeutic benefits and the opportunity to create unique, personalized pieces.
There’s a little run down on macrame for you. Thank you so much for reading and I hope you have fun making these friendship bracelets and now know a tid-bit more about the origins of these fun pieces of jewelry.