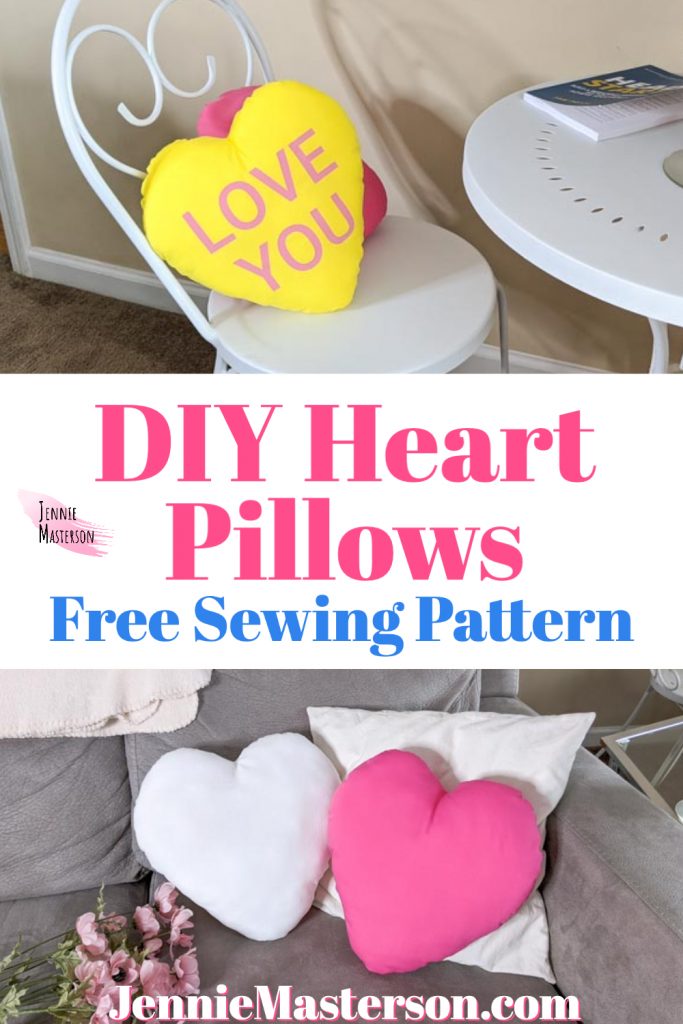
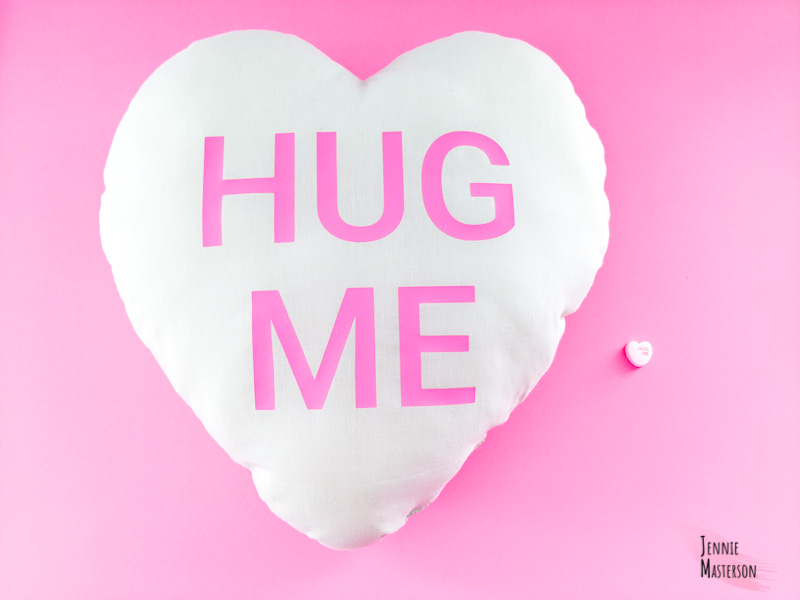
Learn to easily make a cute heart pillow using this free sewing pattern. SVG’s are included to create conversation heart pillows for valentines day as well!
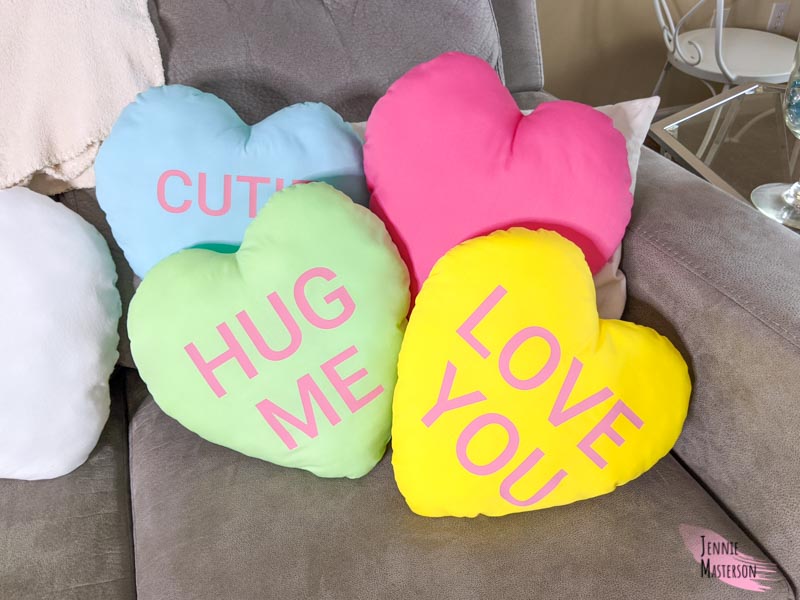
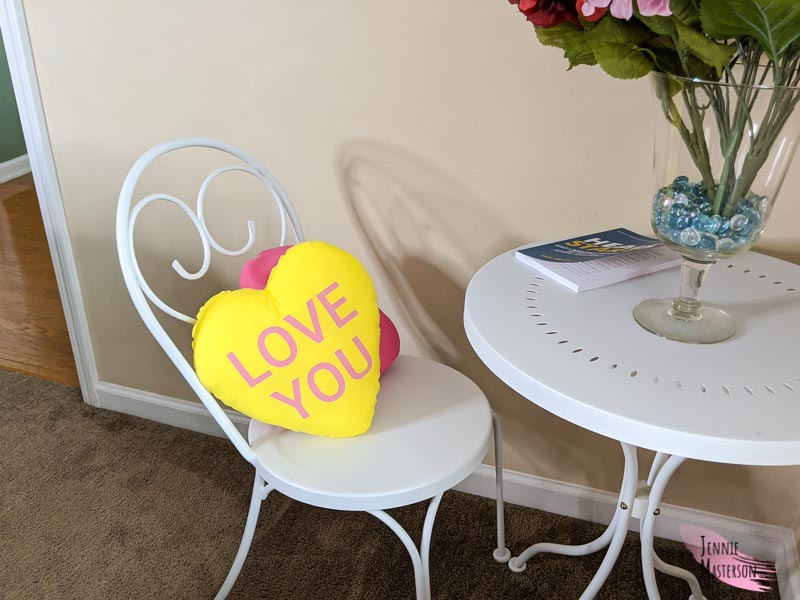
These cute heart pillows are quick and easy to make, and are perfect for beginners who know how to sew curves. I’ve included some SVGs to turn them into conversation hearts for valentines day! It’ll add a cute touch to your valentines day decor.
*This post contains affiliate links.
The conversation heart pillow option has two different methods of application. you can either use a cut machine and iron on vinyl, or you can use fabric paint and a stencil.
The heart pillows measure approximately thirteen and a half inches tall, by thirteen inches wide.
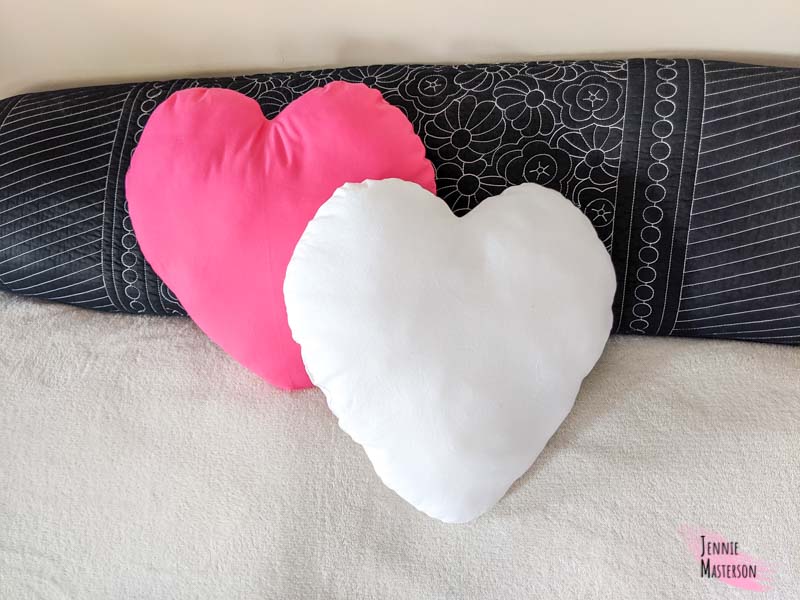
My kids love these throw pillows! Ever since I made a cactus pillow and candy corn pillow they’ve been begging for more. I could hardly get them put together before my four year old ran off with the “cool hearts.”
Get the Pattern and SVG’s Here
Don’t like the ads? Get the full printable PDF pattern in my Etsy shop here.
Click the pink button above to get the free pattern and SVG’s.
*These files are for personal and commercial (up to 50 times) use only.
Supplies
- 1/2 yard of Fabric (or two fat quarters)
- Matching thread
- Poly fil
- Needle for hand sewing
- Pins or clips
- Scissors
Optional supplies ( Needed for conversation hearts. )
OR
- Fabric paint
- Alphabet stencil
- Pencil
Fabric Types
Cotton will probably give you the best look, but you can also use most light weight woven fabric. Cotton/poly, flannel, lightweight denim, fleece, etc.
Assembling the Pattern
This is a no trim pattern. Just line up each page to the gray line of the other page and tape or glue it together.
Sewing Prep
Prewash and iron the fabric before cutting to eliminate any wrinkles or folds. Cut your fabric using the pattern pieces. When you are done cutting you should have two mirror image pieces of the heart.
Optional Conversation Heart Step
*If you are making a regular heart pillow without the words, skip this step. If you want to add the words to your pillow make sure to do this step.
Vinyl Option:
Load the SVG into your cut machine software. Delete any of the words that you don’t plan to use. In cricut design space, you’ll need to “attach” the words so the letters stay in the proper order. ( You may need to do a similar step if using a different cut machine.) Make sure to mirror the image in your software before cutting.
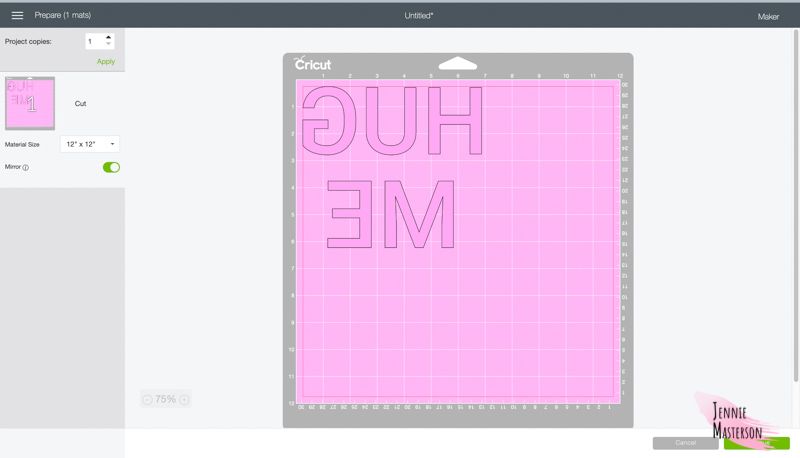
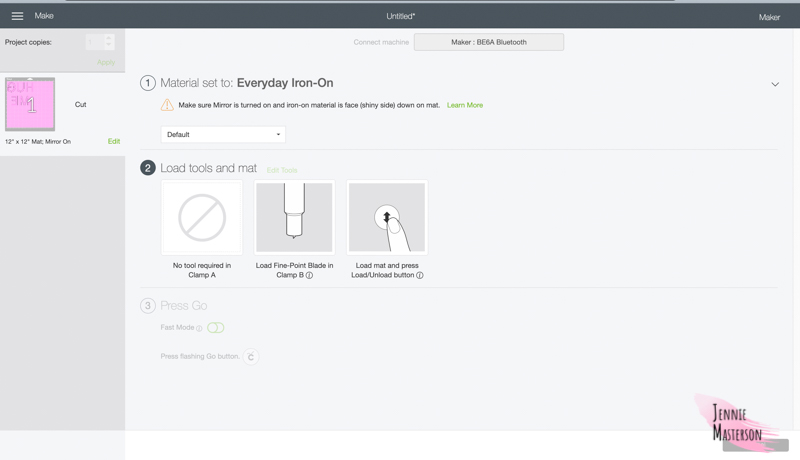
Lay the iron on vinyl on the cut machines cutting mat. Make sure the shiny side is face down on the mat. Send the image to cut and cut out the design.
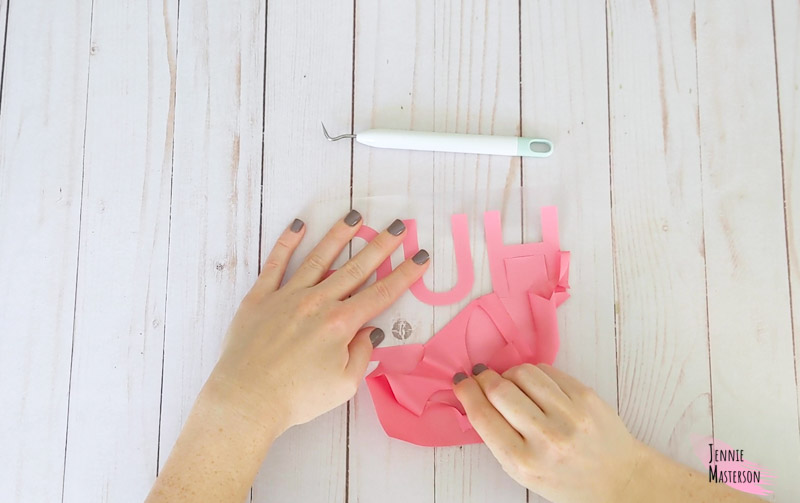
Weed out the vinyl that is not needed.
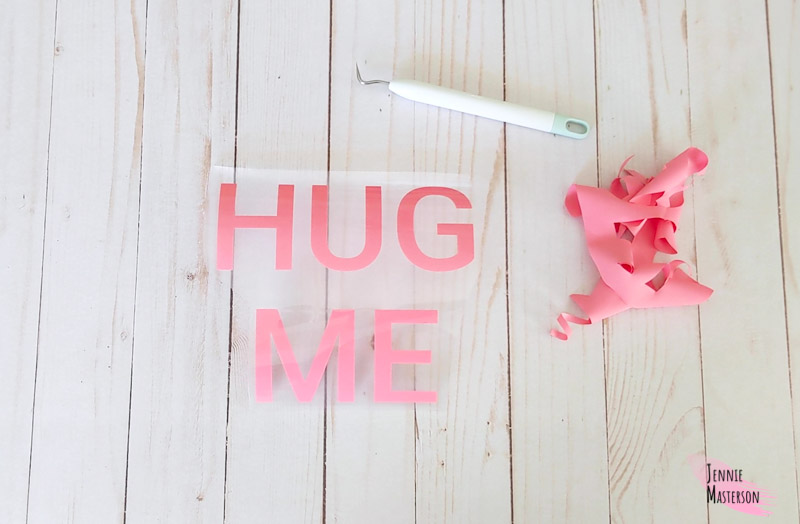
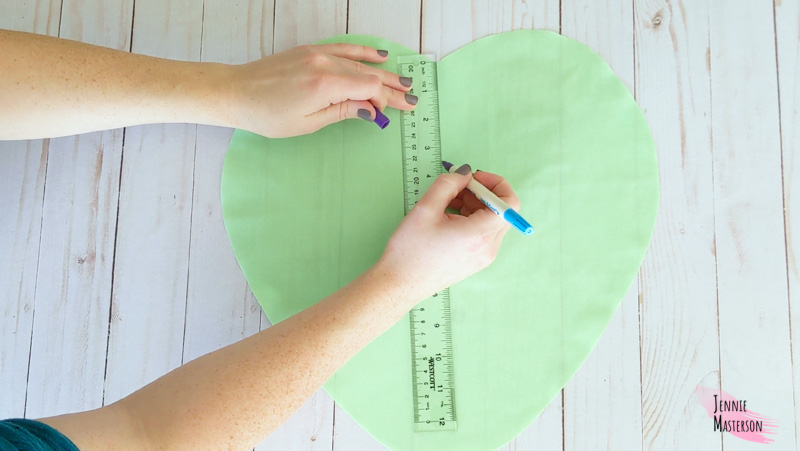
Now you’ll want to place the design on the pillow. Lay the weeded design on top of the right side of one pillow piece. For placement put a mark about three and a half inches down from the top middle of the heart, and align the top center of the text with that mark. I used disappearing ink for this so that the mark wouldn’t linger. If you don’t like that placement feel free to adjust it to your liking.
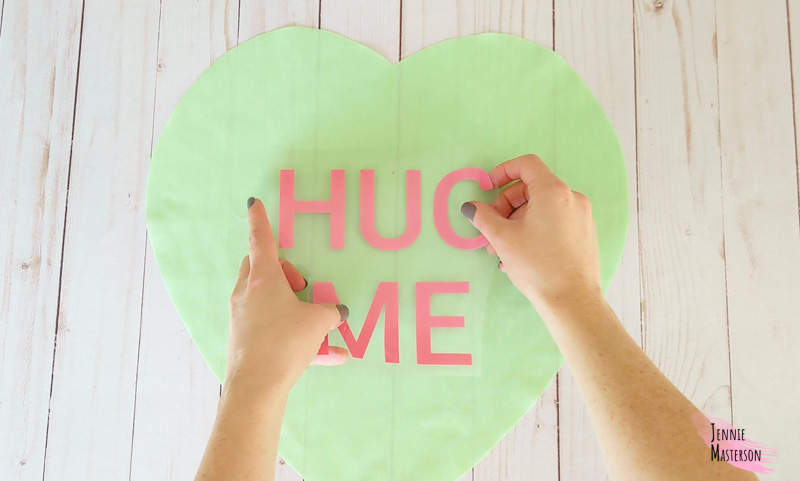
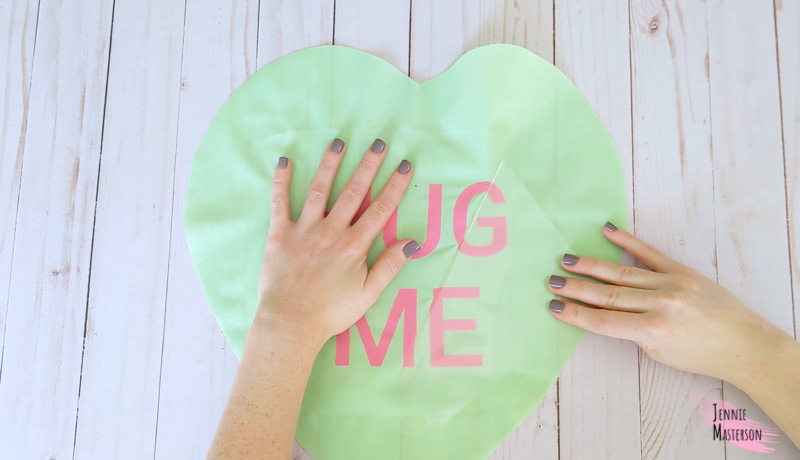
Once you have it placed how you like, iron it in place using your vinyls instructions. Peel the plastic away from the design and it is ready for the next step.
Fabric Paint Option:
The word placement may differ depending on the size of your stencil and your preferences. As a starting point put a mark about three and a half inches down from the top middle of the heart, and aligned the top center of the text with that mark. You may need to adjust it further. Definitely feel free to do what you think looks best with your specific stencil.
Using a pencil lightly trace the letters so you can see all the letters placed before you commit with the paint. When you are satisfied with your placement, erase any lines you don’t want and go back over the letters with fabric paint. If using the stencil instead of markings for paint, make sure to use a light hand because fabric paint can bleed out from under the stencil if you use too much at once. Let it dry fully before moving on to the next step.
Sewing the Heart Pillow (all options)
Lay one heart piece on top of the other with right sides together. Pin in place and take it to the sewing machine.
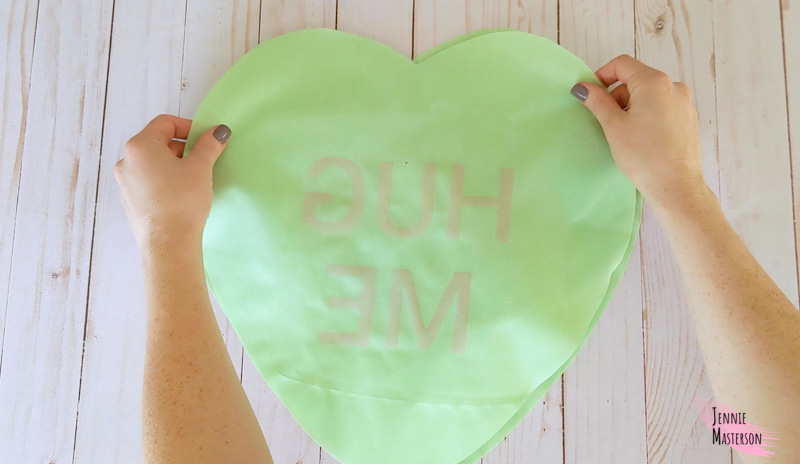
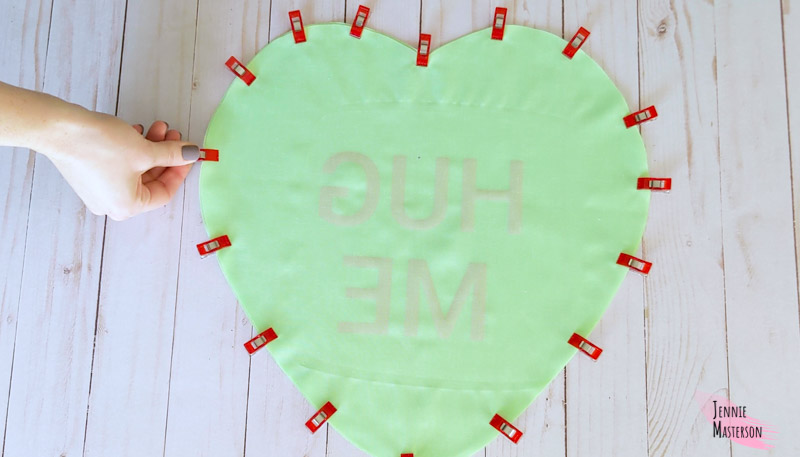
Sew all the way around the heart with 1/4″ seam allowance, leaving a 2-3 inch gap at one of the bottom sides of the heart.
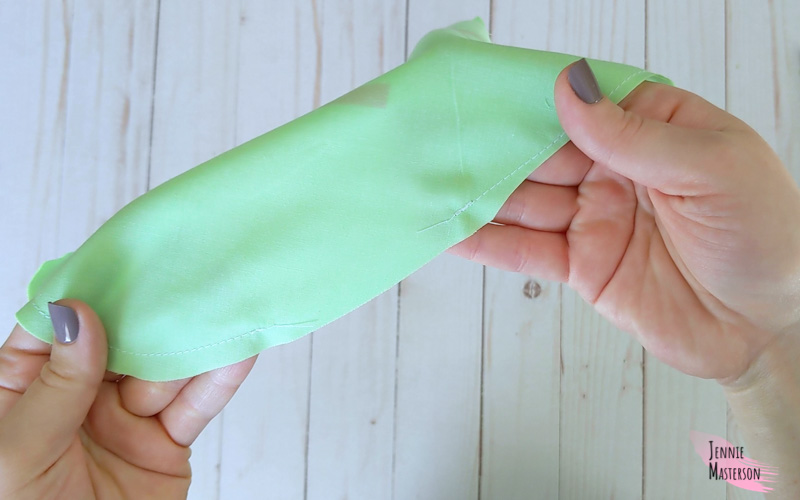
Clip the center point of the heart. Get as close to the stitching as you can but do NOT clip through the stitching.
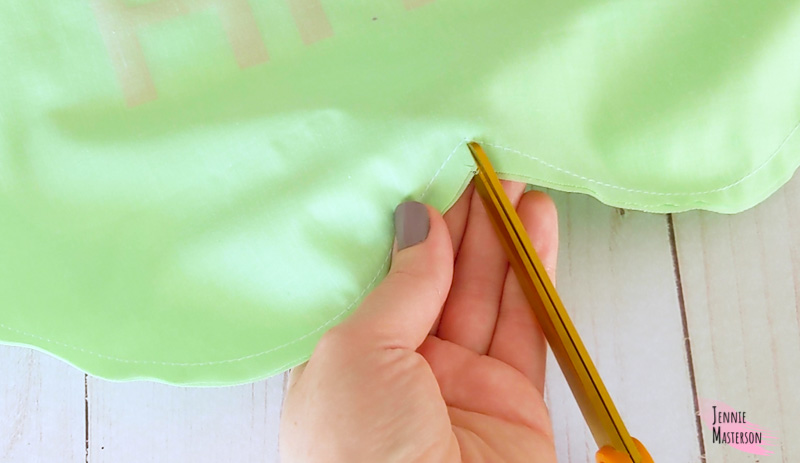
Cut a “V” into the hearts top center point.
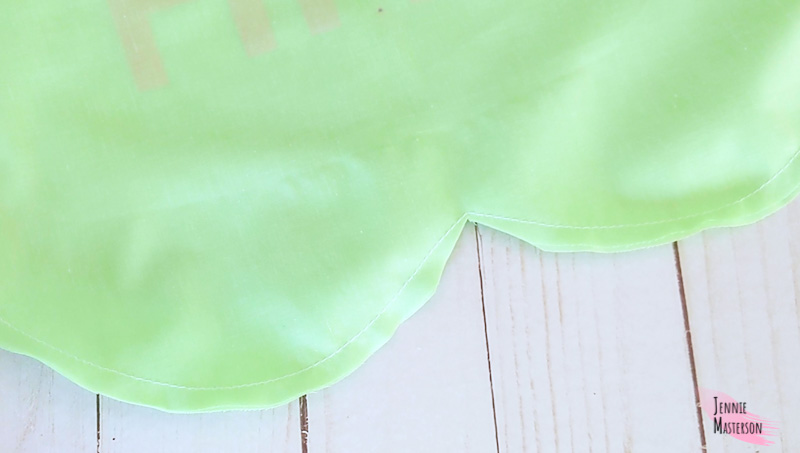
Trim the seam allowance down to about 1/8″ all the way around the heart except where the gap is.
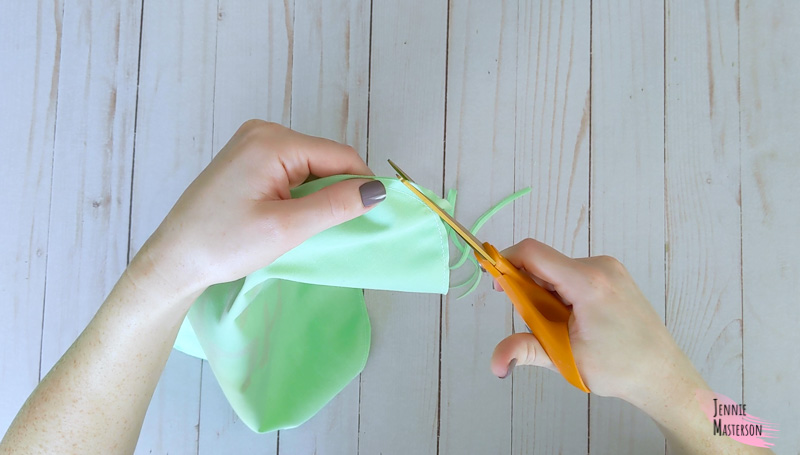
Turn the heart right side out through the gap.
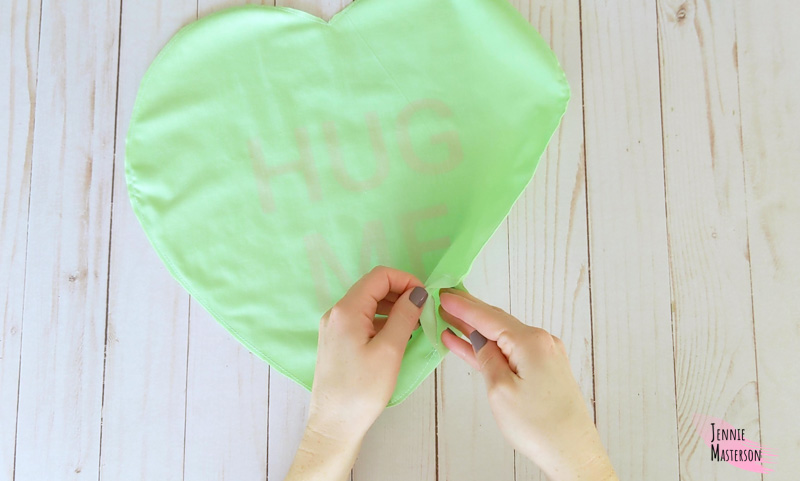
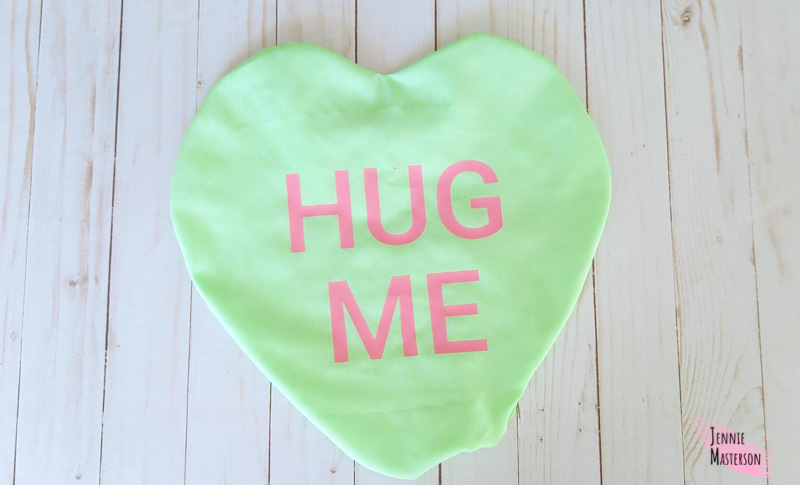
Stuff the heart with poly fil. How much poly fil you use will partly determine the shape that the heart has. The more poly fil put in, the more bulgy it will feel. You may need to smash it down and shove it in the curves a bit to help the heart take shape.
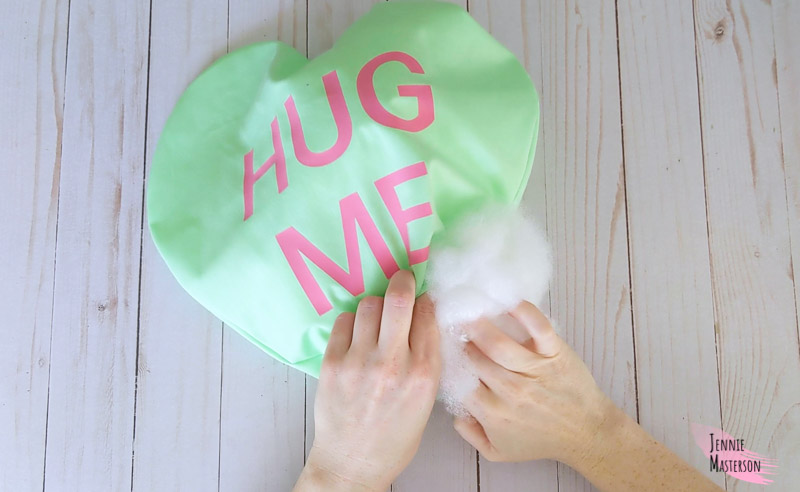
Finishing the Heart Pillow
When the heart is stuffed to your liking, tuck the gap’s seam allowance inside the pillow. Take a needle and matching thread and hand sew the gap closed using a whip stitch.
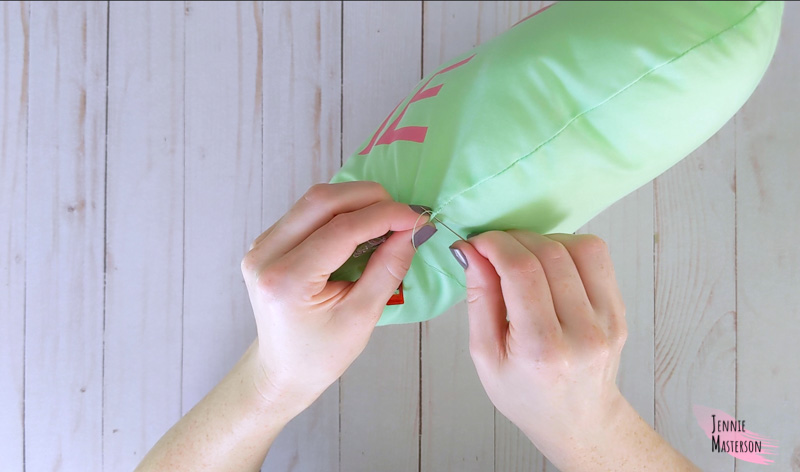
*Pro tip: To keep my hand from cramping up while I stitch up the gap, I like to use wonder clips to hold the gap shut for me. Saves a lot of hand strain!
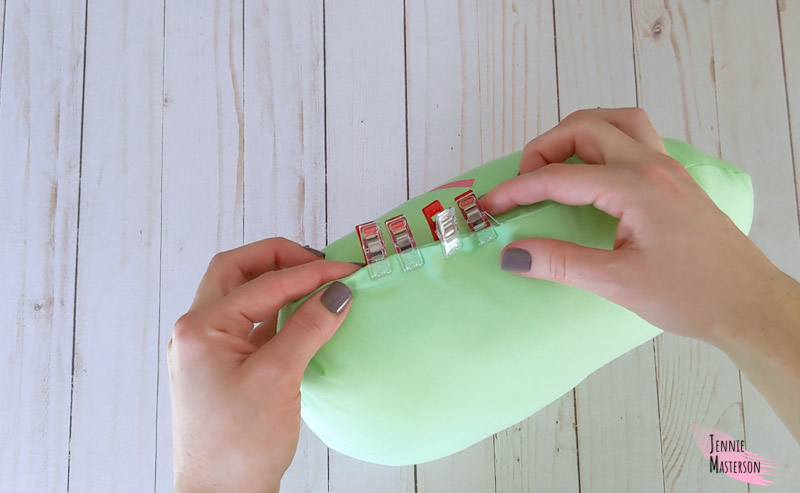
Knot off the thread and the pillow is done!
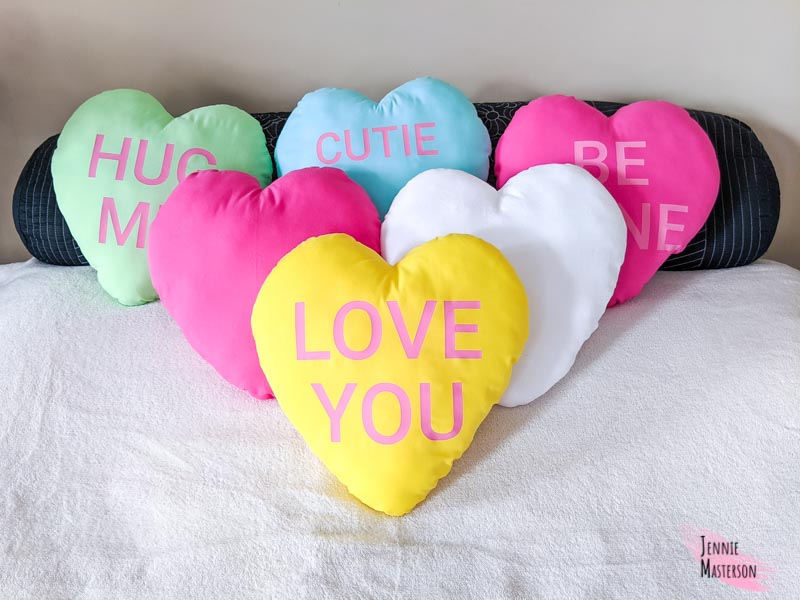
I hope you enjoy the free heart pillow pattern and accompanying SVG’s. Feel free to share this post with anyone you think would also enjoy it. Thank you so much for reading! Happy Sewing!
