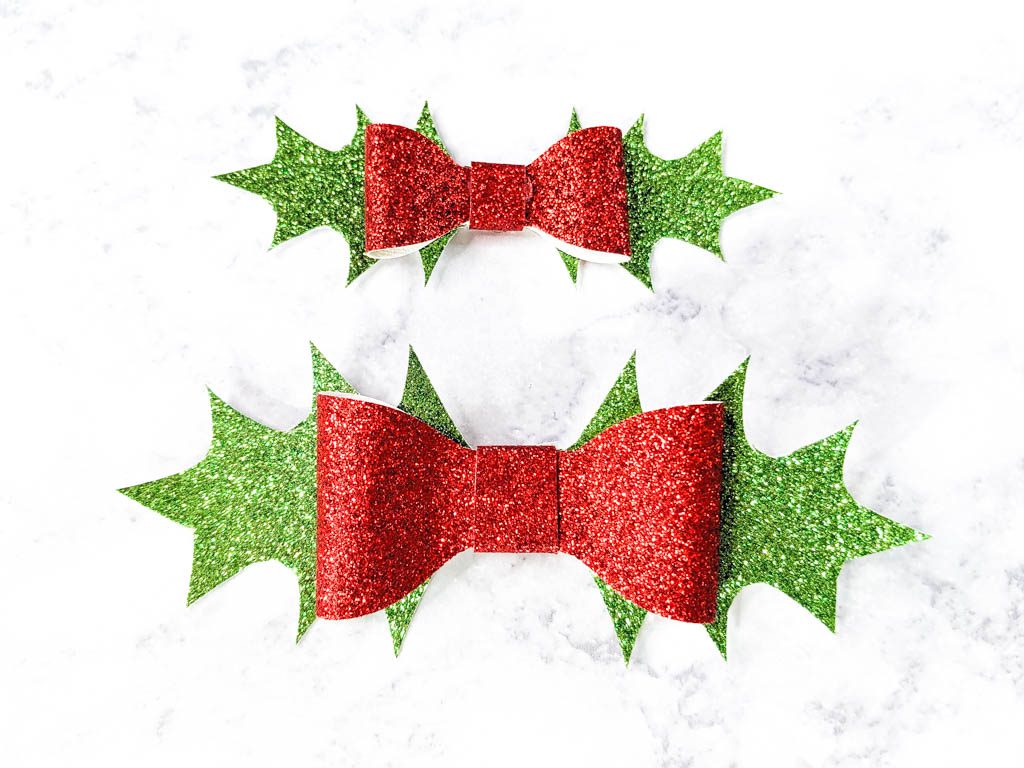
Learn how to make these holly hair bows to add festivity to any outfit. They are quick, easy to make and are perfect for Christmas! There are two sizes you can make, small and large. There are also a few variations for the holly berries depending on what materials you like.

The small measures approximately four inches long by one and a half inches tall. The large measures approximately five inches long by two inches tall.
*This post may contain affiliate links.
Here is what they look like in felt, faux leather and glitter canvas. These all have different materials used for the berries. The first bow in the picture below has felt berries (Cut from the pattern pieces.) the second has decorative glitter balls and the third has glitter pom poms.

You can also choose to skip the berries and not add them at all. If you like these holly hair bows, make sure you also check out these cute DIY stacked hair bows.
Supplies Needed for Holly Hair Bows
- Faux leather, glitter canvas or felt. (Green and red.)
- Glitter pom poms or decorative glitter balls (Optional for berries.)
- Hot glue gun
- Hot glue sticks
- Alligator clips
- Scissors (If using PDF)
- Cut machine (If using SVG)
- Fabric pen (If using PDF)
Get the Files Here
Click on the pink button above to download the files for the holly hair bows.
*These files are for personal and commercial (up to 50 times) use only.

SVG Cutting Instructions
Load the SVG into your cut machine software. select the material type, and send it to cut.

Load the material onto your cutting mat and feed it into the machine. Cut the SVG.


PDF Cutting instructions
Print the PDF and cut out the pattern. Once it’s cut you can trace the pattern onto the backside of the material with a fabric pen.

After that cut it out using the outline made with the fabric pen.

I use a disappearing fabric ink for this so that if there are any markings left over, they won’t stick around.

Assembling the Holly Hair Bows
Tip: Hot glue needs a rough or porous surface to grab onto and sometimes faux leather can be a bit too smooth for the hot glue to create a strong bond. Using a bit of sand paper on the smooth surface that will be glued can make that bond stronger.
Take the top bow piece and put some hot glue in the middle of the back side.

Fold both sides over so the ends meet in the middle sitting in the hot glue. Tabs should be touching but not overlapping. Let the glue cool down.


On the bottom bow piece, place a bit of hot glue on the center front.

Set the top bow piece directly on top of that glue. Your bow pieces will now be stacked.

Finishing the Holly Hair Bows
Take the center tab and set it flush with the top of the middle section of the bow on the backside.

Clip the alligator clip onto the tab piece so it sits vertically centered on the bow. (See image below.)

Hot glue the tab in that position. (Alligator clip will be in the hot glue.)


Flip the bow over and put some hot glue on the center front of the bow.

Wrap the center tab around to the front and press it down on top of the glue.

Wrap the remaining bit of the center tab back over to backside. Put hot glue in between the last bit of the center tab piece and the backside of the bow.

Open the alligator clip and place the center tab inside it.

Let the glue cool down.

If you are omitting the berries, you’re bow is done! If you are adding the berries, put some hot glue in the middle of the bow front side.

Put the berries on top of the glue. Let it cool down and the bow is done.


I hope you have so much fun with these free SVG’s and Patterns. Thank you so much for reading and have a merry Christmas!
Interested in ornaments? Check out these cute DIY candy canes.
