I recently came across some clay molds and thought how perfect they would be as earrings! Using one mold I made two different versions of earrings, dangle and non-dangle. I wanted to share the process with you so that you can make some too!
This post may contain affiliate links

Supplies Needed
- Liquid clay
- Clay mold
- Jump rings (6mm)
- Earring hooks
- Jewelry pliers (Easier if two pairs are used)
- Jewelry chain (for the dangle version)
- Baking sheet
- Aluminum foil (optional)
If you’re looking for more DIY earrings to make, check out these fun druzy stone earrings, or these pom pom earrings. I also have a post for faux leather earrings.
Clay Earring Prep
You’ll start by using the liquid clay to fill in the mold. Use the scraping tool that comes with the mold to help fill in all the gaps. Pay attention to any bubbles that may form in the mold. They will all need to be popped and filled in with more liquid clay. (Do this with the scraping tool.) Scrape any excess clay off of the mold and put it back into the bottle, or wipe it on a paper towel and discard.


Baking the Clay Earrings
Once you have your mold all filled in you’ll need to bake the clay. These baking instructions apply to the particular clay and mold I used. If you are using something other than what I did, you’ll need to use your clay and mold package instructions.
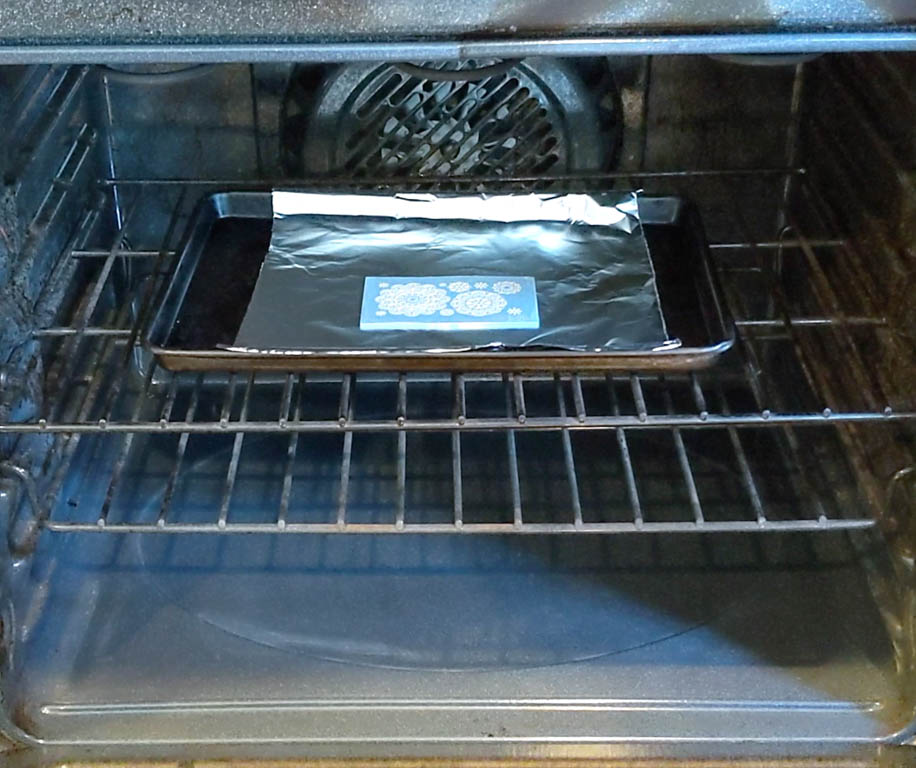
Preheat your oven to three hundred degrees Fahrenheit. While waiting for your oven to heat up, prepare your baking sheet by lining it with aluminum foil to protect it from any spilled clay. Place the clay filled mold on top of the aluminum foil in the baking pan.
Once the oven is ready to go, put the pan in the oven and set a timer for fifteen minutes.

After the clay is done baking let it cool completely.
Gently peel the clay out of the mold.

Assembling the Clay Earrings: Non-Dangle Version
Open up a jump ring and place a clay piece and an additional jump ring on it. Close the first jump ring.


Open the second jump ring and place the earring hook on it. Close the second jump ring.

Repeat the process for the second earring to match and you’re done. They are ready to wear!

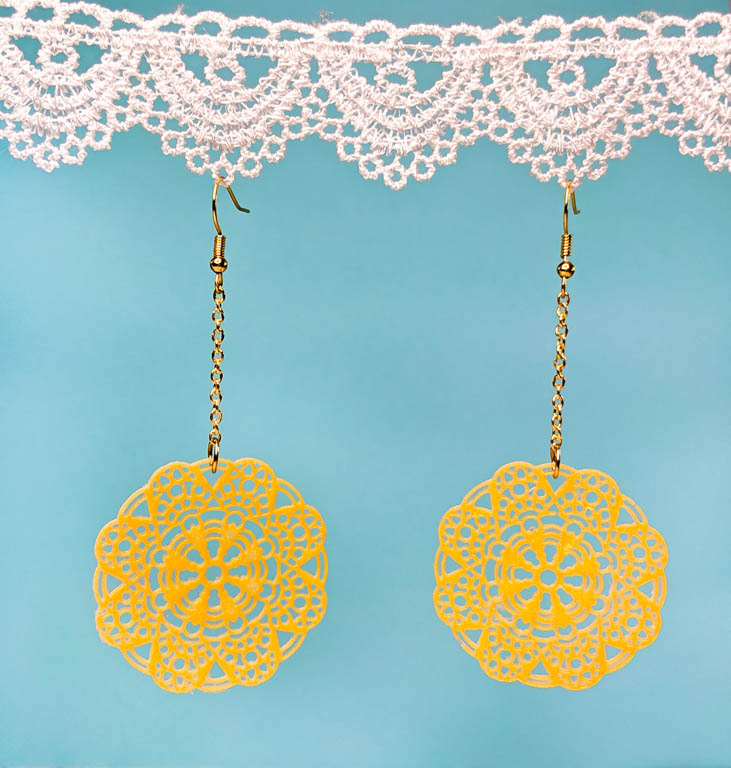
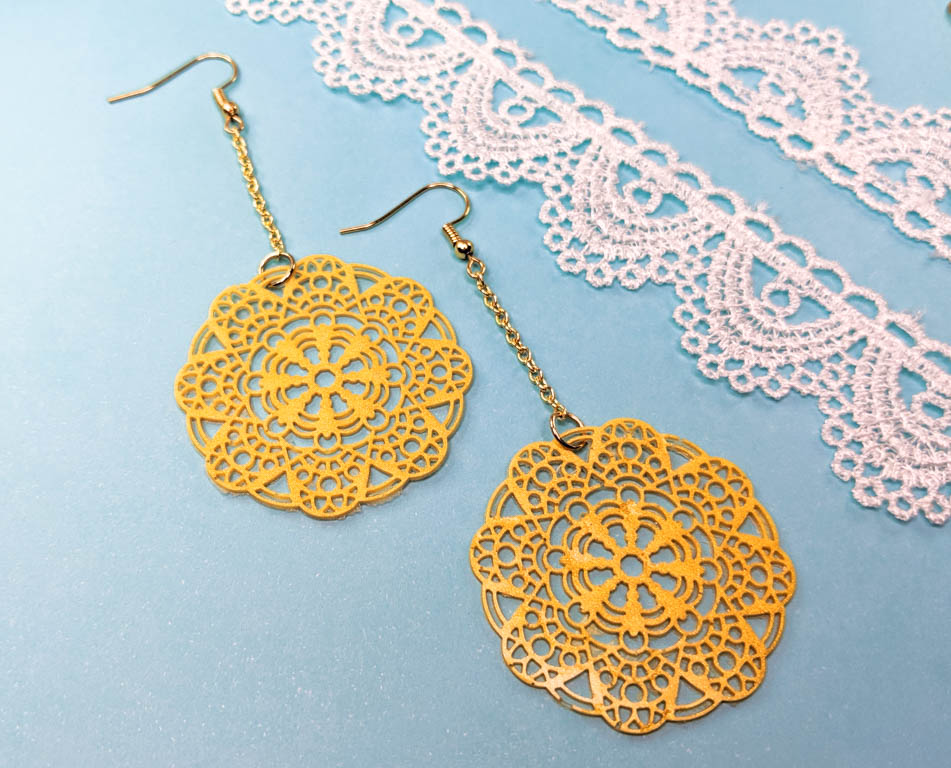
Assembling the Clay Earrings: Dangle Option
Measure an inch of the jewelry chain, and use the jewelry pliers to open a chain link to detach it from the spool.

Open a jump ring and place the clay and one end of the chain on it. Close the jump ring.


Take the earring hook and open the loop on the end with the pliers. Place the other end of the chain on the open earring loop. Close the earring loop.


Repeat the process for the second earring to match and that’s it for the dangle earring option. They are ready to wear!
I hope you’ve enjoyed this tutorial. Thank you for reading and keep an eye out for a matching necklace tutorial to complete this set of clay jewelry!
