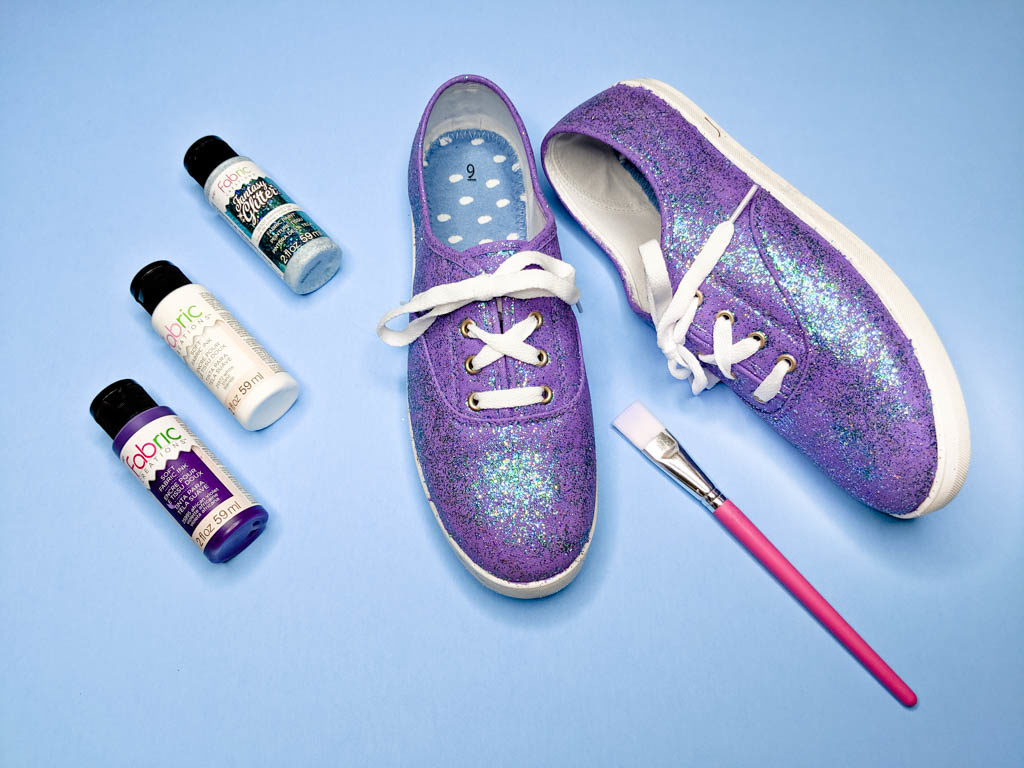
Glitter Shoes are such a fun craft project! They are a great idea for teens or adults. You can choose any colors to make just about any look you want. I picked some fabric paint that would help me create a bit of a mermaid look.
This post contains affiliate links.

Here is how I made them.
Supplies needed:
- White shoes
- Fabric paint (I used the colors purple and white)
- Glitter fabric paint (I used the color “Mermaid Tail” )
- Paint brush
- Clear tape
- Disposable table cloth (Optional)
- Q-tips (Optional)
Looking for more fun DIY projects? Check out these cool glow in the dark flowers, or these cute hair bows.
Glitter Shoe Prep
Spread out the table cloth (if you are using one) to protect your working surface.
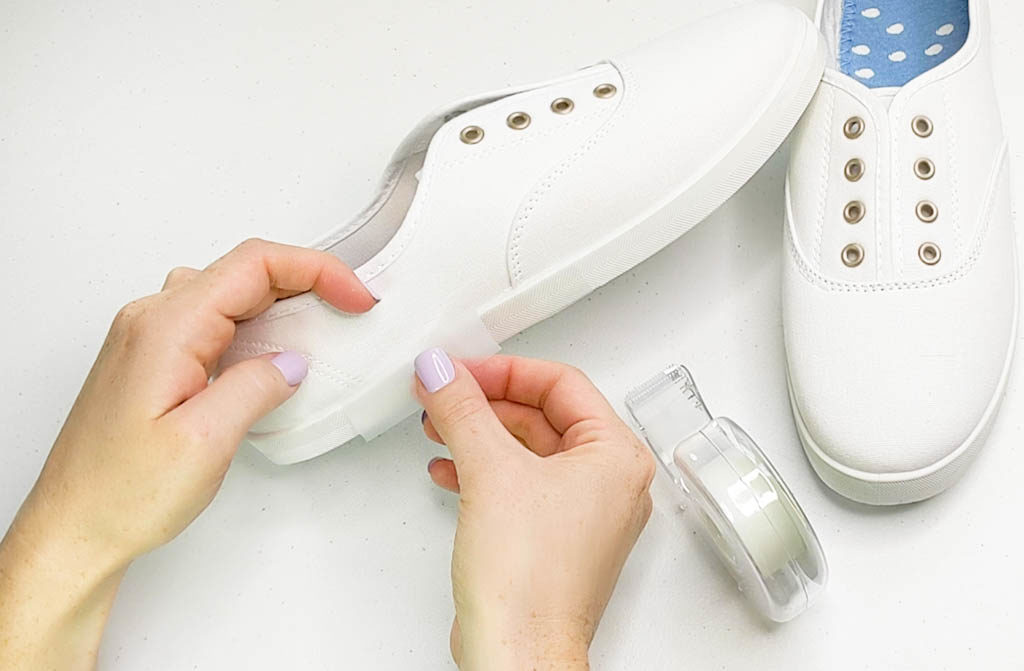
Take the shoe laces out of both shoes. Using the clear tape, line the rubber sides of the shoes so you don’t get paint on them.


Painting the Shoes
Take the paint brush and paint the fabric portion of the shoes. No need to be carful around the grommets, they will get cleaned off later. Don’t forget to paint the tongue of the shoe.

Note: To get the color purple I used, I mixed purple and white fabric paint with a one to one ratio.
Let the first coat of paint dry until you can touch it and the paint doesn’t come off on your finger. Once the paint is dry enough, paint the shoes with the glitter paint. Cover all fabric areas including the tongue of the shoe.

When you have the amount of glitter you want on your shoes, take a Q-tip and wipe the excess paint off of the grommets.

Let the shoes dry for twenty four hours. Don’t touch them during the drying process or else you will pull some of the glitter off of the shoes with your hands.
Finishing the Shoes
After the twenty four hours are up, peel all the clear tape off of the shoes.

The fabric paint needs to be heat set to become permanent. Put them in the dryer for 20-30 minutes. I would also suggest pulling out the insoles of the shoes so they don’t fall out and melt in the dryer. (Yes that’s a real thing. Ask me how I know!)

After the shoes have been heat set, lace them back up and they are ready to wear!


Thank you so much for reading! I hope you’ve enjoyed this tutorial.
