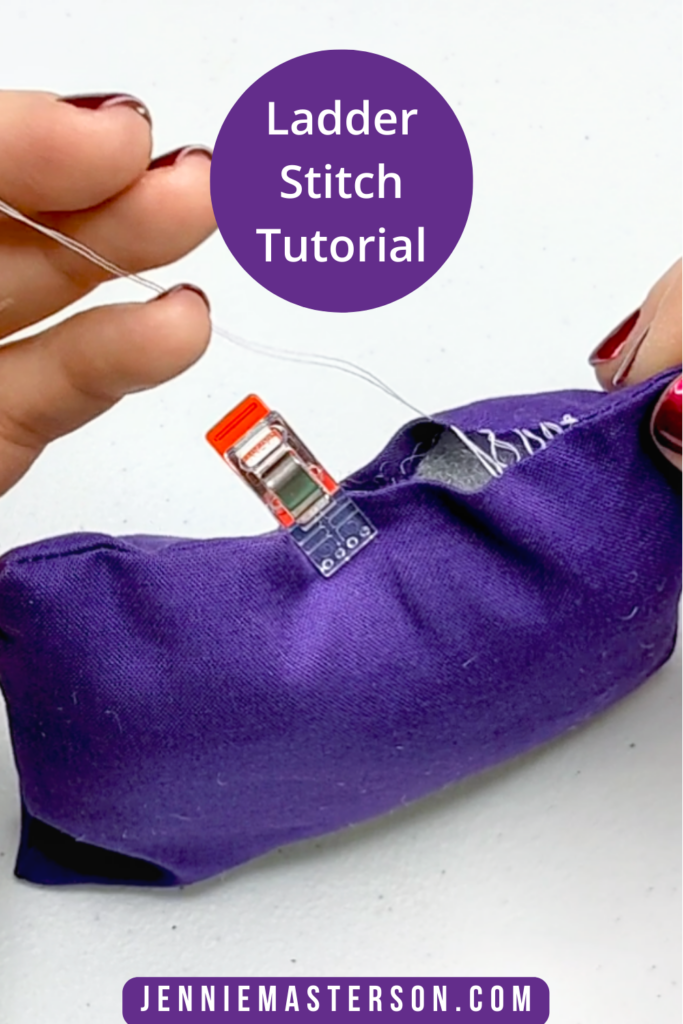
The ladder stitch is a clever little hand stitch and is often called the “invisible stitch” because it hides so well between layers of fabric. If you’ve ever sewn up a hole in a pillow or closed the back of a stuffed animal, chances are you’ve used the ladder stitch (or wished you knew how). It’s a fantastic skill to have, especially for those little projects where you need a polished, professional finish without any visible stitching.
This article will walk you through the ladder stitch from start to finish, share some tricks to make it easier, and answer common questions so that you’ll be sewing like a pro in no time!
What Is the Ladder Stitch?
The ladder stitch is a type of hand-sewing stitch that’s nearly invisible. It’s perfect for closing up seams on anything you don’t want the stitching to show on – think pillows, toys, cushions, and even hems. When done right, it looks like a tiny ladder (hence the name), with the stitches hidden between the layers of fabric. Once pulled tight, the seam magically disappears, leaving a smooth finish.
Tools and Materials You’ll Need
Before you start, gather up a few supplies. You don’t need much for a ladder stitch, which makes it a go-to technique when you want a quick, simple sewing project.
- Sewing Needle: Choose a sharp, fine needle for easy sewing.
- Thread: Pick a thread color that closely matches your fabric to enhance the “invisible” effect.
- Small Scissors: Handy for trimming thread.
- Thimble (Optional): Protects your finger, especially if you’re sewing thick fabric.
- Fabric Clips or Pins(Optional): Useful for holding fabric edges together while stitching.
How to Sew a Ladder Stitch: Step-by-Step Guide
Step 1: Prepare Your Fabric
First, line up the edges of the fabric you want to close. For example, if you’re sewing up a pillow opening, tuck in the raw edges so the seam looks nice and clean. Make sure the fabric layers are evenly aligned; you don’t want one side sticking out more than the other.
You can use fabric clips or pins to keep the edges in place while you work. I personally like clips since they don’t distort the fabric as much.
Step 2: Thread Your Needle
Now, cut a piece of thread about 18 inches long – any longer, and it can tangle easily.
Knot the end of your thread so it doesn’t slip through the fabric. Here’s a tip: if you’ve ever struggled with tying knots, try licking your finger and looping the tail of the thread around your finger, then use your thumb to sandwich the thread loop between your fingers slide the thread off your finger using your thumb and pull it tight. My Aunt taught me how to do this and I find it’s the easiest and quickest way for my to knot off tail threads.
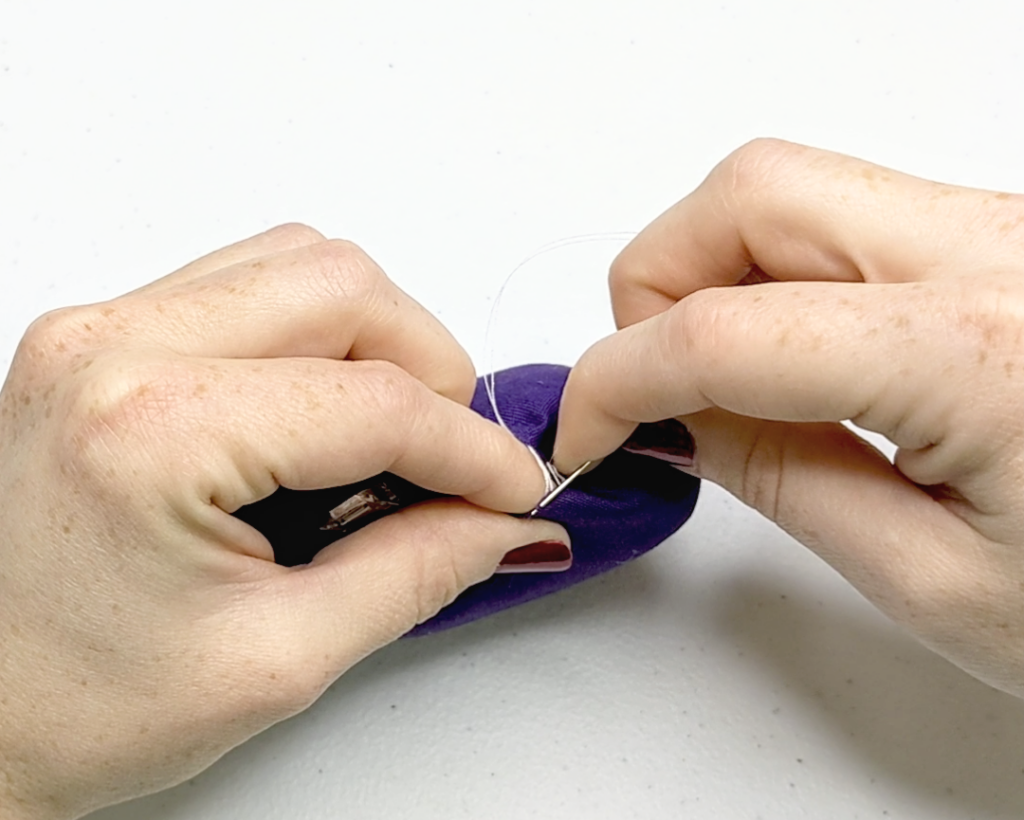
Step 3: Start the Ladder Stitch
To make your ladder stitch truly invisible, start by hiding the knot inside the fabric. Insert the needle from the inside edge of one side of the seam. Pull the thread through until the knot catches inside the seam.
Making the Ladder Stitches
- Make a Small Stitch on one side of the fabric, then move directly across to the other side.
- Repeat the Stitch on the Other Side. You’ll move in a horizontal line, back and forth across the seam opening, like you’re creating little “rungs” of a ladder.
- Keep the Stitches Even. Try to make each stitch about the same size – roughly ⅛ inch. This keeps the seam neat and tight.

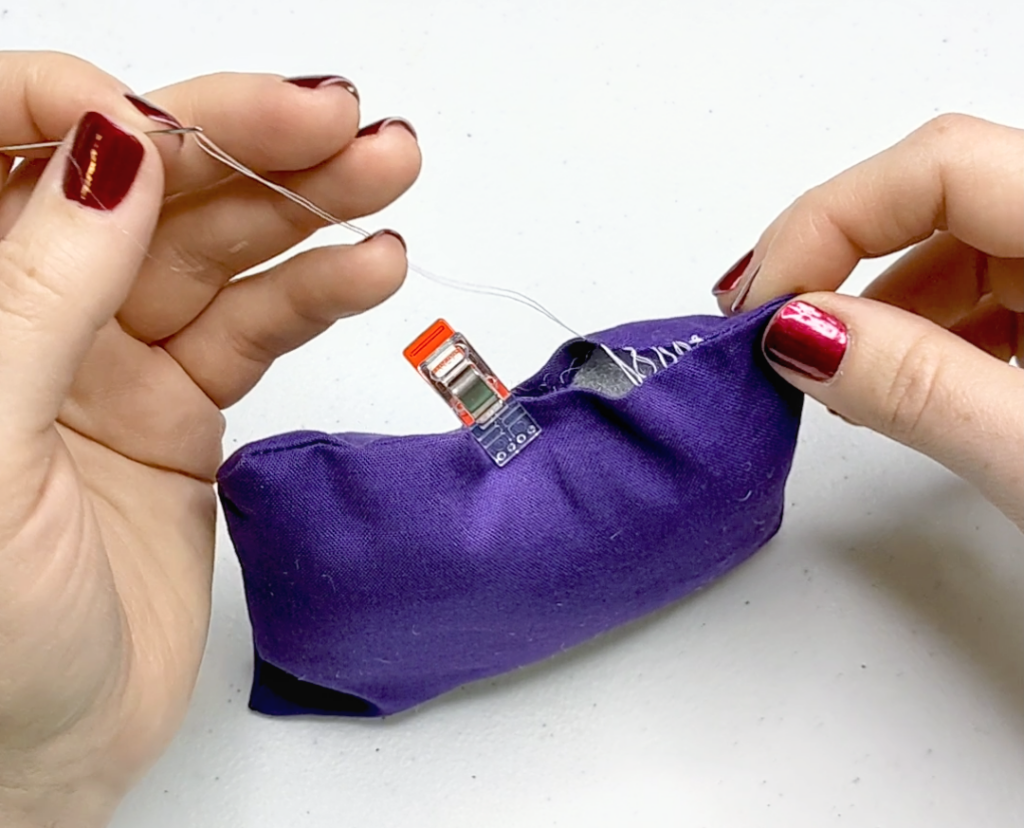
Step 4: Continue Stitching Until You Reach the End
As you stitch along, pull the thread gently every few stitches. You’ll see the fabric edges start to pull together, closing the seam. Try not to pull too hard, or you might get puckers. A gentle pull will close the seam smoothly.
If you’re new to the ladder stitch, you might notice some uneven stitches. Don’t worry! With practice, you’ll get a feel for the spacing, and your stitches will start to look even.
Step 5: Finish the Seam
When you reach the end of the seam, it’s time to finish off your thread. Here’s how to do it neatly:
- Take a small stitch in the fabric and make a knot by wrapping the thread around the needle once, then pulling the needle through. (I like to do two knots for extra security.)
- To hide the thread tail, insert the needle back through the seam and pull it out a little distance away. Then, cut the thread close to the fabric.
This technique hides the end so it doesn’t show on the seam. I love this finishing trick – it adds a bit of polish to the project.
Tips for a Flawless Ladder Stitch
Like any sewing technique, the ladder stitch has its little secrets. Here are some tips to make it easier and more reliable:
- Practice on Scrap Fabric First: This is especially helpful if you’re trying the ladder stitch on a new type of fabric, like stretchy knits or thick fleece. Practicing will give you a sense of how tightly to pull the thread.
- Keep Your Stitches Close Together: The closer the stitches, the better the seam will blend. You want each stitch to sit snugly against the previous one for an invisible effect.
- Watch Your Tension: It’s easy to pull too tight at first, which can create puckers. Instead, aim for a gentle tension that pulls the fabric together but keeps it smooth.
Troubleshooting Common Ladder Stitch Issues
Sometimes, things don’t go as planned. Here’s how to troubleshoot a few common problems:
Uneven Stitches
If you find your stitches are uneven, try marking the fabric lightly with a pencil or tailors chalk to keep track of spacing. Or, go slower as you stitch, checking your work every few stitches.
Thread Tangles
To avoid tangling, use shorter lengths of thread and smooth it out occasionally as you sew.
Loose Seams
If the seam doesn’t look as invisible as you’d like, go back over it with smaller, closer stitches. You can also try using a matching thread color – it’s amazing how much of a difference that can make.
Where to Use the Ladder Stitch
The ladder stitch is so versatile! Here are a few projects that are perfect for practicing this stitch:
- Stuffed Animals: After stuffing a toy, the ladder stitch is ideal for closing the final opening.
- Pillows: The ladder stitch can finish off handmade or store-bought pillows seamlessly.
- Small Repairs: Use it for discreet repairs on hems or seams that split.
Once you start using the ladder stitch, you’ll see how often it comes in handy. From closing up small projects to mending your favorite pillow, it’s a stitch that you’ll be glad to know.
Final Thoughts
The ladder stitch is a fantastic technique for anyone who sews, whether you’re crafting toys for grandkids, sewing home decor, or mending your own projects. It’s easy to learn and quick to pick up with a bit of practice.
So grab some fabric and try it out! Once you master this simple, invisible stitch, you’ll find so many uses for it. And the best part? It’s one of those little sewing tricks that can make any handmade project look just a bit more polished. Happy sewing!