This is a very easy lantern project and makes for a cute finished home decor item. You can learn how to make a fall leaf lantern out of card stock and vellum with this free template!
Fall is such a fun time of year with the seasons changing and all the colorful leaves around. To celebrate the Autumn season, I’ve created this leaf lantern to enjoy on those cozy nights in. I really enjoy them around the bath tub!
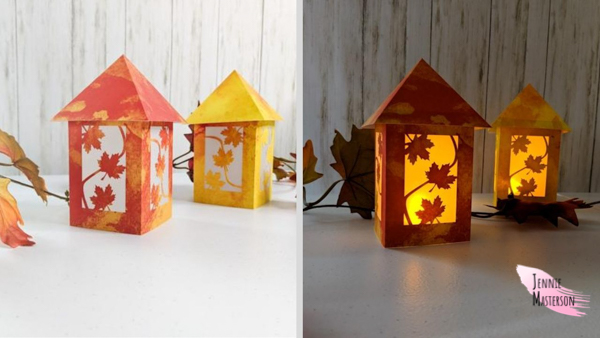
I think this lantern is such a fun decoration to have and I’ve even made a few just for my kids to enjoy. They love them just as much as I do!
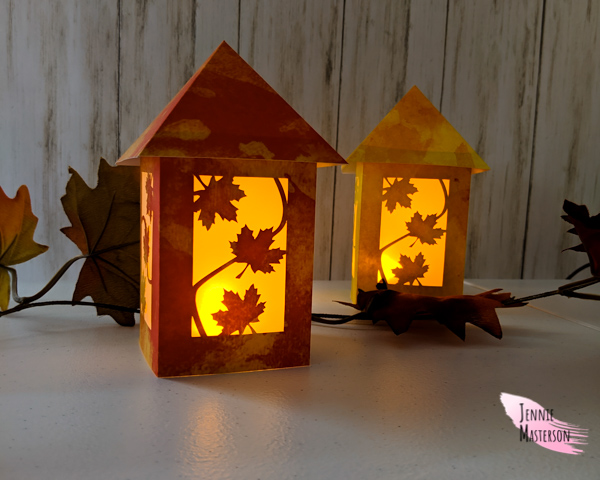
Also if you’re looking for more fall projects, check out this fun candy corn pillow or these bat bows.
Here’s what you’ll need to make these awesome leaf lanterns.
*This post contains affiliate links.
Supplies
- 12″ x 12″ card stock in color of your choice
- Vellum paper
- Glue stick (Or craft glue of your choice.)
- LED tea light (For use with the lantern after it’s made.)
- A way to cut the lantern (I use a Cricut Maker with the blue cutting mat, the scoring wheel and a fine point blade.)
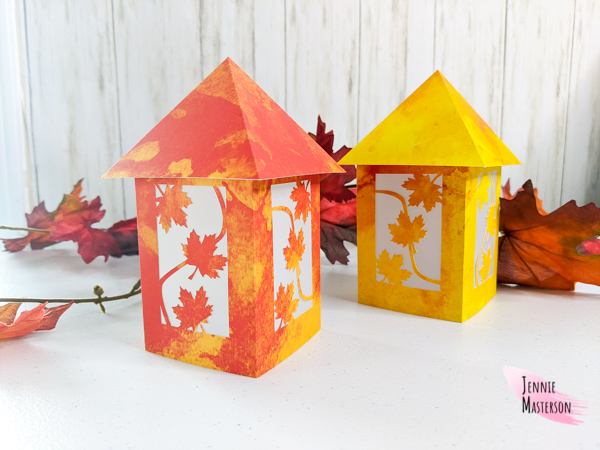
Get the Fall Lantern Here
Click on the button above to get the free lantern file. Just enter your email and you will get access to the instant file downloads. Files come in SVG | DXF| EPS | and PNG formats.
*These files are for personal and commercial (up to 50 times) use only.
Cutting the Lantern Out
Load the SVG into your cut machine’s software. I use Cricut design space so that’s what I’ll be giving examples of.
You’ll need to convert all the straight lines to score, but keep the shapes as cut.
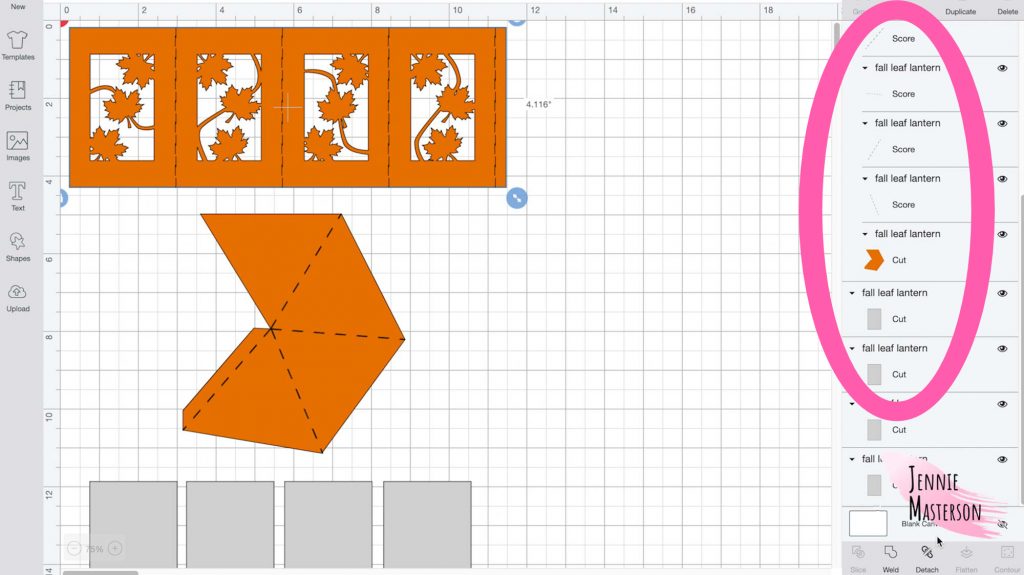
For the inner panels place the vellum paper on the cutting mat and feed it into the machine. Let the machine cut it out.
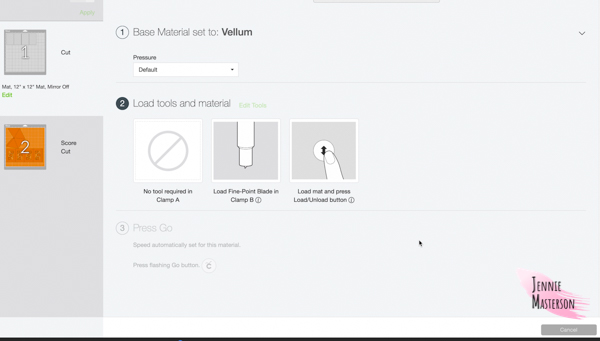
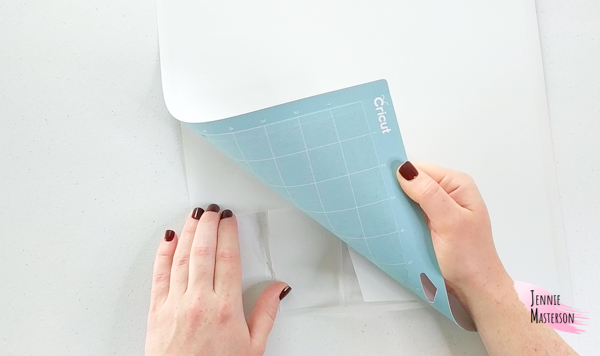
Once your files have been cut, flip the cutting mat over and very gently peel the mat away from the vellum.
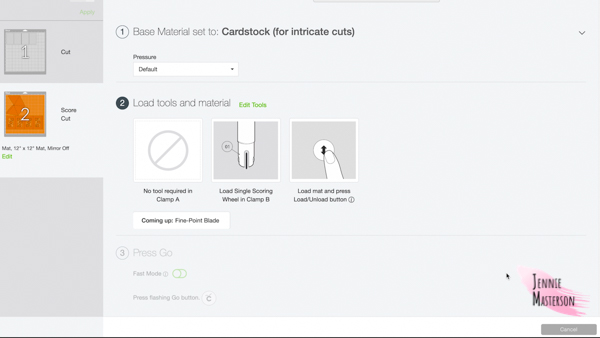
For the card stock outer frame you’ll need to change the cut settings to card stock. I used the settings for card stock intricate cut because I think it gives a nicer result. You can do this too, but do know that it does take twice as long to cut it out this way.
It will need to be scored before it’s cut and you will prompt you to swap the cutting blade out for the scoring wheel. Once the machine scores it, load in the fine point blade and let the machine cut it.
Once your files have been scored and cut, flip the cutting mat over and very gently peel the mat away from the card stock. (Doing it this way helps prevent the card stock from curling.) Take extra care around the fine details so they don’t rip as you pull the mat away.
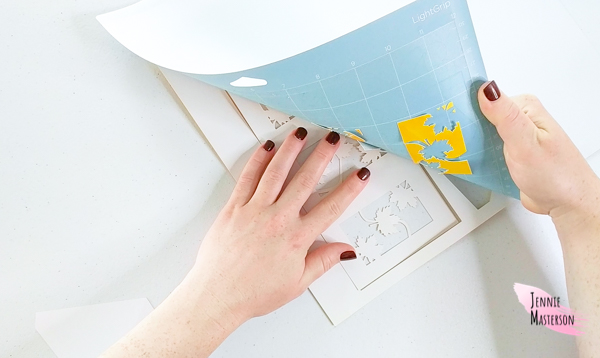
Once everything is cut you should have one lantern piece, one lid piece, and four vellum pieces. The lantern is now ready for assembly.
Fall Lantern Assembly
After the lantern has been all cut out and scored, crease the lantern and the lid along the score lines.
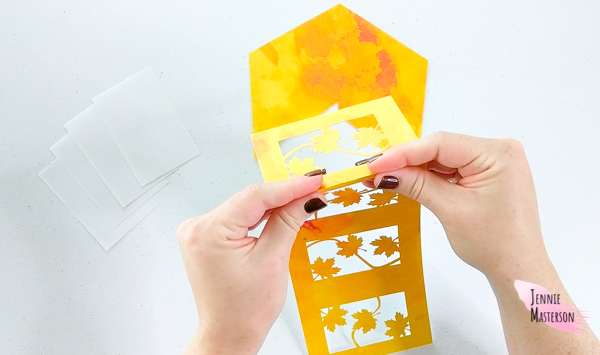
Glue the vellum to the inside of each of the lantern panels.
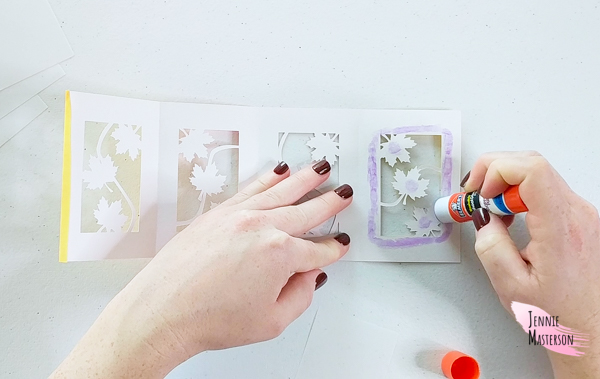
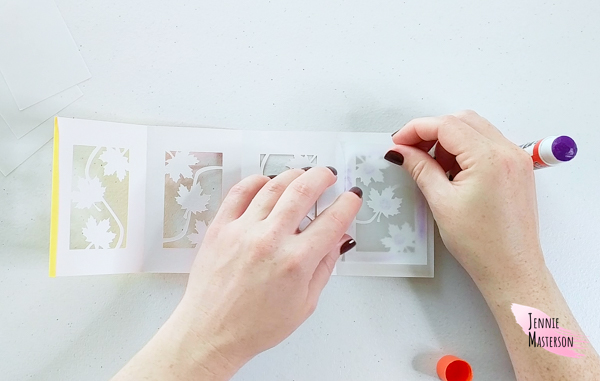
Glue the end tab piece to the inside of the lantern to make the lantern a box.
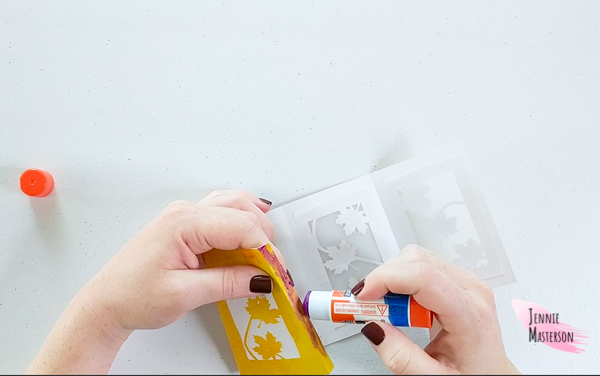
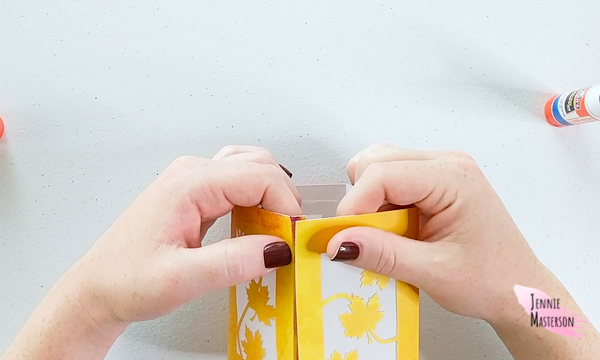
On the lantern lid, glue the end tab piece to the inside of the lanterns opposite edge.
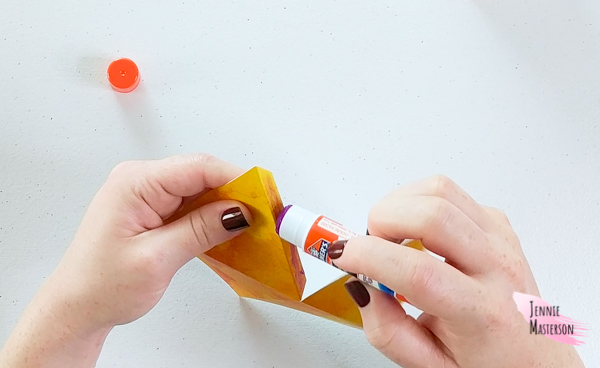
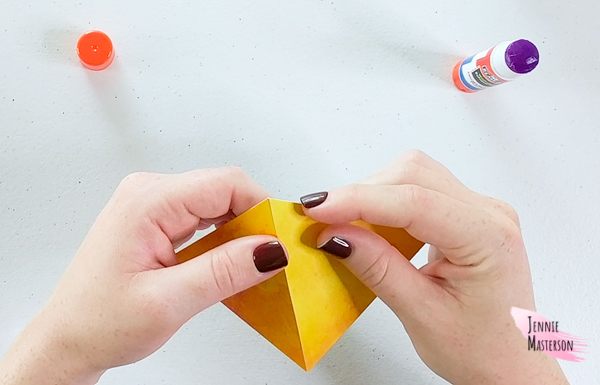
Place the lid on top of the lantern and it’s ready for you to stick the LED tea light in and enjoy.
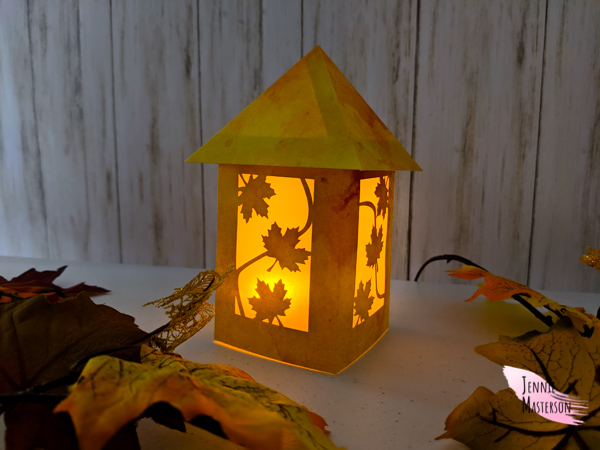
Final Thoughts on Fall Leaf Lantern
I hope you enjoy making these and having them around your home. Thank you for reading and happy crafting!
