Learn to make an easy card wallet
Finding a good wallet isn’t always easy. We all want something that can easily fit in our pocket, yet still have room for all our needs.
I recently created a card wallet that I have fallen in love with and I’m happy to share the pattern with you today. It is a very simple pattern to assemble and looks pretty slick! (If I do say so myself. 😉 )
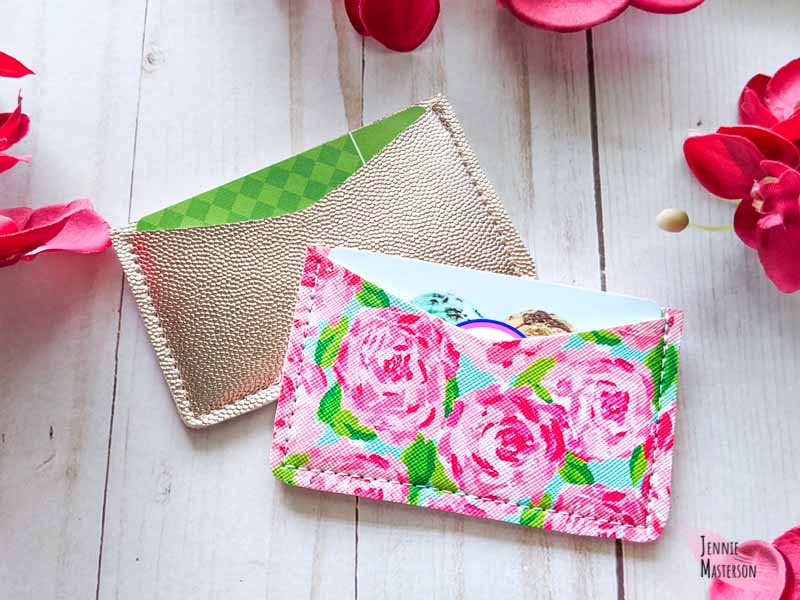
Card Wallet Details
Depending on the color of material you use, this wallet can be made for men and women. I personally use the floral one in the above picture and my seven year old son has laid claim to the brown one below.
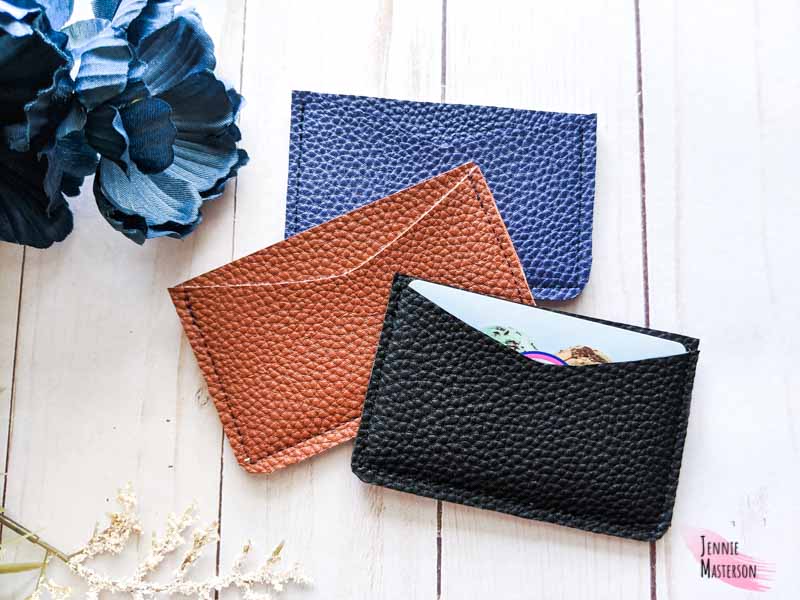
This wallet was designed with cards in mind since we don’t use cash the same way we used to. I also wanted it to be small enough to fit in my front pocket since I’m always afraid of losing a wallet from my back pocket. axesswallets.com has some pretty compelling arguments for using a small front pocket wallet as well.
Personally, I prefer the smaller wallet and put my most commonly used cards in mine, but they can also hold a little cash if the bills are folded over twice instead of once. That was actually discovered by my son sticking all his birthday money in his little brown wallet! I was able to fit at least 5 cards in my wallet and a couple of cash bills. If you try to fit much beyond that, it may be too tight for everything to fit.
*This post contains affiliate links.
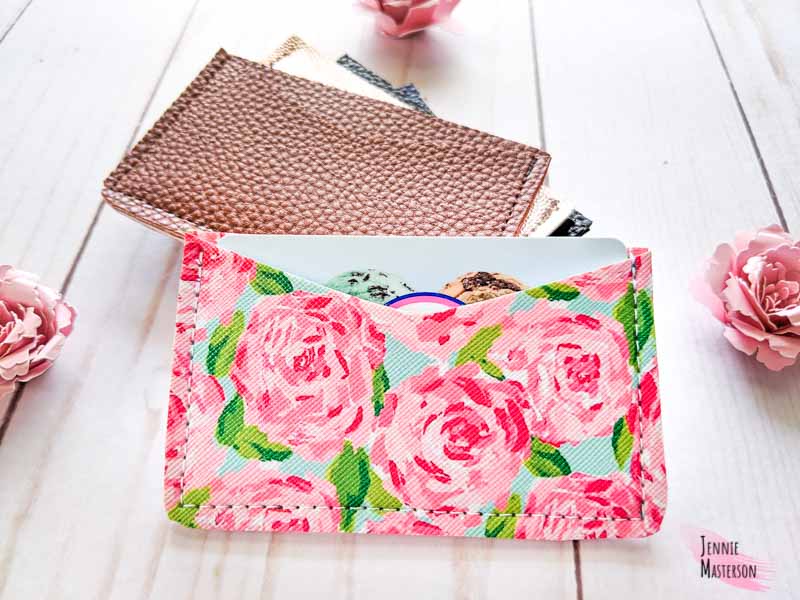
The final wallet measures about 3.75 inches wide by 2.25 inches tall. There are two pockets for card and cash holding.
The faux leather might sound intimidating, but It’s easier than you might think. That’s actually why I’m including tissue paper in the supply list as well. Using tissue paper while sewing with faux leather makes it a breeze. It won’t get stuck in your machine and the paper is not going to damage your needle any more than the faux leather will. (I know that’s a concern for some.)
Supplies
I also suggest using a heavy duty or denim sewing machine needle as it will be more sturdy sewing through all the layers.
Don’t like the ads? Get an ad free printable version of this tutorial and pattern in my Etsy shop.
Get the Free Pattern Here
To get the Free Pattern, click the pink button above. Just enter your email and you will gain access to the download.
*This pattern is for personal and commercial (up to 50 times) use only.
The pattern has a PDF and an SVG so you can either cut this out with a cut machine, such as a cricut, or you can use scissors or a rotary blade. You will need scissors at some point either way.
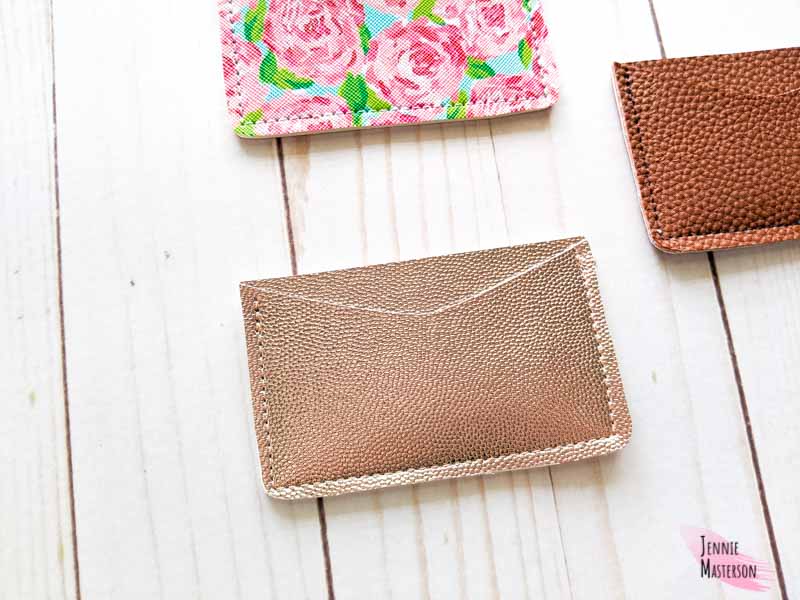
I spent a good while prototyping the wallet I’m sharing with you today. It went through several versions before I was finally happy with how much it can hold and how sleek it looks. I did my best to make this pattern super easy to make. It’s very simple, only has a few pieces and it goes in the sewing machine only one time. Yes you read that right, ONE TIME. So with that being said, beginners should feel confident sewing this wallet.
Also check out some more fun free sewing patterns like this glitter zipper bag, and these scrunchies in my free patterns tab.
Cutting the Pattern (SVG Version)
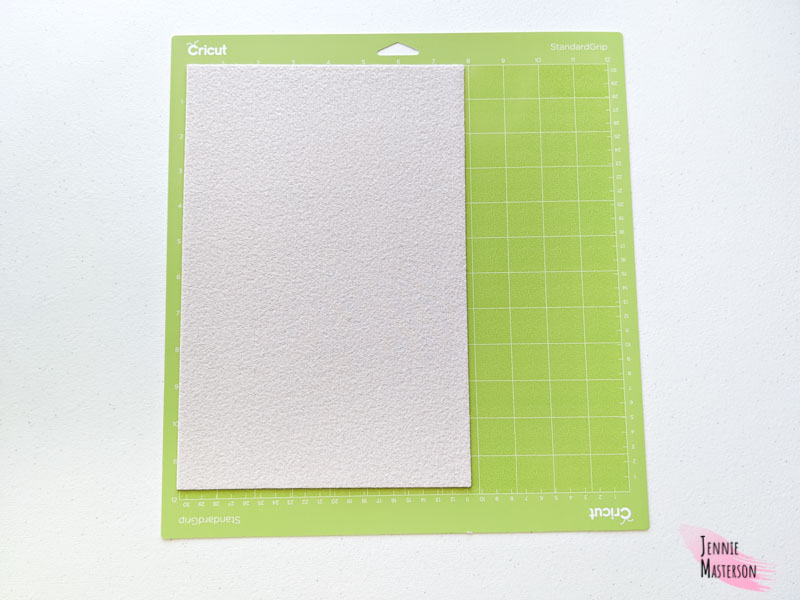
Place the faux leather onto the cutting mat. You want it face down so that the pretty side is what is sticking to the mat.
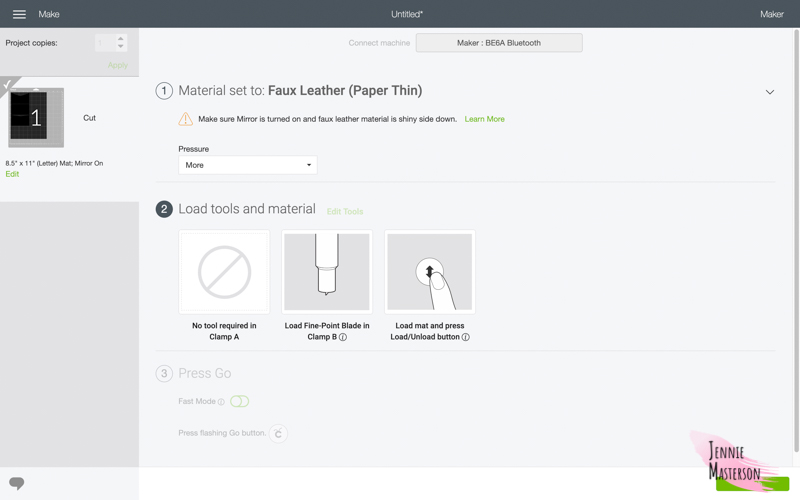
Load the SVG into your cut machine’s software. Make sure that the width of the uploaded image is 4.25 inches. Mirror the image and send it to cut.
Note: Mirroring the image won’t effect this particular project, but it’s good practice to mirror any project that has you load your material face down on the mat.
After it’s cut, pull everything off the mat and use the full rectangle piece as a pattern to cut out a bit of tissue paper.
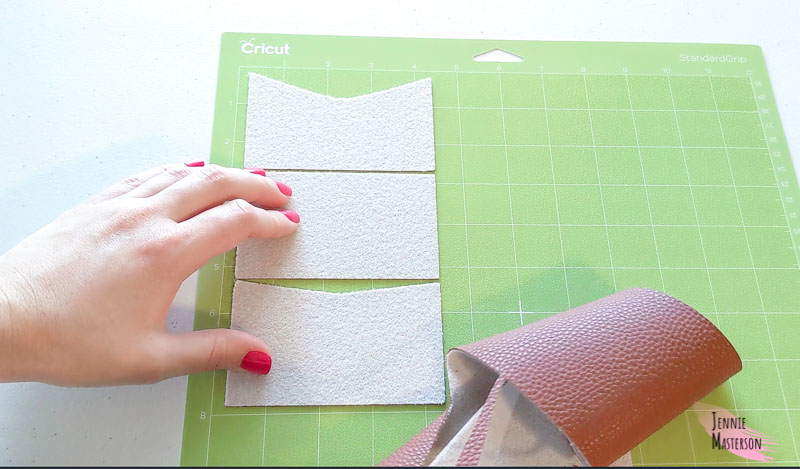
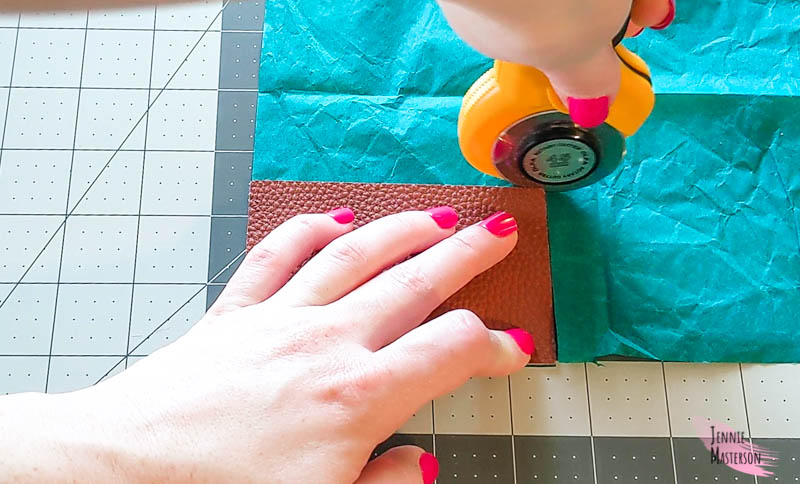
You should now have four pieces to work with. The front, which has the lowest dip. The middle, which has no dip. The back which has a shallow dip. and one rectangle of tissue paper. (Same size as middle piece.) You’re now ready to sew.
Cutting the Pattern (PDF Version)
Print out the PDF and cut out the pattern pieces. Once you have those cut, use them to cut out the faux leather and tissue paper. You can use scissors to do this or a rotary cutter and mat.
When everything is cut out, you should have one front piece, one middle piece, and one back piece in faux leather. You should also have one middle piece in tissue paper.
Assembling the Wallet
You’re going to stack all four pieces of material that you have. Start with the back piece face down.
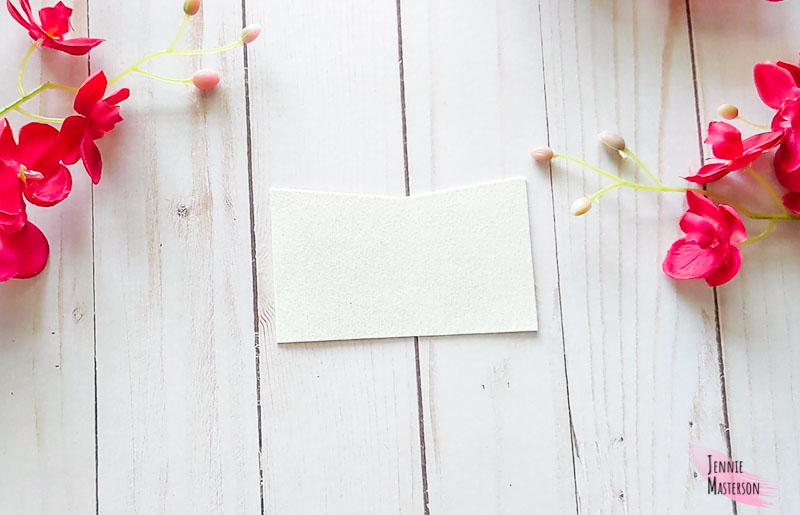
Then stack the middle piece (in faux leather) on top of it face up.
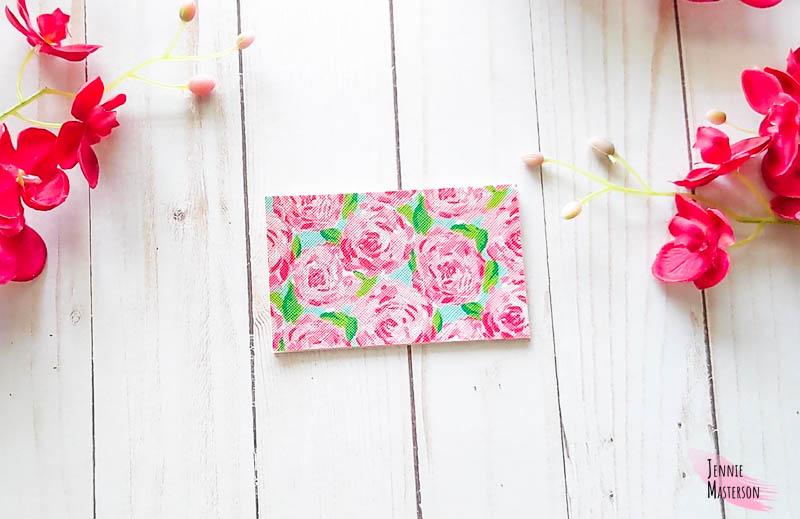
After that, stack the front piece on top face up.
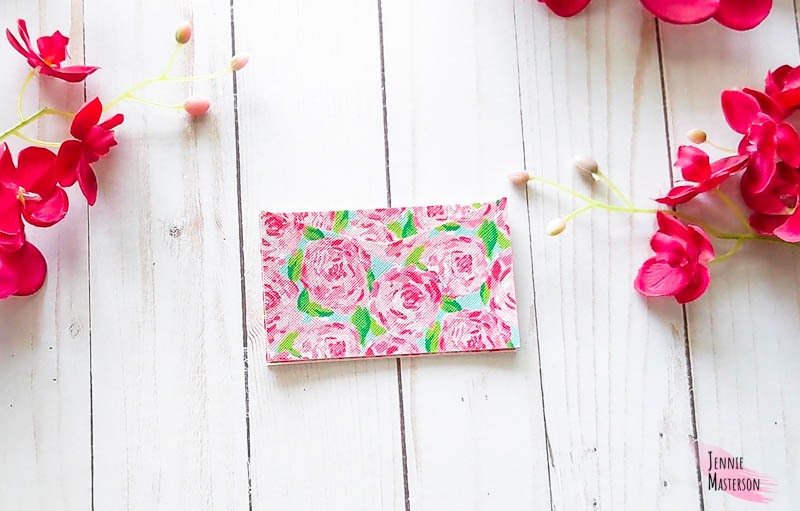
Finally, Stack the tissue paper on the very top.
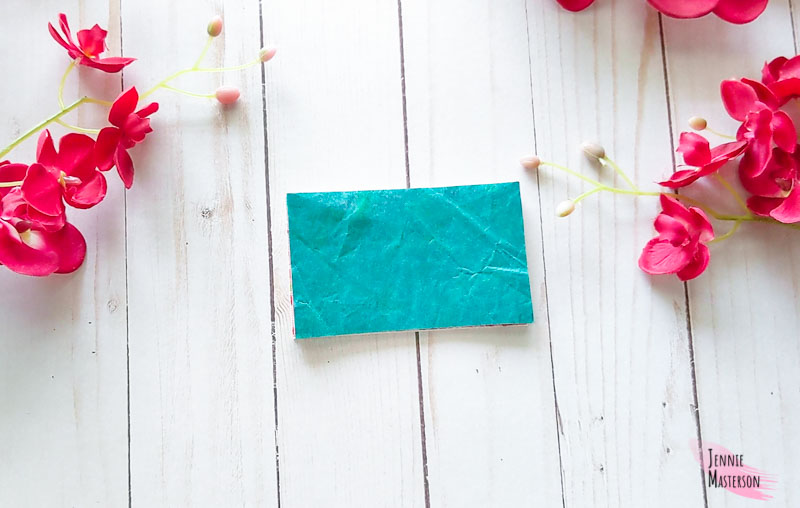
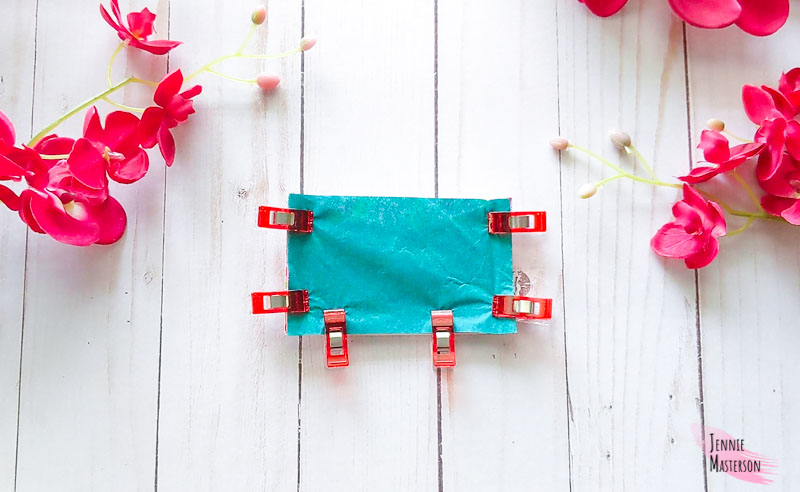
Make sure all edges are aligned and nothing is sticking out farther that the others. All pieces should be exactly the same size on the sides and bottom. Use the wonder clips to hold everything in place.
Note: As tempting as it might be, do NOT use sewing pins to hold the pattern in place. Pins will put holes in your faux leather that are permanent and will be seen.
Sewing the Wallet
Use a stitch length of 3.5 or more. The included seam allowance is 1/4″. Make sure to back stitch at the start and end of the seam.
Start on the right side of the wallet and sew down the edge leaving a quarter inch unsewn at the bottom. (Don’t pull the material out of the machine after that.)
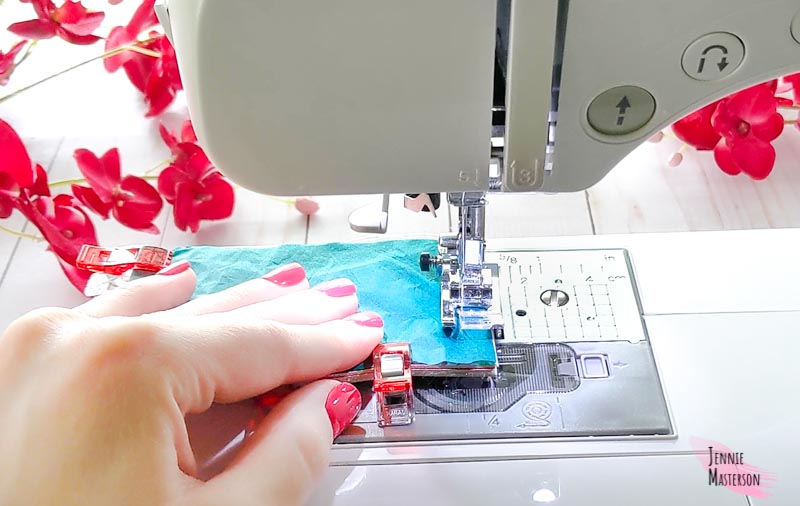
With the needle still in the material, lift the presser foot and rotate the material so you can sew the bottom side next.
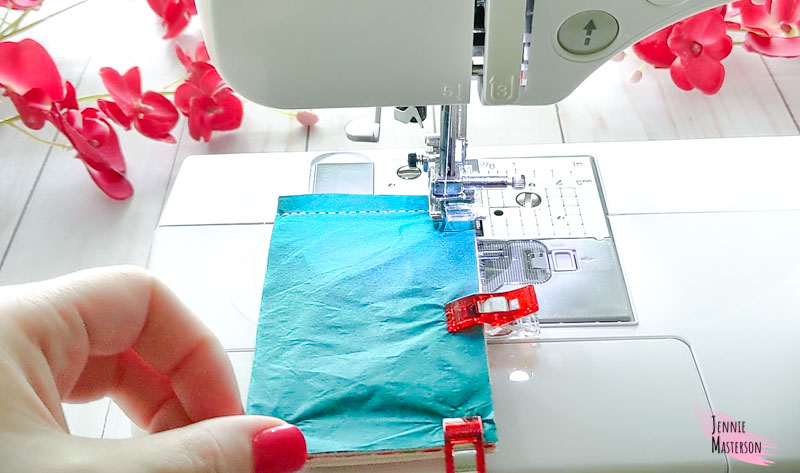
Put the presser foot back down and sew the bottom edge leaving a quarter inch unsewn at the end. With your needle still in the material just as you did before, lift the presser foot and rotate the material to sew the final side of the wallet.
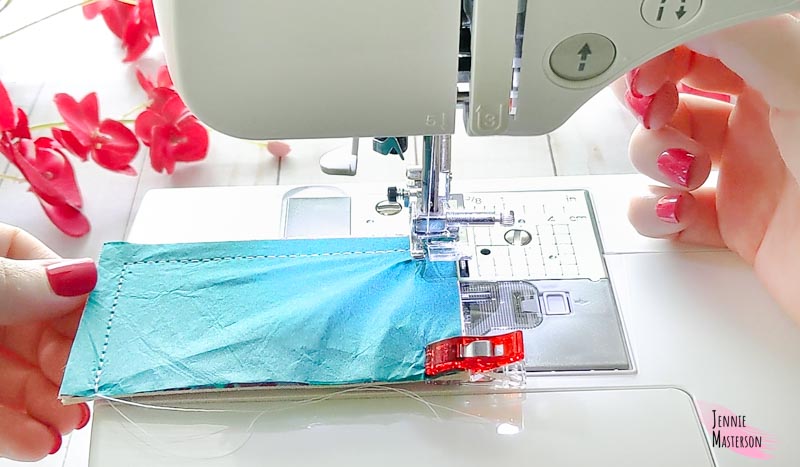
Put the presser foot back down and sew the final side of the wallet. (Remember to backstitch.) This is what you should have when finished.
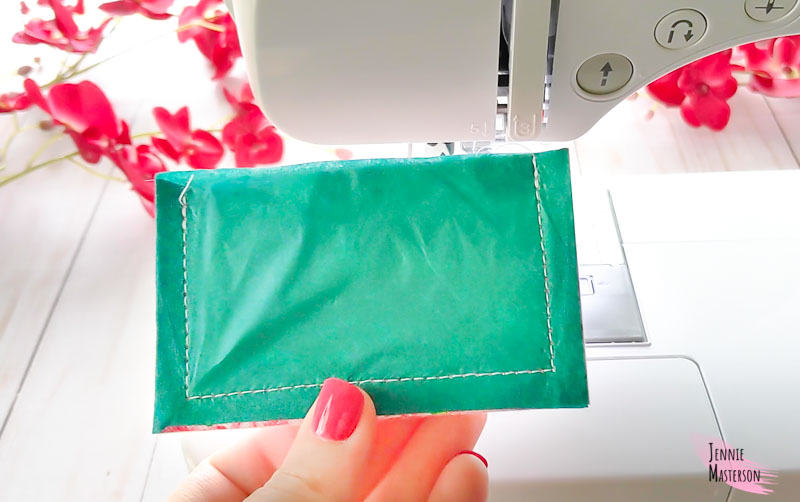
Finishing the Card Wallet
The tissue paper will now be perforated from the stitches. Tear the tissue paper away from the faux leather. Make sure to pick off any pieces left behind. You can use tweezers for that if you need to.
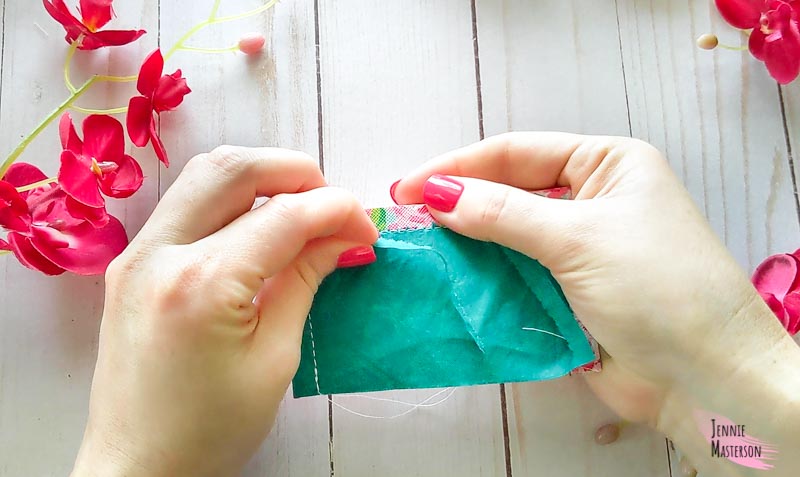
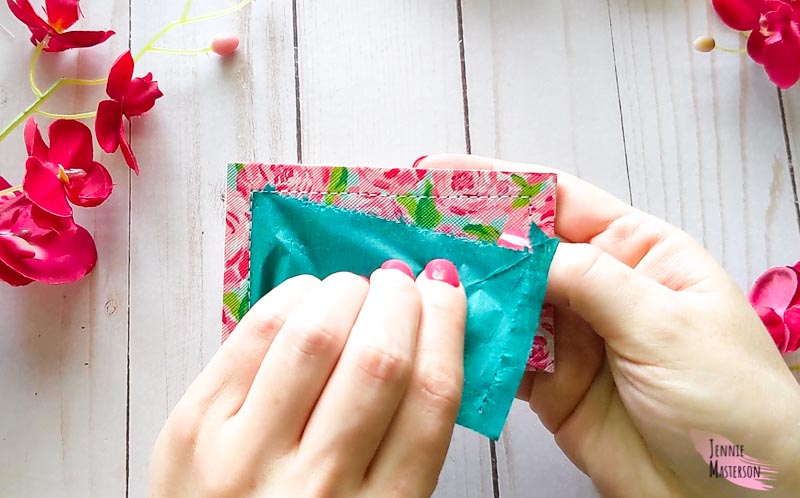
Trim any threads left from sewing.
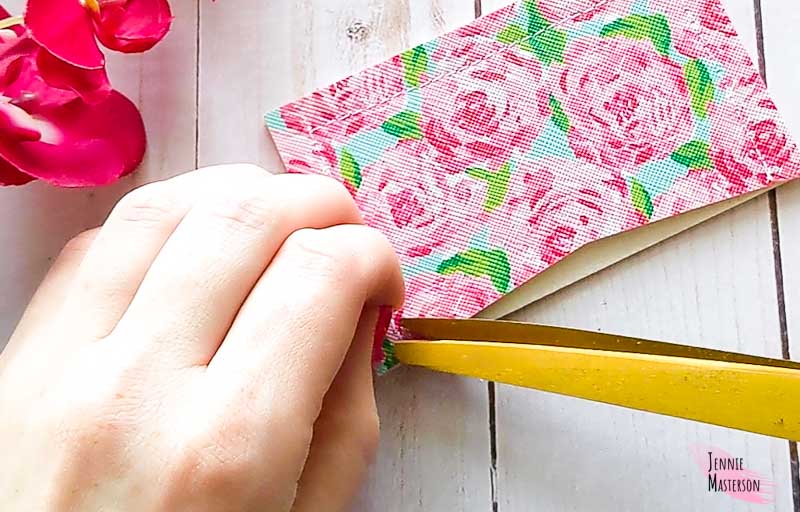
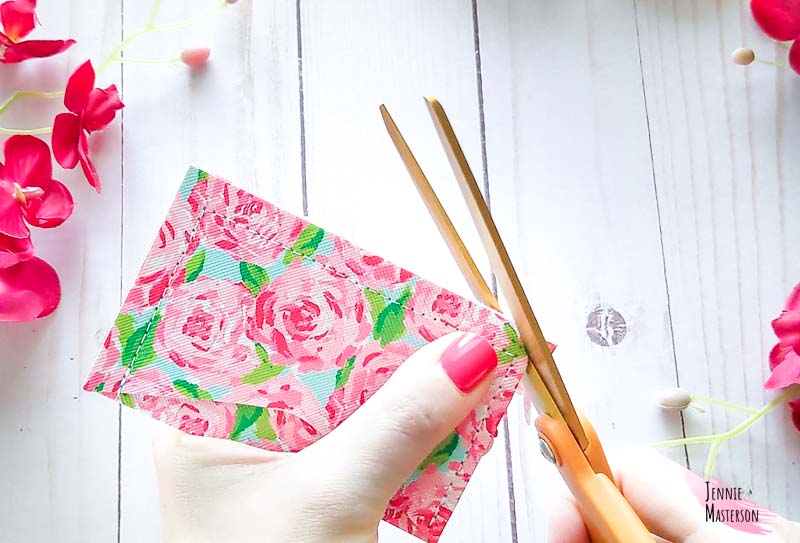
Trim the sides and the bottom down to 1/8th inch, rounding the corners as you go.
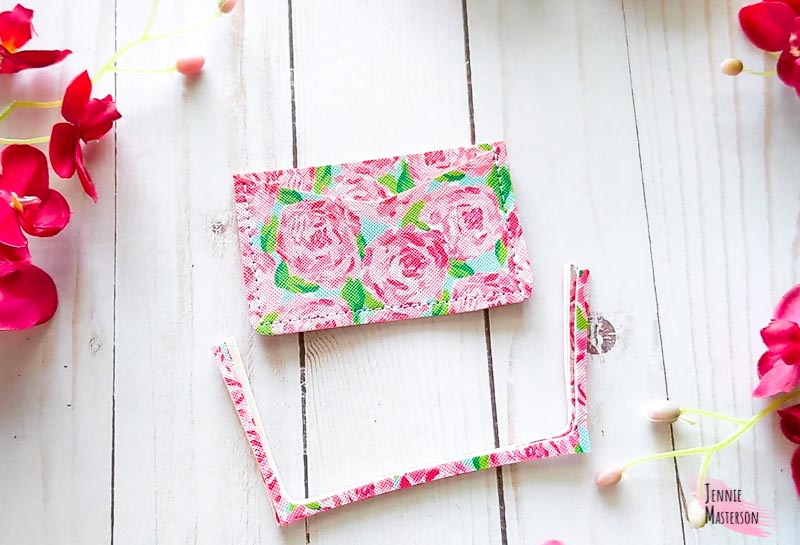
The card wallet is now finished! It’s ready to be used, given as a gift, or simply admired for your craftsmanship! These wallets might even do well at a craft fair. I hope you enjoy the free wallet pattern and get good use out of it. Thank you so much for reading!
