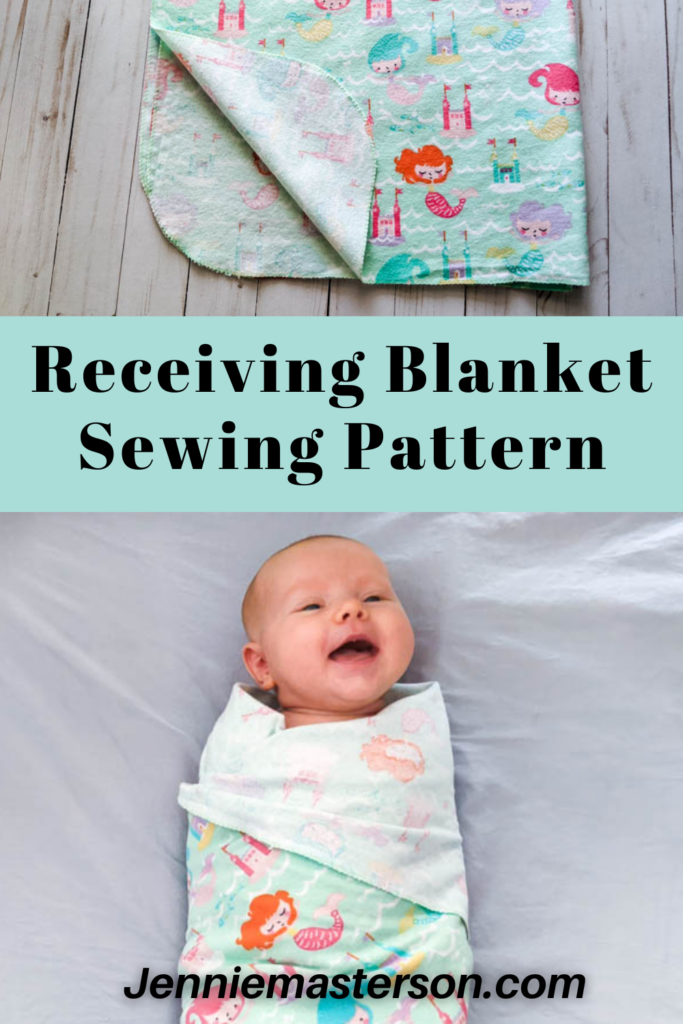
DIY Swaddle Blanket
Learn how to make an easy receiving blanket for baby. This quick sewing project is easy enough for any beginner. It’s also the perfect DIY baby shower gift, and will be appreciated by any new parent.
Receiving blankets are also often called swaddle blankets because they are perfect for, well, swaddling! They are also great if you need something to lay under baby for a quick clean surface. For example, if your baby needs a diaper change out and about and the changing tables are less than clean, just lay a receiving blanket down and you’re good to go.
*This post contains affiliate links.
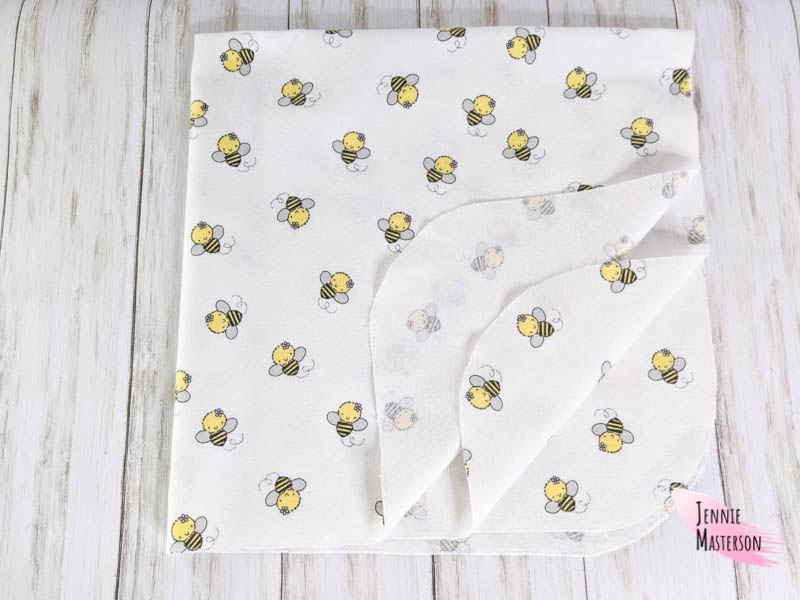
I love that making your own receiving blanket allows you to customize it with the look you want. I ended up with an adorable matching baby set because I had already made some easy burp cloths with the same fabric! Making a matching set of receiving blankets and burp cloths would also be a fun gift for a baby shower!
Here’s what you’ll need.
Supplies
- Flannel fabric (1 Yard)
- Matching thread
- Scissors
- Iron/ Ironing board
- Medium mixing bowl (If not using the pattern.)
- Fabric marker (Optional if not using the pattern.)
- Rotary blade and mat (Optional)
Get the Pattern Here
Click the black button above to get the free pattern. If you prefer to use measurements with no pattern, you’ll need to cut a square that measures 30 inches by 30 inches.
Don’t like the ads? get the ad free version of this receiving blanket pattern and tutorial in my Etsy shop. Or go big with my baby bundle that includes 5 baby sewing patterns for a 15% discount!
*This pattern is for personal and commercial (up to 50 times) use only.
Pattern Assembly Instructions
This is a no trim pattern. Just line up the edge of each page to the black line of the next page and tape or glue it together.
Sewing Prep
Pre wash and iron your fabric to eliminate any wrinkles. Make sure you don’t skip this step as fabric can shrink in the wash, and cutting with wrinkles can give you the wrong measurements.
Cutting the Fabric
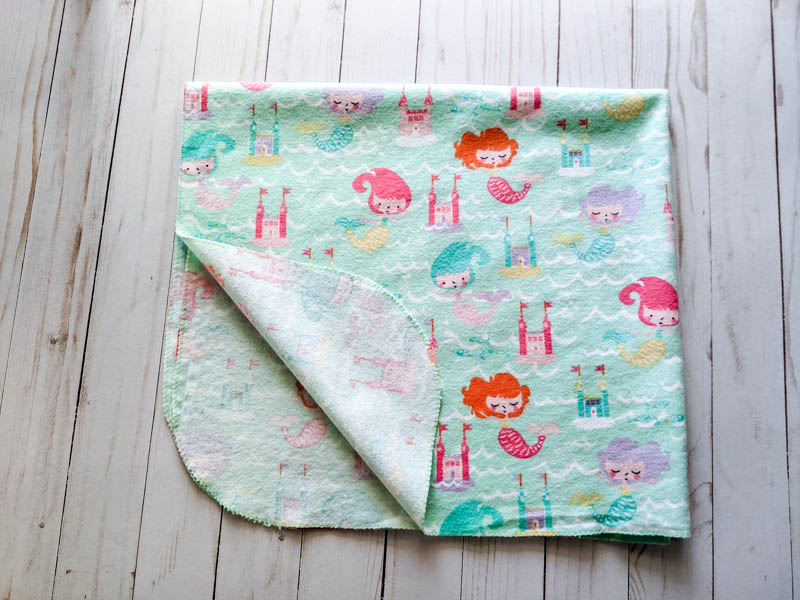
Once the fabric is prepped and ready to go, either use the PDF pattern to cut your fabric, or cut out a square measuring 30 inches by 30 inches.
If you are using the PDF pattern, skip down to “finishing the receiving blanket” section. If using the measurements, continue with the next step.
Rounding the Corners (If using measurements only.)
Now you’ll want to round the corners. You can do this on each individual corner, or you can do them all at once. To do it all at once, Fold the fabric in half making sure there are no unwanted folds.
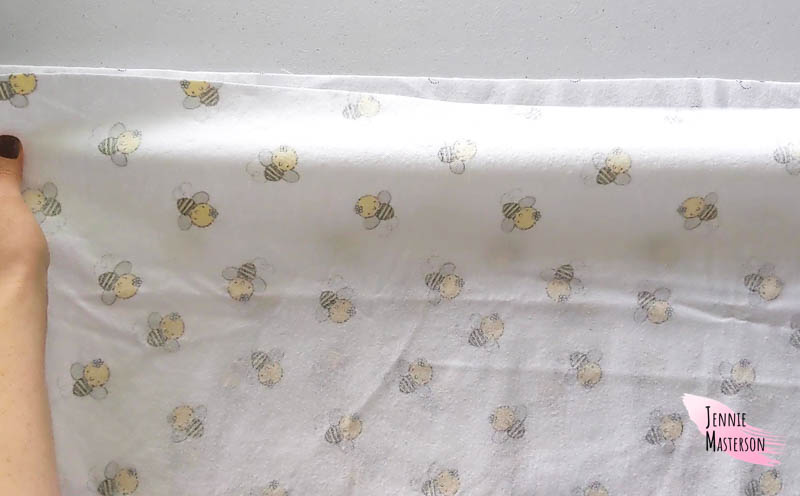
Then fold the fabric in half again, making sure there are no unwanted folds.
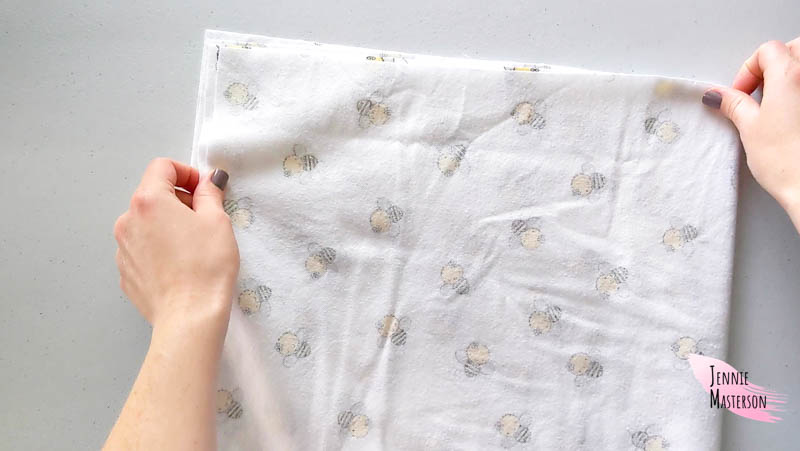
Now you’ll have a smaller, layered square of fabric to work with.
Put a medium sized mixing bowl upside down on the corner that has no folds. (The corner that allows each layer of fabric to peel apart individually) Line up the mixing bowl so that it just touches the edges of the fabric. You should have a bit of a triangle over hang.
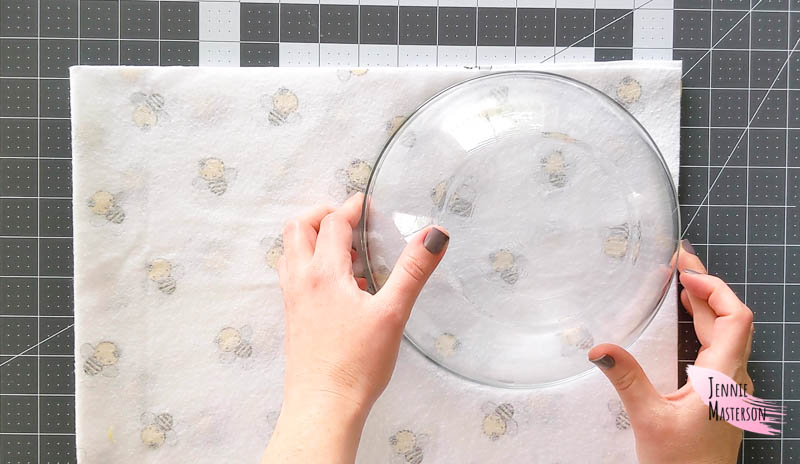
Either use a rotary blade and a cutting mat and trim off the triangle corner, or mark it with a fabric marker and cut it off with scissors. All four corners of your blanket should now be rounded.
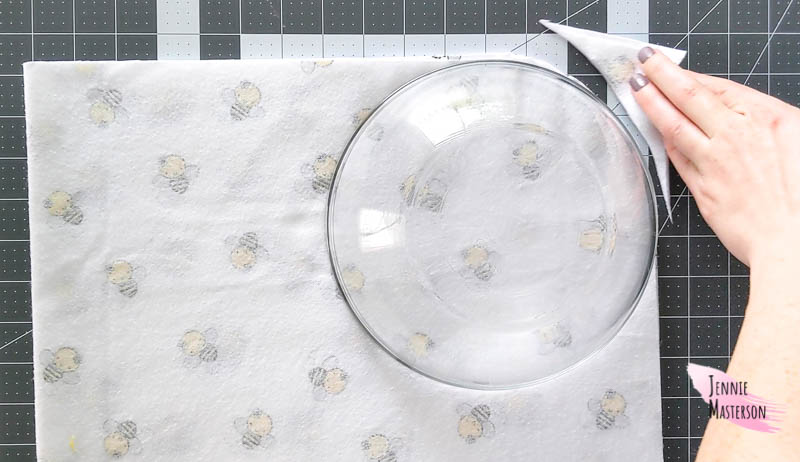
If you want to do the corners individually, skip the folding steps above and just use the mixing bowl on each corner.
Finishing the Receiving Blanket
Take the fabric to the sewing machine and sew the edges all the way around. You can either do this using an overcasting stitch (If your sewing machine has that capability.) or you can use a short zig-zag stitch. Over lap the stitching at the end by about an inch.
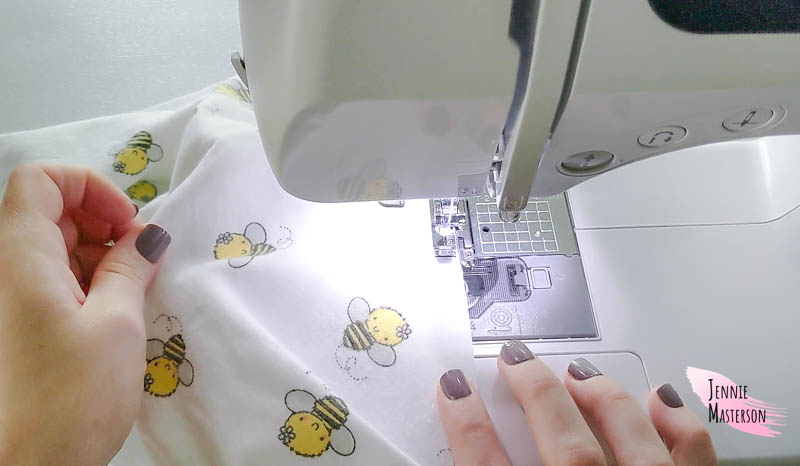
Here is what the difference between an overcasting stitch and a zig-zag stitch looks like.
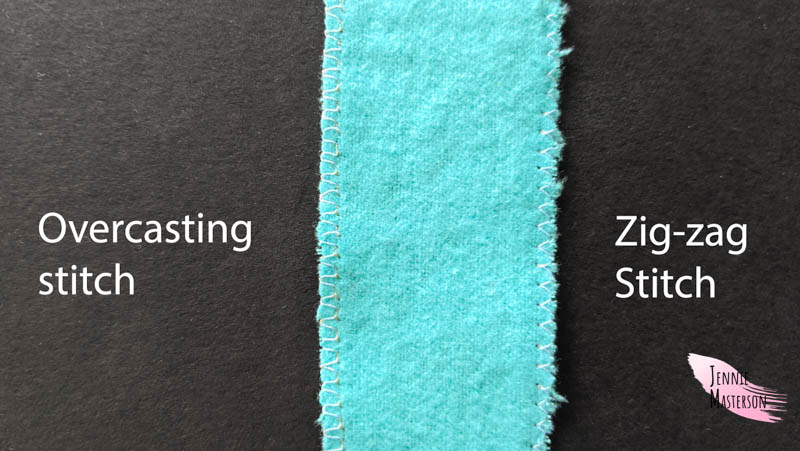
If you use an overcasting stitch, make sure to check your sewing machines manual to see if you need to change your presser foot or if there are specific settings needed.
Trim off any remaining threads and iron the edges and corners of the blanket. It’s now done and ready to be used or given as a gift!
Thank you for reading! I hope you get good use out of this pattern and tutorial.
