Learn how to make a super easy nursing cover that has bonus functions. Get the free pattern and follow the super simple tutorial below.
We all love babies and how adorable they are! However, we don’t like how much stuff we always have to carry around with us when we have a baby in tow. This multi-purpose nursing cover is intended to lighten the load a bit.
Use it as a nursing cover
This cover’s primary function is for coverage while nursing a baby. I love that it gives full coverage all the way around and I don’t have to worry about it slipping off. It’s also designed to be able to stick one arm out of the opening and do other things as needed while still feeding the baby and being covered.

Use it as a car seat cover
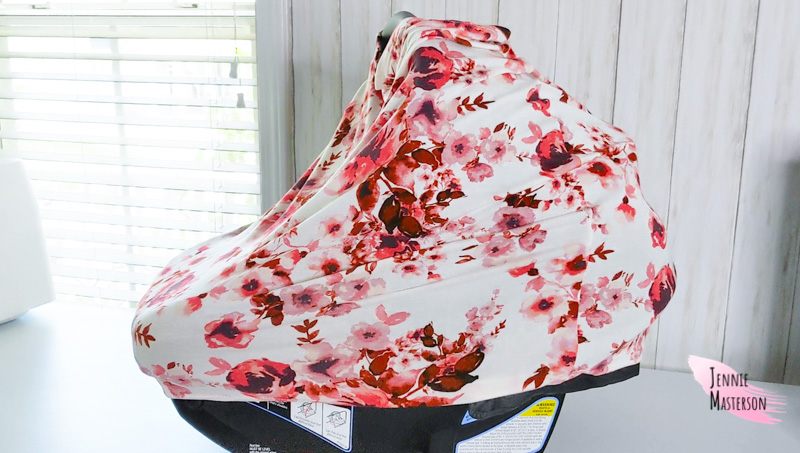
Whether you’re trying to keep the sun out of baby’s face or trying to keep the wind off of baby, this cover get’s the job done! Just slip it over the handle of the car seat and stretch it to fit over the front and back.
Use it as a shopping cart cover
If you need to take the baby with you to the store and they are big enough to sit in the shopping cart, setting this cover down first is a great way to help minimize the baby’s exposure to all the germs that shopping carts have. Just set the cover down with the smaller hole aligned with where babies legs go and stretch the sides to fit over the rest of the cart where baby sits.
I would show a picture as an example, but due to Covid-19 it is not the ideal time to take such a picture. However, when the world goes back to normal, this will be a handy function!
Looking for more easy baby projects to sew? I’ve got you covered! Check out these burp cloths and this receiving blanket. (Both are also free patterns.)
*This post contains affiliate links.
Supplies
- 3/4 yard of very stretchy and lightweight Knit fabric (I like to use rayon spandex or cotton spandex) *Based off of 60″ wide fabric.
- Matching thread
- Ball point needle
- Scissors
- Pins or clips
- Iron and ironing board
- Hem tape (optional)
Get the Sewing Pattern Here
To download the multi-purpose nursing cover, click the pink button above. Just enter your email address and you will get immediate access to the pattern for free.
Don’t like the ads? Get an ad free printable version of this nursing cover pattern in my Etsy shop. Or go big with my baby bundle that includes 5 baby sewing patterns for a 15% discount!
*These files are for personal and commercial (up to 50 times) use only.
Fabric Choice
Fabric choice matters for this as you need something VERY stretchy, breathable and light weight to help keep baby safe and from over heating. I recommend cotton spandex or rayon spandex.
If you’re new to knit fabrics, you may find these knit sewing tips helpful.
Sewing Prep
Make sure to prewash and iron you fabric before cutting. This will help keep the proper sizing in case your fabric shrinks or gets wrinkled. I suggest washing it the same way you plan to after it’s been made.
Once your fabric is washed and ironed, cut out the fabric using the pattern. When it is all cut, you should have two mirror images of the cover.
Sewing the Nursing Cover
Step 1 (Side seams)
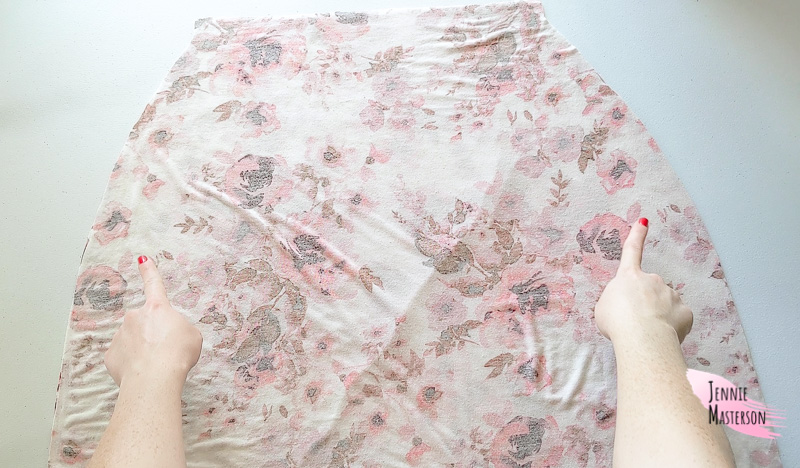
Lay the cover pieces one on top of the other with right sides together. Pin or clip the sides to hold them in place.
Take it to your machine and sew the sides together with 1/2″ seam allowance.
Step 2 (Hemming the top)
Fold the top of the cover (the smaller hole left after sewing) over 1/4″ to the wrong side of the fabric and iron in place.
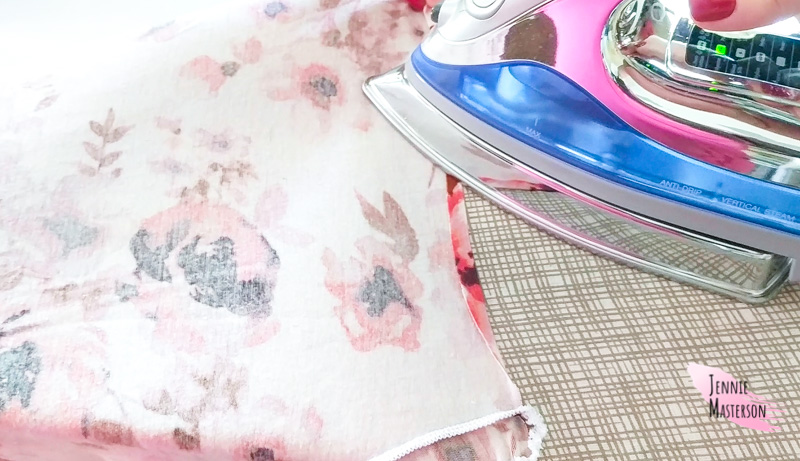
Fold again an additional 3/4″ enclosing the raw edge and iron once more.
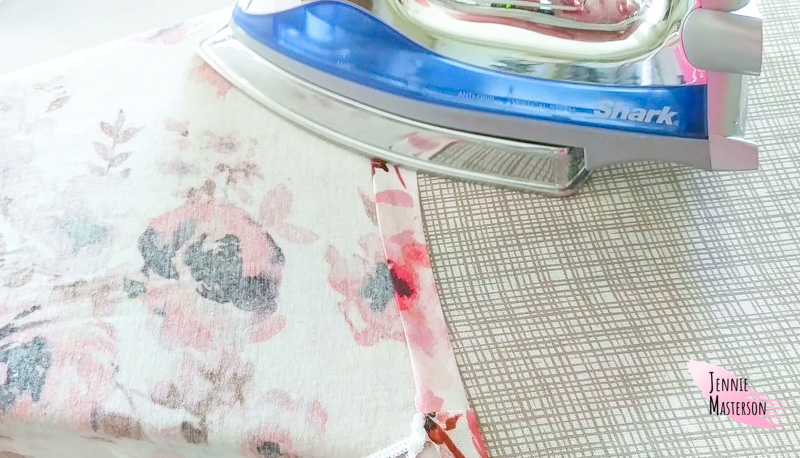
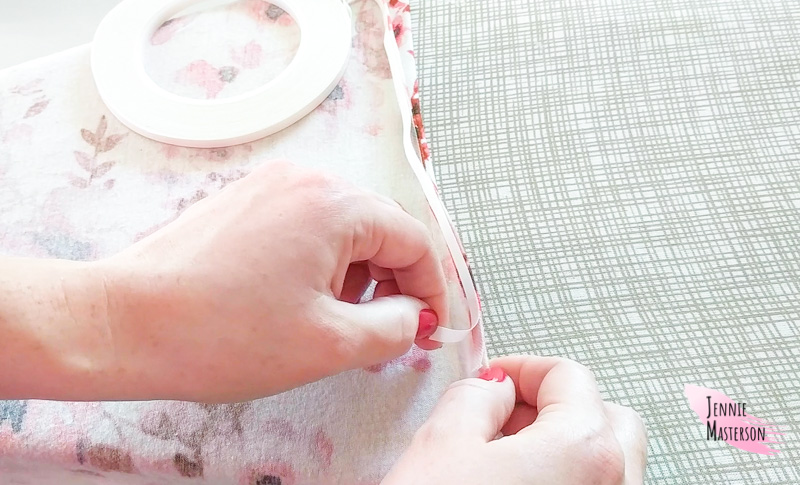
If you have opted to use hem tape (which I highly recommend) go ahead and add it to stabilize the hem while you sew. If you are not using the hem tape, pin or clip the hem in place.
Sew right on the edge of where you ironed. I did this from the front side for a more finished look.
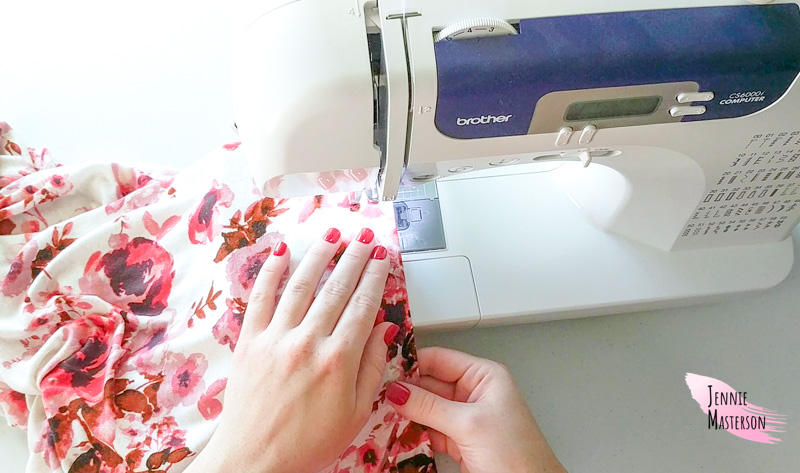
Step 3 (Hemming the bottom)
You will basically be doing the same this as step two but on the bottom of the cover instead of the top.
Fold the Bottom edge of the cover over 1/4″ to the wrong side of the fabric and iron in place.
Fold again an additional 3/4″ and iron once more. If you’re using hem tape go ahead and add it to stabilize the hem while you sew. If you are not using the hem tape, pin or clip the hem in place.
Sew right on the edge of where you ironed. (I did this from the front side for a more finished look.)
All done!
Final Thoughts on the Nursing Cover
Now that the multi-purpose nursing cover is all finished, you may want to wash it again before use to get rid of any stray threads or extra fabric sheds that may be caught in the cover.
This is such an easy project and is so versatile. I hope you have so much fun making it and thank you for reading! Happy sewing!
