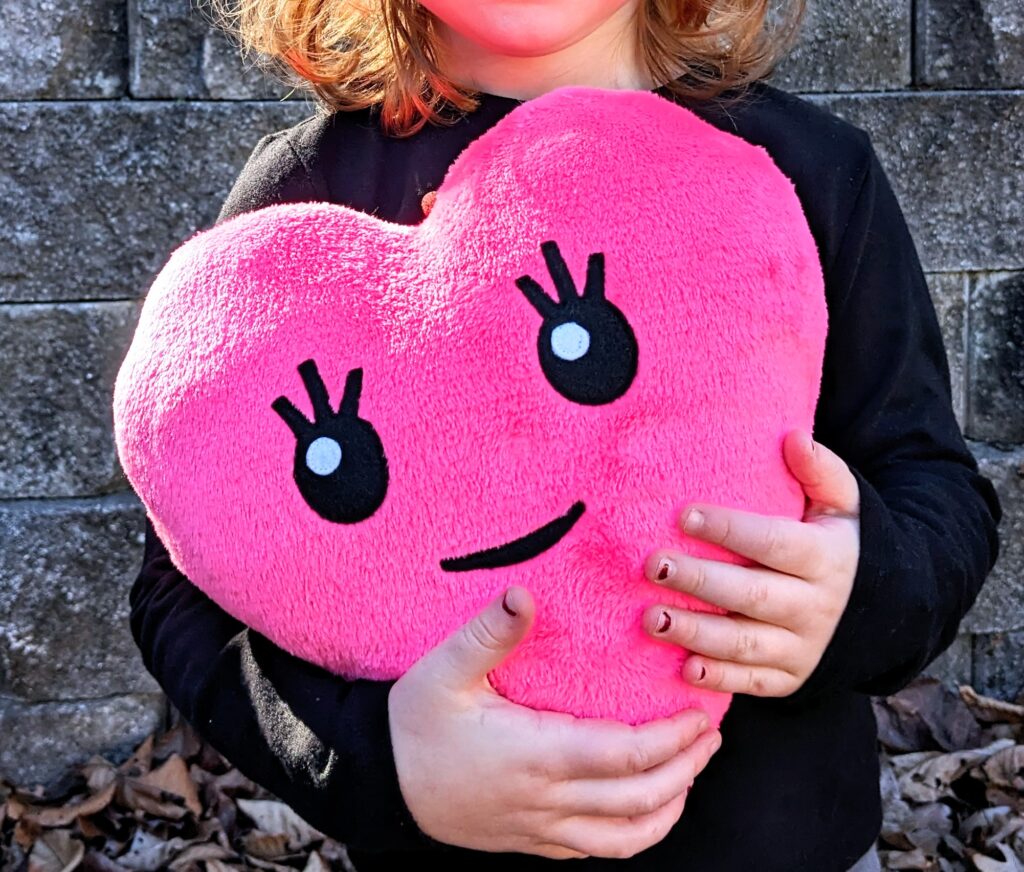
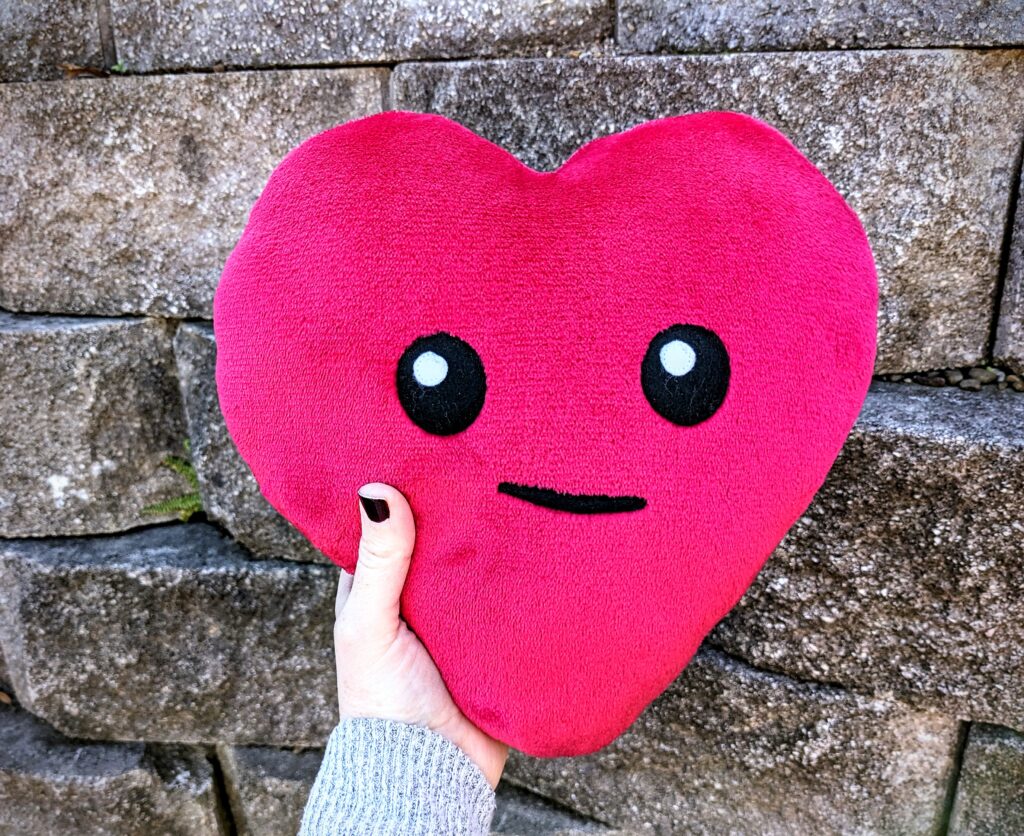
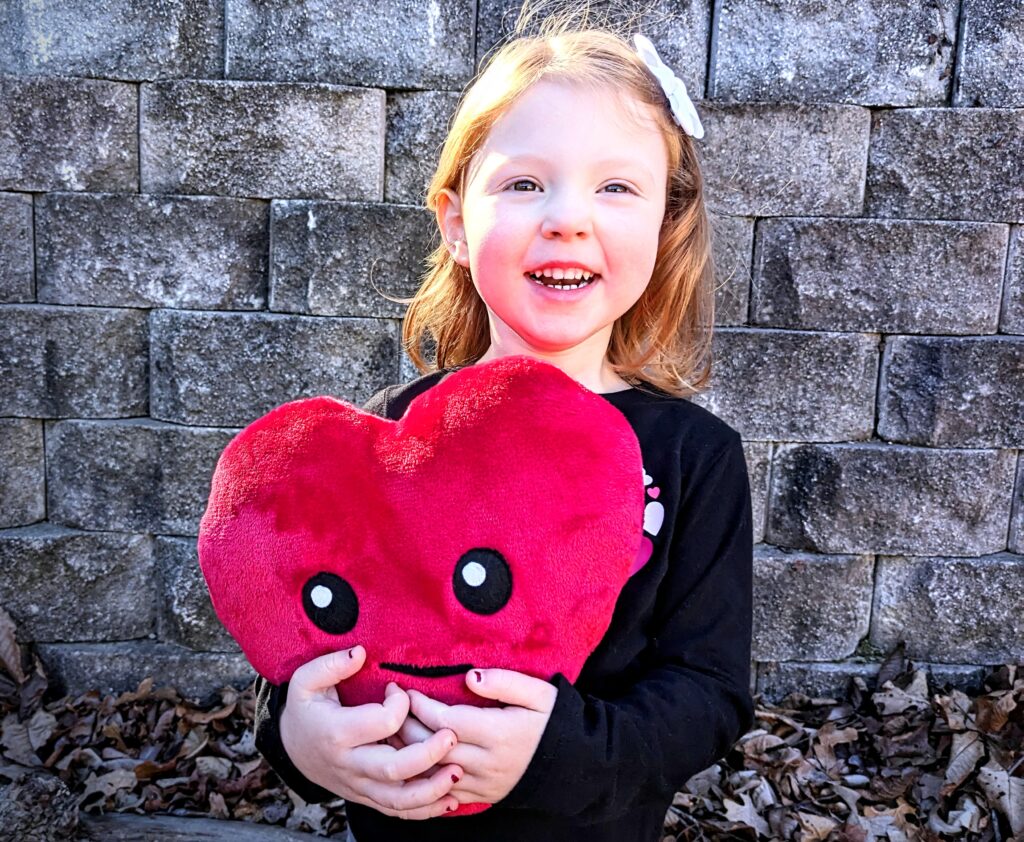
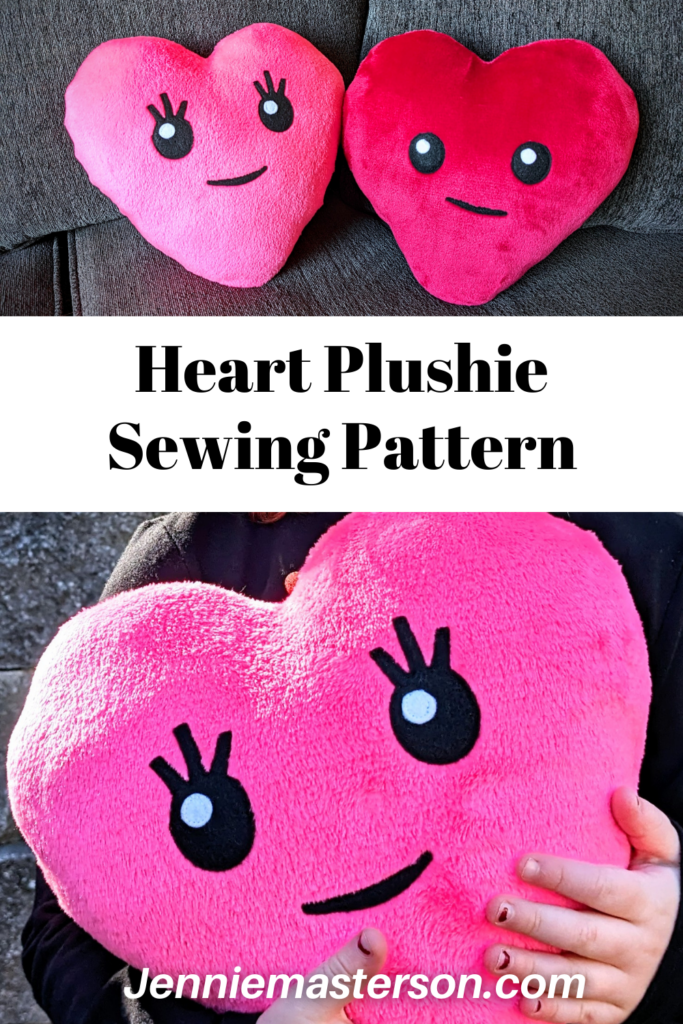
There’s nothing quite like the joy of crafting something handmade, especially when it’s as adorable as a heart plushie with a happy face! These delightful creations are perfect for gifting, decorating, or simply adding a touch of charm to your home. In this article, I’ll share what makes these heart plushies so special, give you an overview of how they come together, and explain why this pattern is an absolute must-have for your sewing projects. Plus, you’ll find a link to the exclusive pattern available in my shop so you can make your own.

Why Heart Plushies Are a Must-Make
Heart plushies are more than just sewing projects; they’re little bundles of joy. These soft, squishy creations make wonderful gifts that show love and thoughtfulness. Their cheerful faces add a whimsical touch that can bring a smile to anyone’s day.
These plushies are also great for:
- Gifting: Ideal for Valentine’s Day, baby showers, birthdays, or “just because” moments.
- Home Decor: Add them to a shelf, a child’s bedroom, or even use them as festive ornaments.
- Playtime: They’re soft and safe for little ones, making them a favorite toy.
- Craft Fairs: These heart plushies are quick to sew making them an easy to stock item for your booth.
What Makes This Pattern Special
I’ve put extra care into ensuring this heart plushie pattern is:
- Experienced Beginner-Friendly: The instructions are clear and detailed, making it an easy to understand pattern. There is even a video for extra visual help. The reason I say experienced beginner is because this pattern has small felt pieces that get sewn and a small seam allowance on a stretch fabric. (1/4″ seam allowance.)
- Fast and Fun: Perfect for busy moms or crafters who want a quick, satisfying project.
I designed these plushies to have felt appliques for the face pieces. That way there is no embroidery needed!

How These Heart Plushies Come Together
While the pattern provides step-by-step instructions, here’s an overview of the process to give you a sneak peek:
1. Cutting the Pieces
You’ll start by cutting two heart-shaped pieces of fabric. Use soft, plush fabrics for the best results. Then you’ll cut the felt using the pattern.
2. Adding the Happy Face
The felt is placed on one piece of the cut fabrics and sew on using a guide from the pattern for placement.
3. Sewing the Plushie
With the face done, you’ll sew the two heart pieces together, leaving a small opening for turning and stuffing.
4. Stuffing
Turn the plushie right side out so all the seams are on the inside. Then stuff the heart with polyester fiberfill until it’s soft and squishy.
5. Closing
Hand sew the opening closed using a ladder stitch. (A full guide on the ladder stitch is included in the pattern.)
Where to Get the Pattern
If this project has you excited, you’re going to love the full pattern available in my shop. It includes everything you need: detailed instructions, face templates, and video instructions for extra help.
You can get this pattern in my Etsy shop by clicking here:

Creative Uses for Your Heart Plushies
Looking for inspiration? Here are some fun ways to use your heart plushies:
- Keepsakes: Add a date or name to mark a special occasion.
- Decorative Accents: In addition to being squished and loved on, you can use them as pillow accents. Leave the face off if you just want a squishy heart.
- Kid’s Crafts: Make these with your little ones for a family-friendly activity. lease supervise to ensure safety if you do this!)
- Charity Donations: Handmade plushies can bring comfort to children in need.
Final Thoughts
There’s something incredibly rewarding about turning simple materials into something so joyful and full of personality.
I’ve designed this pattern to be fun and approachable. Don’t miss out—grab the pattern today and start sewing your way to happiness. And if you’ve already made a few, I’d love to see them! You can tag me on Instagram @jenniemastersoncreative.
Happy Sewing!
