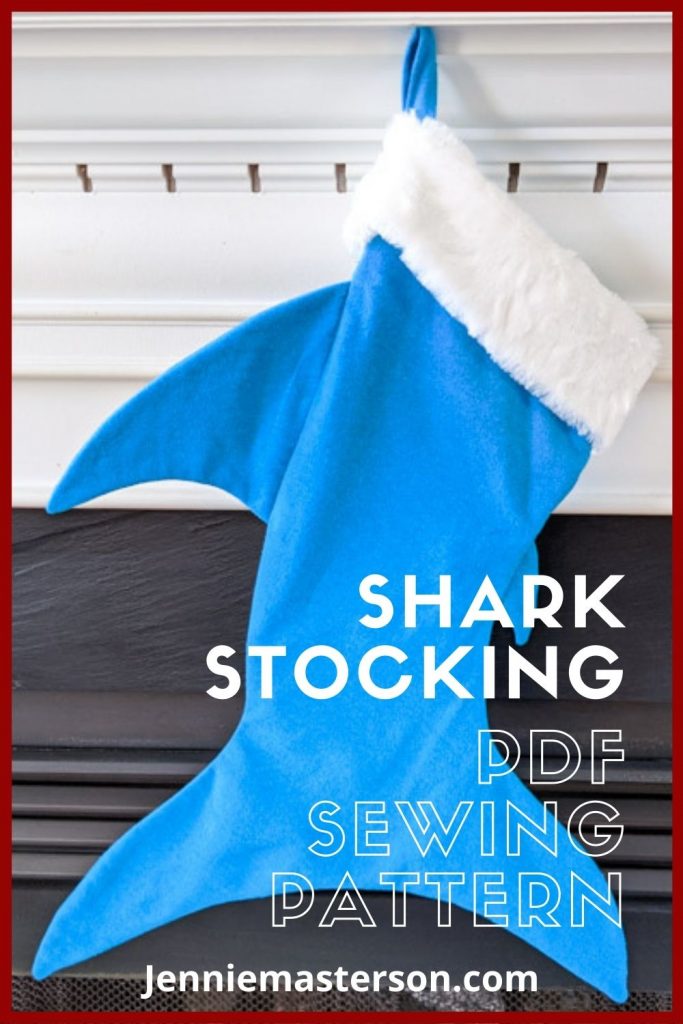
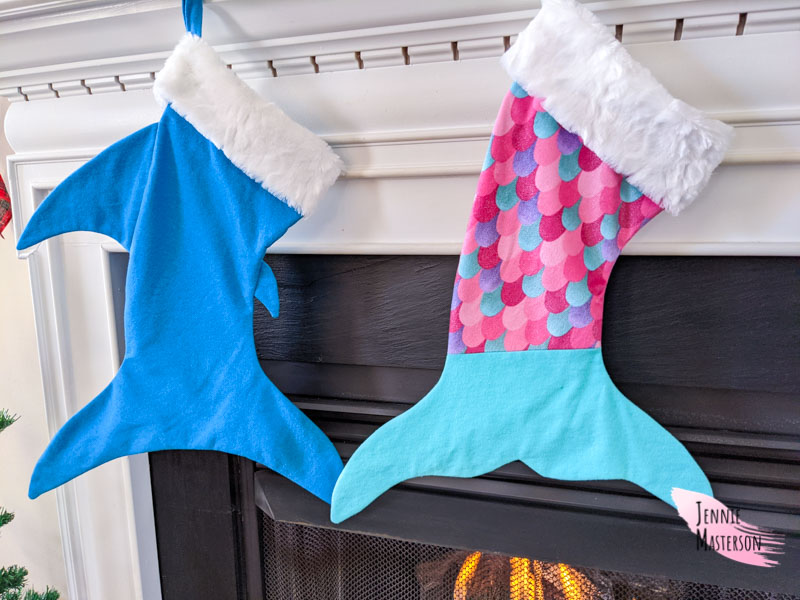
DIY Christmas stocking that looks like a shark!
Learn how to make an awesome shark stocking for Christmas! Last year I made a fun mermaid stocking pattern, and everyone seemed to love it so much that this year I made a shark stocking pattern to compliment it. Sewing your own stockings is a fun holiday project. This pattern is sure to add a little spice to Christmas sewing!
*This post contains affiliate links.
Here are the things you need to make the shark stocking. Also don’t forget to go check out the mermaid stocking if you haven’t already!
Supplies for Shark Stocking
- Fabric (See fabric types for recommended fabrics.)
- Thread
- Mid-weight fusible interfacing (optional but recommended)
- Scissors
- Pins or clips
- Iron
- Ironing board
- Safety pin or turning tool
Fabric Types
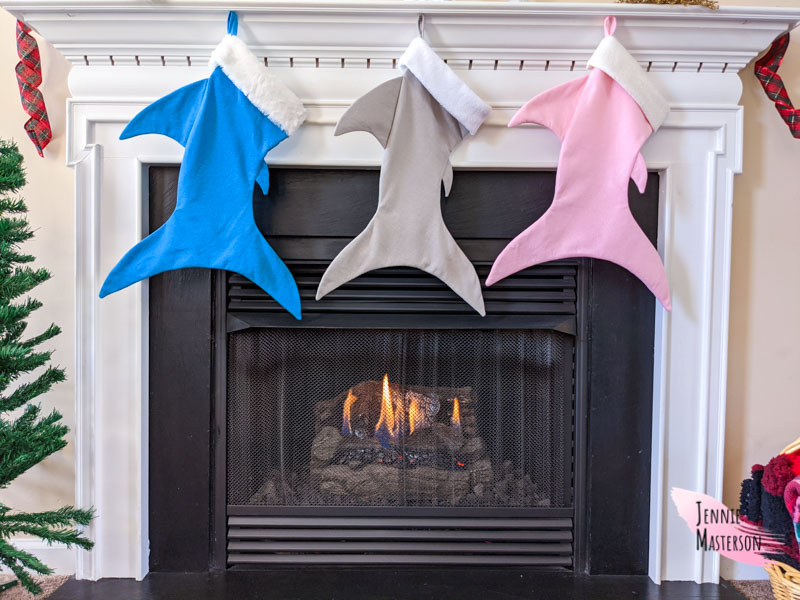
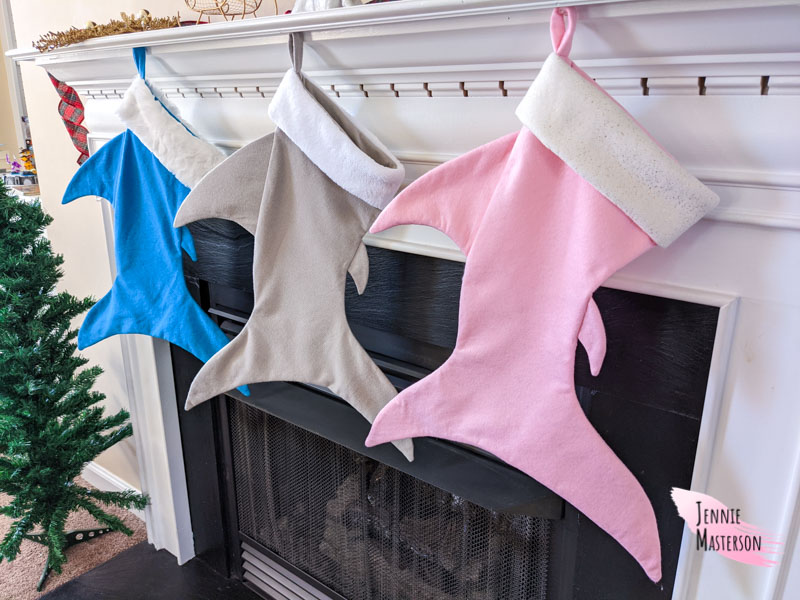
You can use a variety of fabrics to make this shark stocking. The type of fabric you use will affect how it hangs. Some of the fabrics I used are flannel, felt, fleece, and cotton. Cotton will not hold its shape as well, but can still be used. You can also use velvet and faux fur. (I used these for the cuff.) Make sure that the fabric you use for the body and the tail pieces does not have much stretch.
Fabric Requirements
To make the shark stocking you will need 3/4 yard of the main fabric (will fit all pattern pieces if desired,) and if you want a separate fabric for the cuff you will need 1/4 yard for that. (All based on 43 inch wide fabric.)
Get the Pattern Here
Click on the button above the get the free files.
*These files are for personal and commercial use (up to 50 times) only.
Don’t like the ads? Get the ad free version of this shark stocking pattern and tutorial in my Etsy shop.
Finished stocking measures approximately 8″ at opening, 18.75″ from top to center of tail fin, 23″ from top to tail ends, 16.5″ from tail end to end and approximately 6″ at the body’s smallest section.
Pattern Assembly Instructions
This is a no trim pattern. Just line up each page to the gray line of the other page and tape or glue it together.
Sewing Prep for Shark Stocking
Prewash and iron the fabric before cutting to eliminate any wrinkles or folds. Cut your fabric using the pattern pieces. When you are done cutting you should have two body pieces, two dorsal fins, two small fins, one cuff piece and one tab piece. If using the optional interfacing, you will also cut one each in the interfacing of the dorsal fin and small fin.
All seam allowances are 1/2″ unless otherwise stated. Remember to backstitch at the start and stop of each seam.
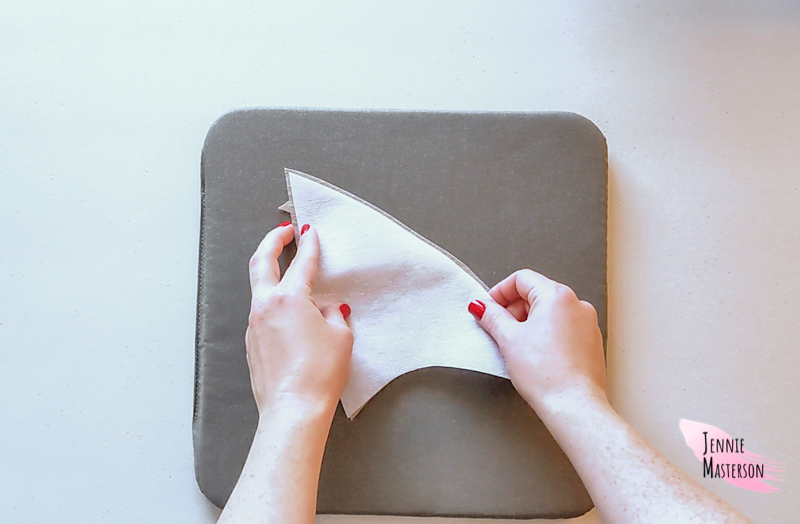
If you are using the interfacing, now is the time to fuse it by ironing it to the wrong side of one dorsal fin and one small fin.
Note: I highly recommend using the interfacing. It makes such a difference in how the fins lay!
Sewing the Shark Stocking
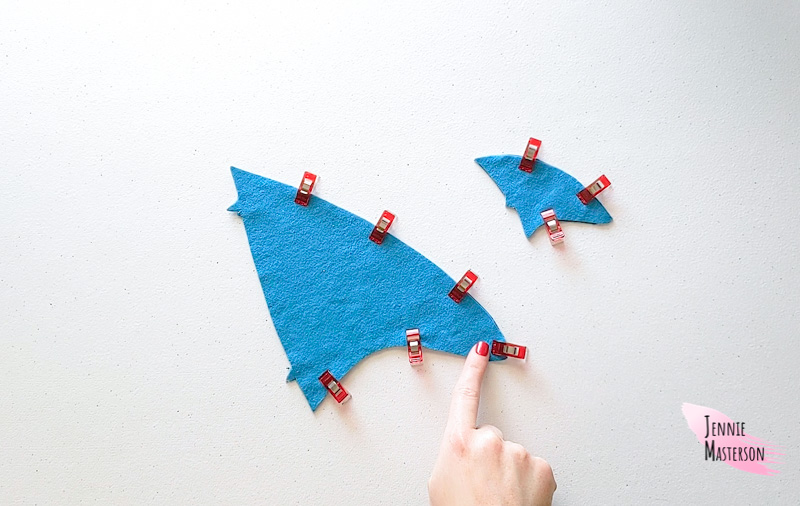
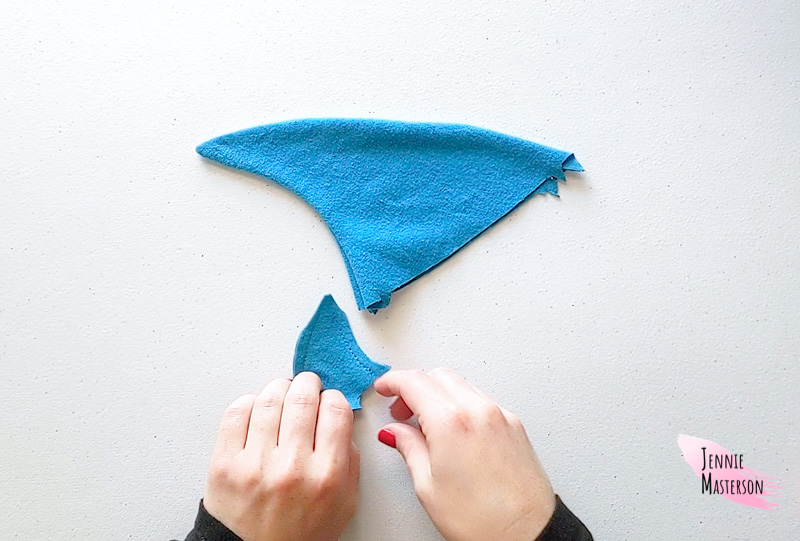
Lay one small fin on top of the other with right sides together. Sew on outside edges using 1/4″ seam allowance. There is no need to sew the edge with the notch. Repeat with the Dorsal fin pieces.
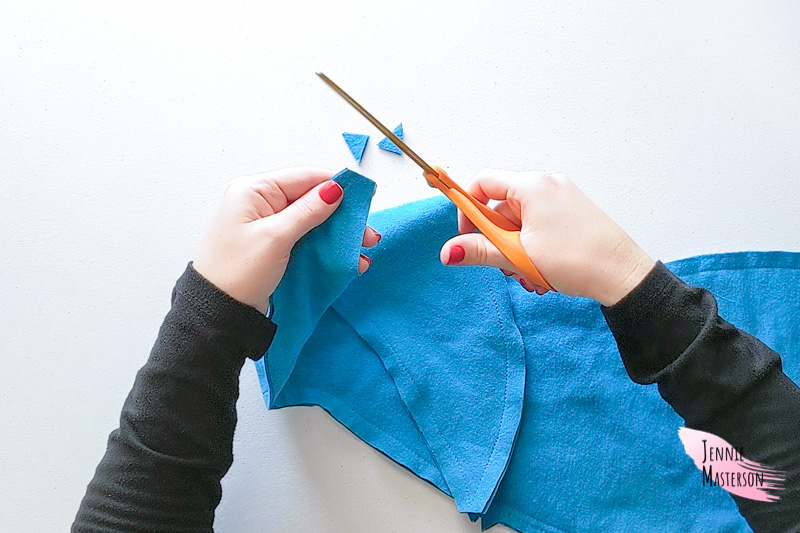
Snip the tips off of the top of each fin. Trim the seam allowance down around the tip to reduce bulk.
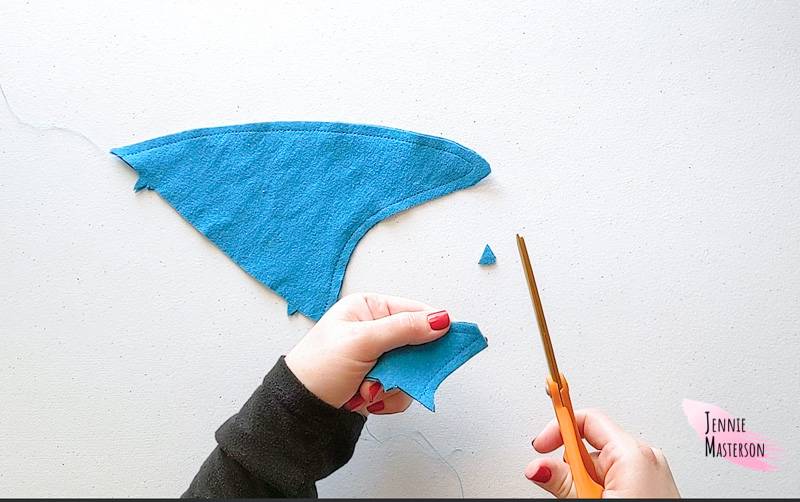
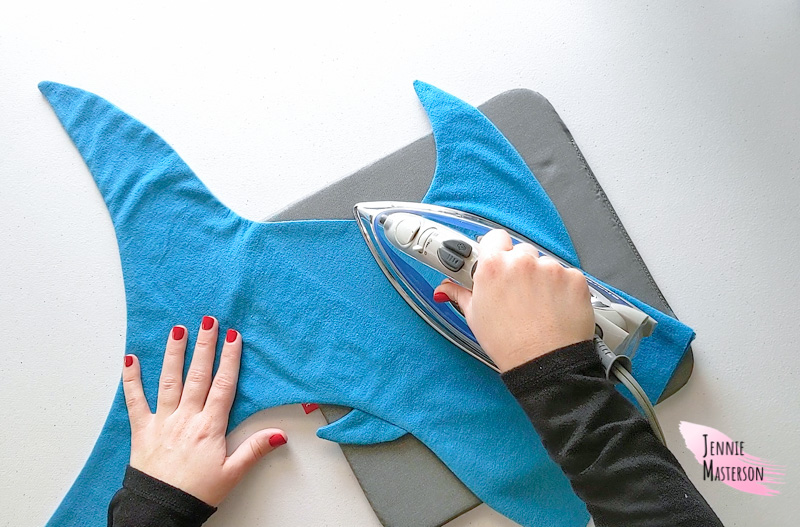
Turn the fin pieces right side out and iron them down. (Don’t skip the ironing, it will help you have proper placement.)
Using the notches, line up the dorsal fin and the small fin on the right side of one body piece. Make sure both fins are pointing down. Baste in place.
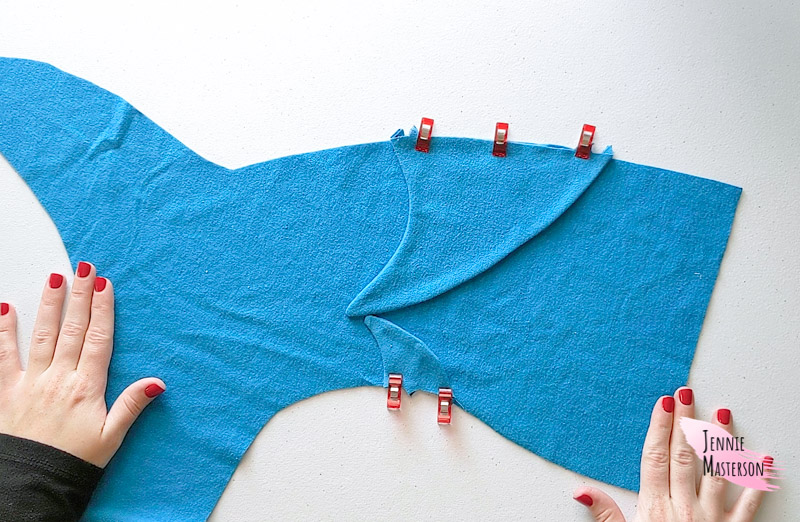
Lay one shark tail on top of the other shark tail, right sides together. Sandwiching the two fins. Line the tail pieces up and pin them together on all sides excluding the top.
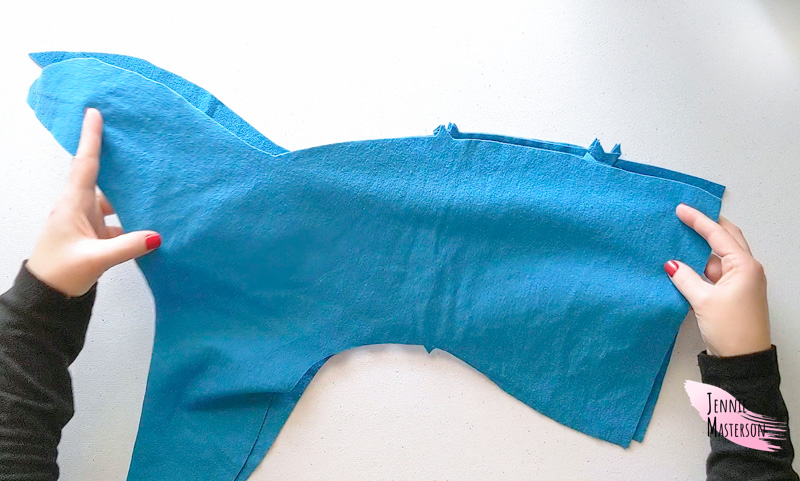
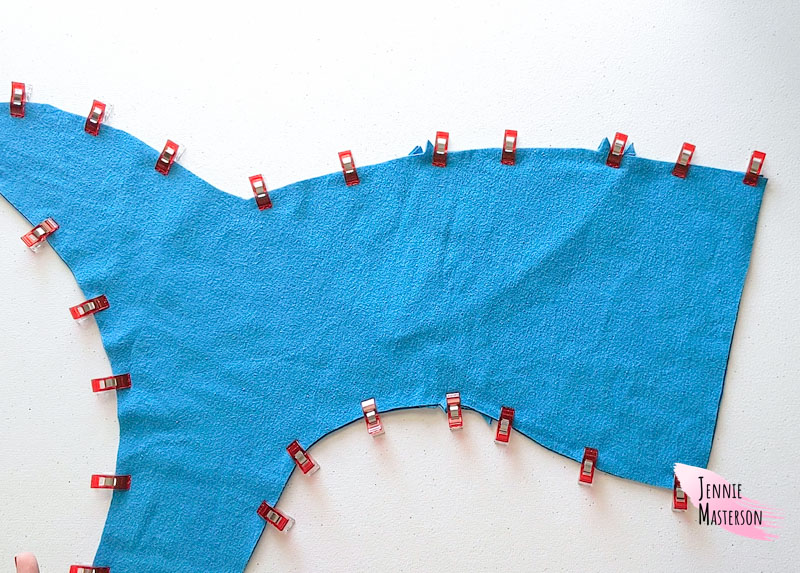
Sew the shark stocking sides and bottom with half an inch seam allowance, leaving the top open.
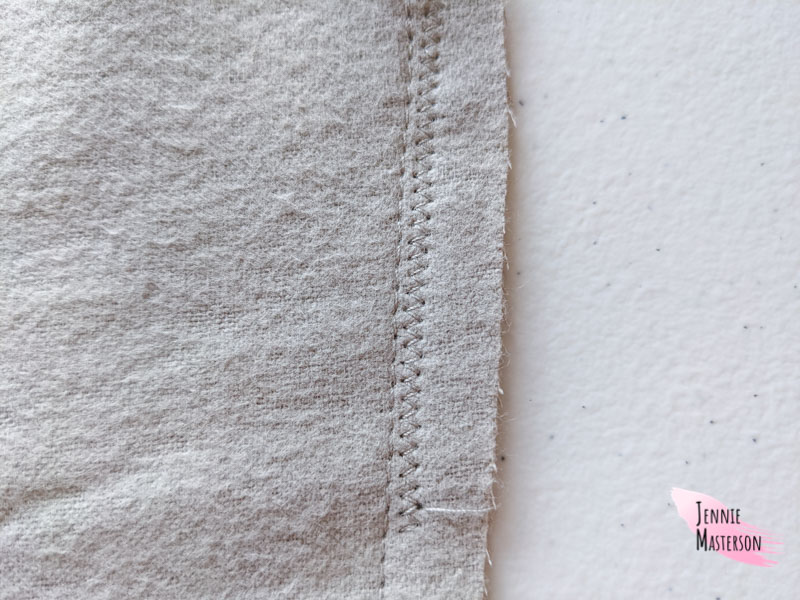
If you are using a fabric that will fray, zig-zag stitch around the stocking stitching as close as you can to the first stitches you made.
Snip the tips of the tails off right up to the stitching, but not through it.
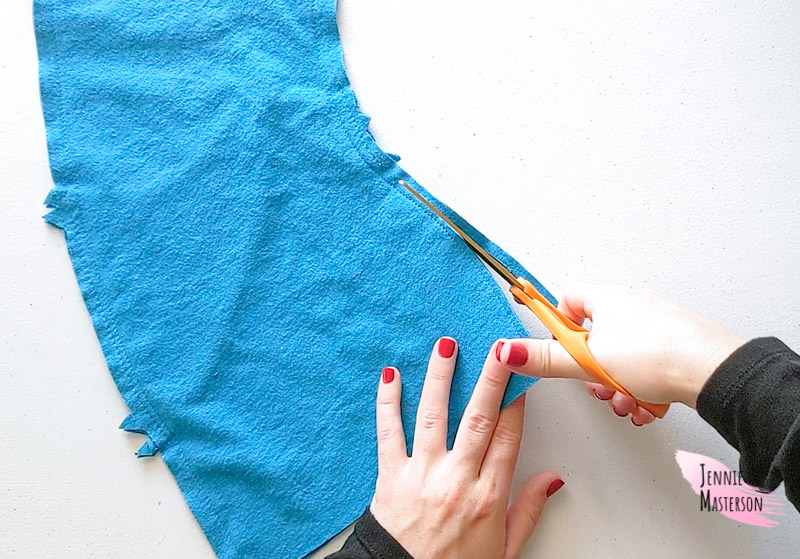
Trim the seam allowance down to about 1/4″ all the way around the seam you just sewed. (Do not cut through any stitches.)
Turn the shark stocking right side out. Use a pen, chopstick or some other small object with a blunt end to get the corners fully turned.
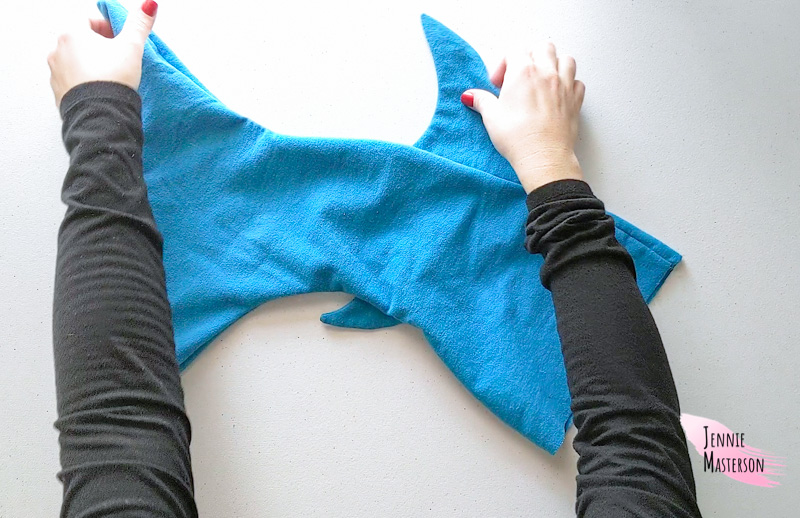
Iron the seams flat so your shark stocking keeps it’s shape and doesn’t bubble.
Cuff and Tab Assembly
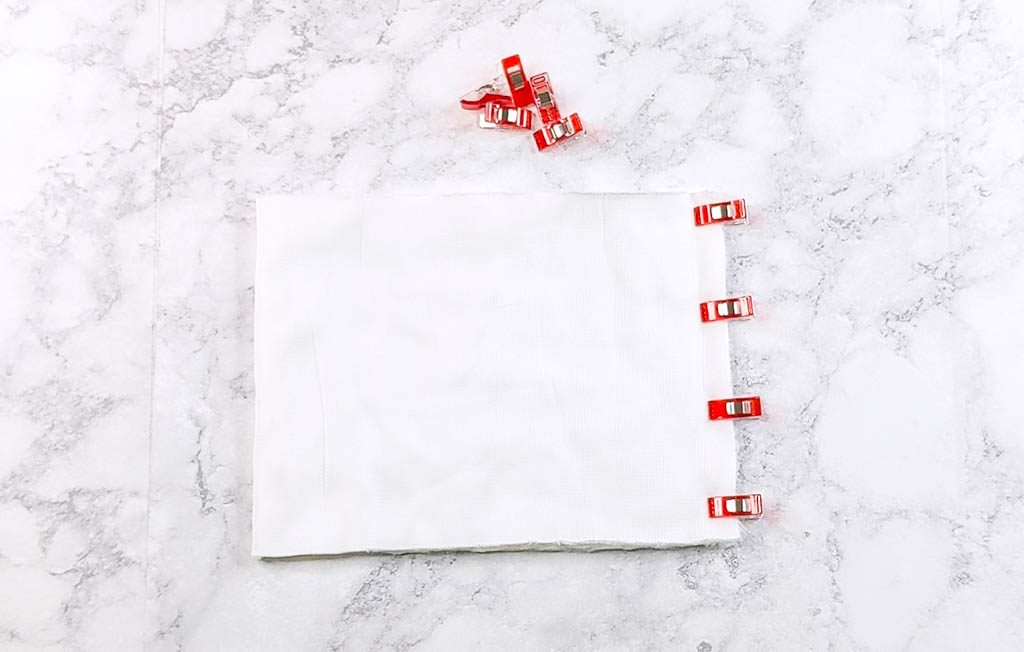
Take the cuff piece and fold it in half with short ends meeting. Pin together and sew with 1/2″ seam allowance. The cuff piece will now be a tube.
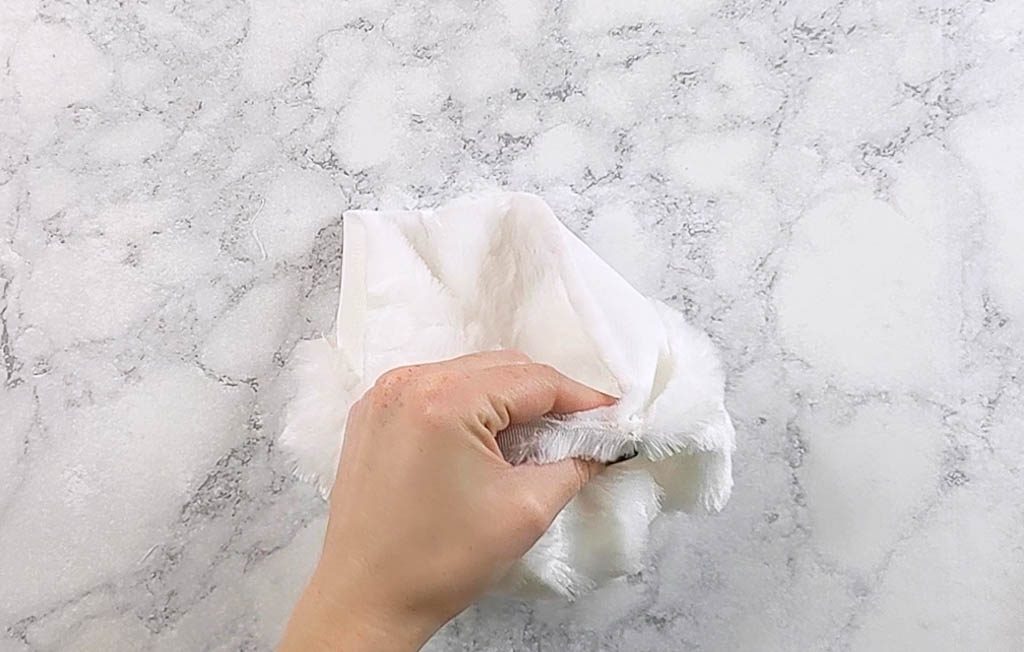
Turn half the cuff right side out so that the wrong sides are together, with long ends meeting to align raw edges.
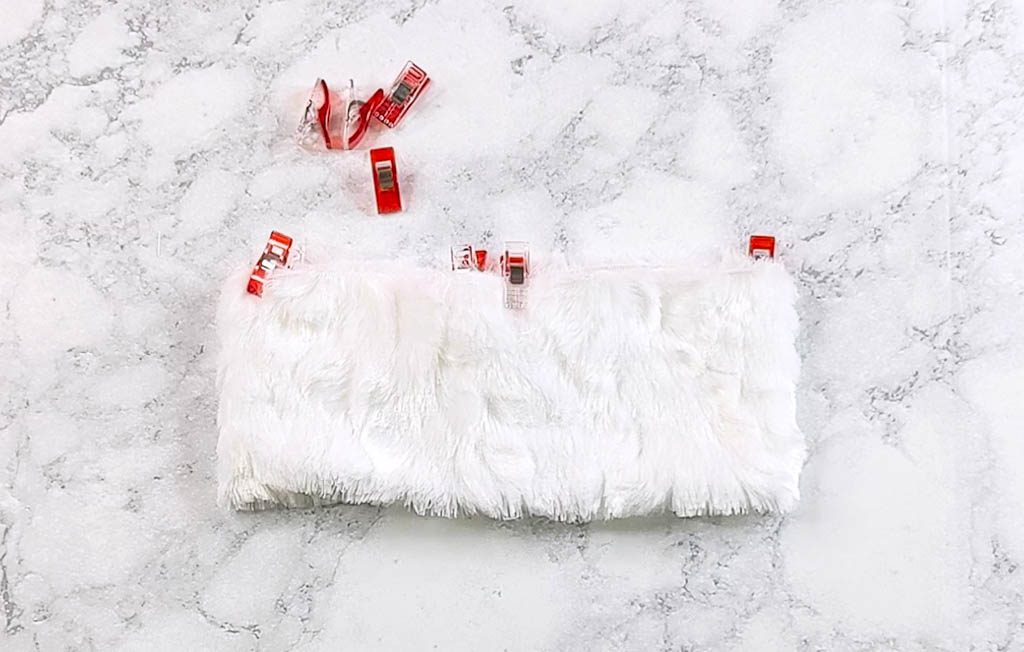
Find quarter points of the folded cuff’s raw edges by marking the seam with a pin, then mark the side opposite of the seam with a pin. Fold the cuff in half so the two marker pins are stacked on each other and lay it flat. The creases on the sides are the other two quarter points so put a pin on both of the creases. You’ll have a total of 4 pins spread evenly around the cuff.
Find quarter points on the shark body in the same way you did for the cuff.
Set the shark body and cuff piece aside and get the tab piece.
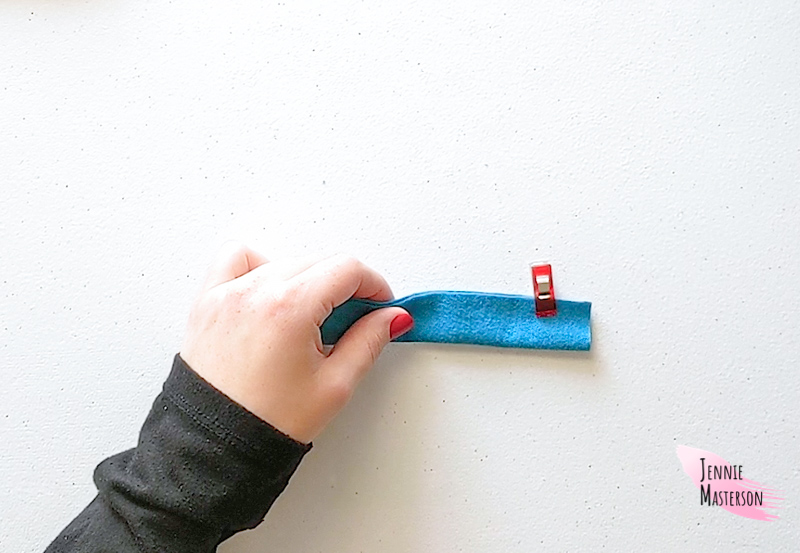
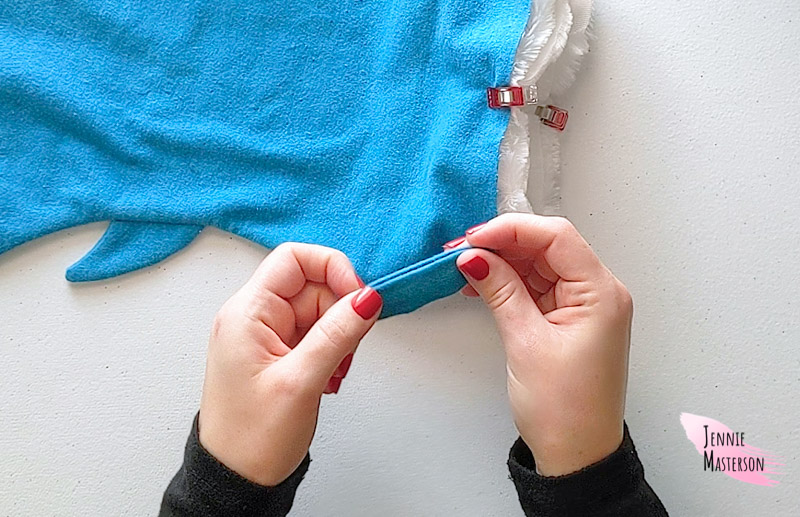
Fold the tab piece in half, right sides together, with long edges meeting.
Sew down the tab’s long side with a 1/4 “ inch seam allowance leaving the short ends open, making a tube.
Use a safety pin or turning tool to turn the tab right side out. (I use a loop turner for this.)
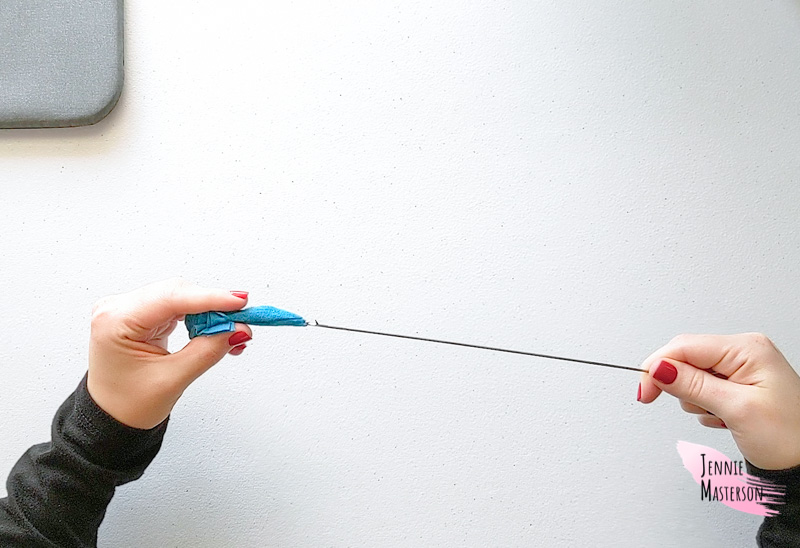
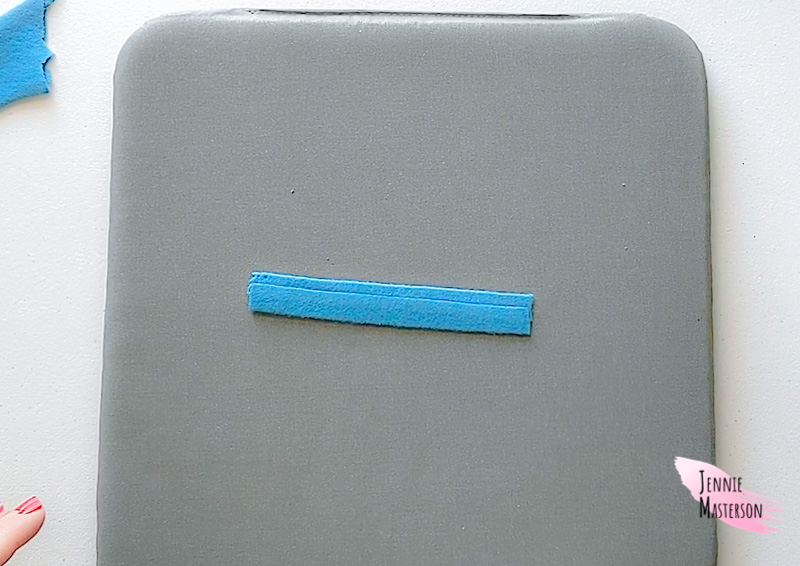
Iron the tab with the seam allowance on the backside.
Attaching the Tab and Cuff to the Body
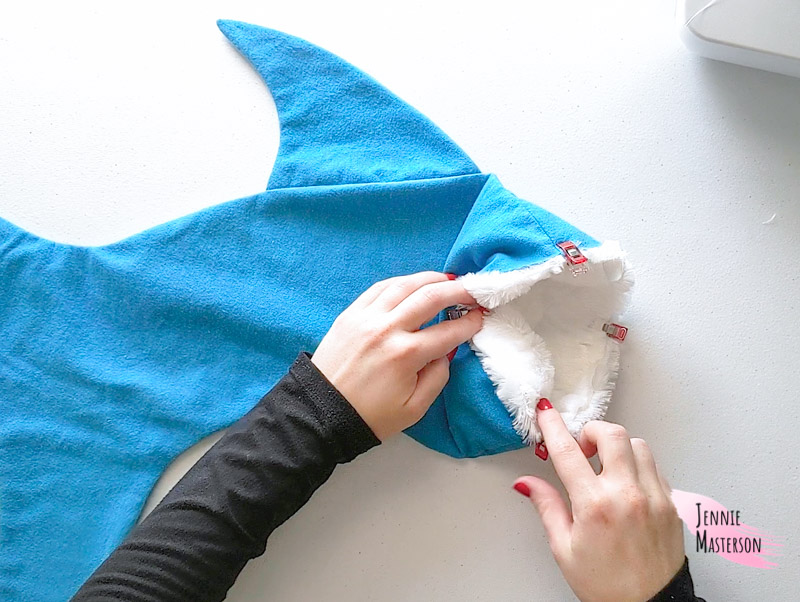
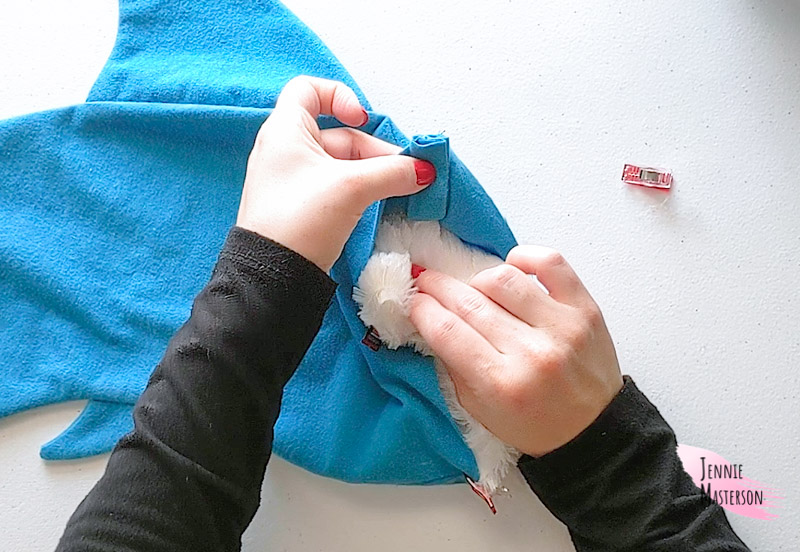
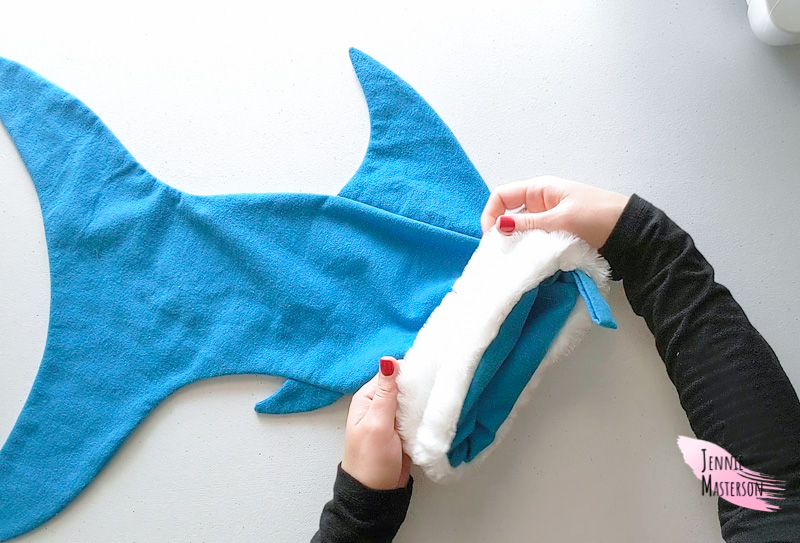
Put the cuff piece inside the shark body, upside down, matching up the quarter points and raw edges. Pin them together. (I like to match the cuff seam to the stocking’s back side seam, the side with the dorsal fin.)
Fold the tab in half so raw edges meet and the seam is on the inside.
Placing it inside the shark stocking upside down, center the folded tab on the seam of the longer side of the shark stocking body. (The side with the dorsal fin.) Pin them together.
The tab piece will now be sandwiched between the cuff and the shark body on the inside of the stocking.
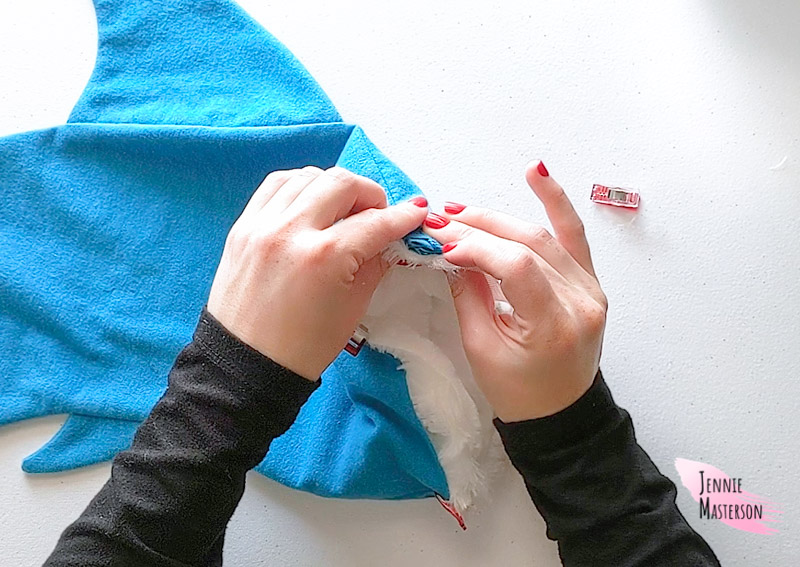
Sew the cuff and tab to the shark body using 1/2″ seam allowance. Be careful when sewing over the tab piece. There is a lot of fabric in your machine at this point and you may need to use the hand wheel on your machine to sew through the tab section.
Finishing the Stocking
Pull the cuff out of the shark stocking and fold over to the outside.
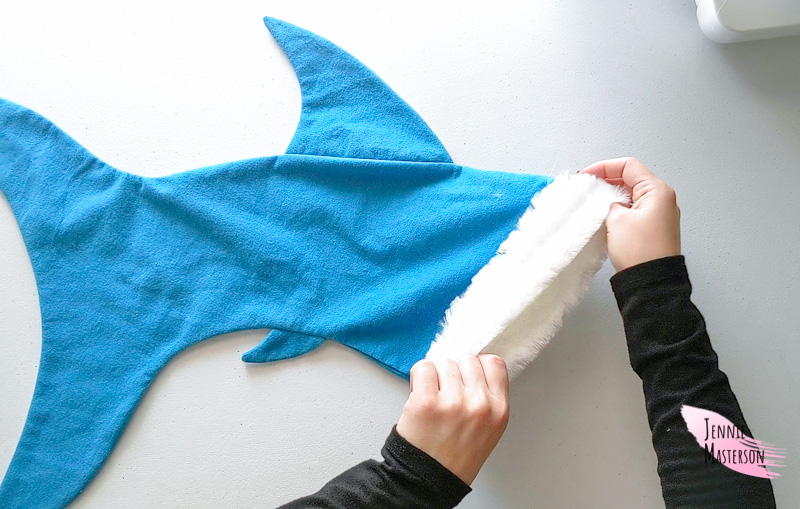
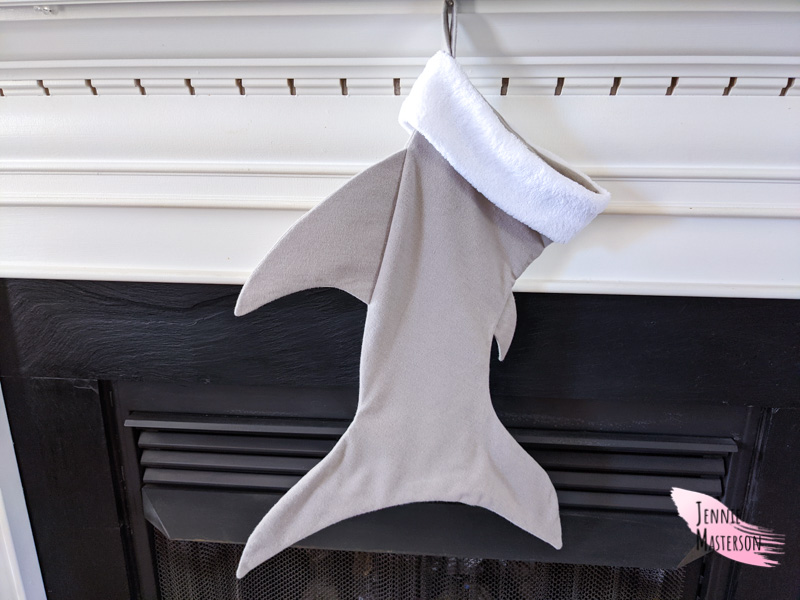
The shark stocking is now finished! If you want to personalize it, you can add a name with vinyl, embroidery or fabric paint and stencils.
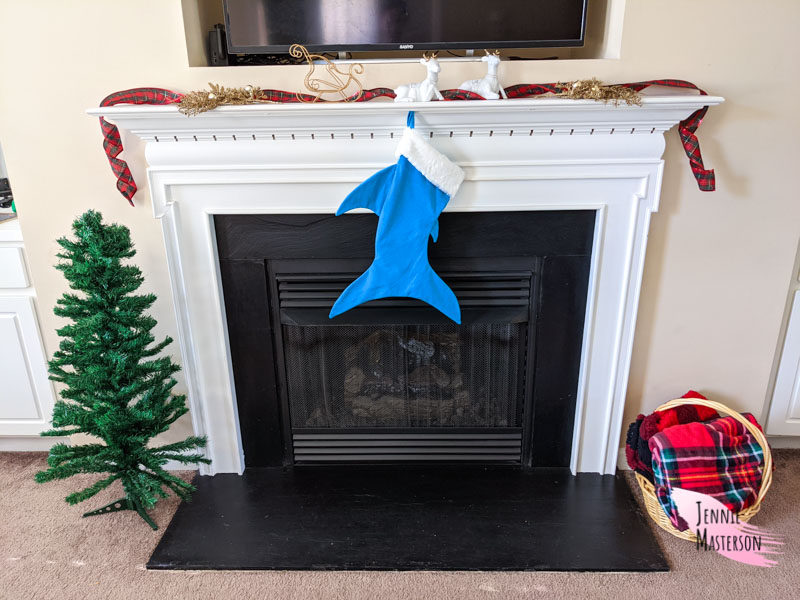
I hope you enjoy this free pattern and get some good use out of it. Thank you for reading and have a Merry Christmas!