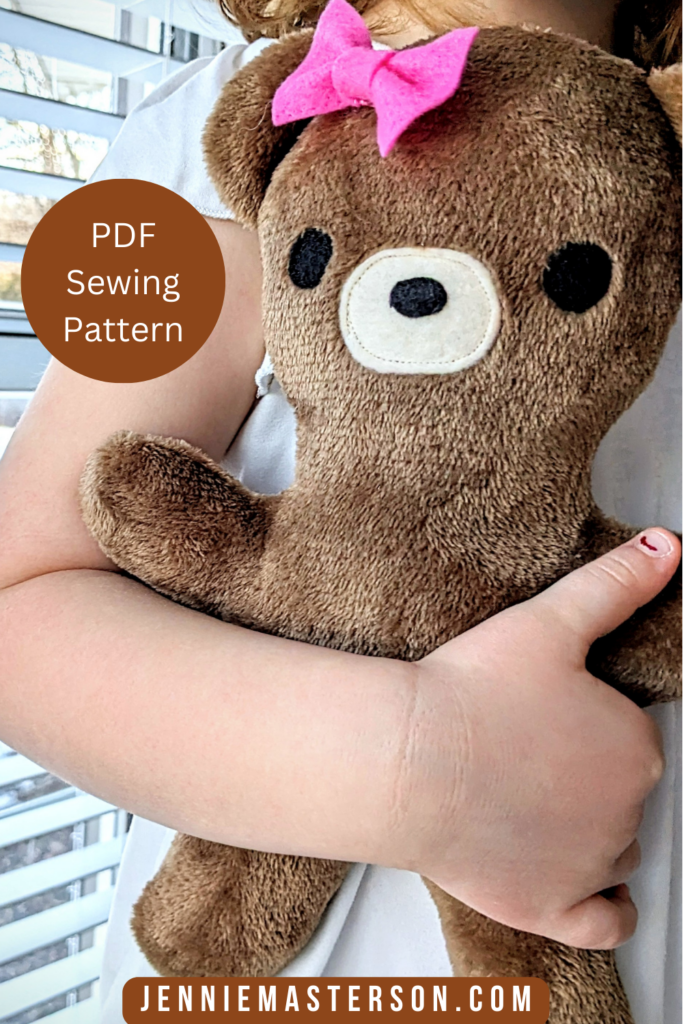
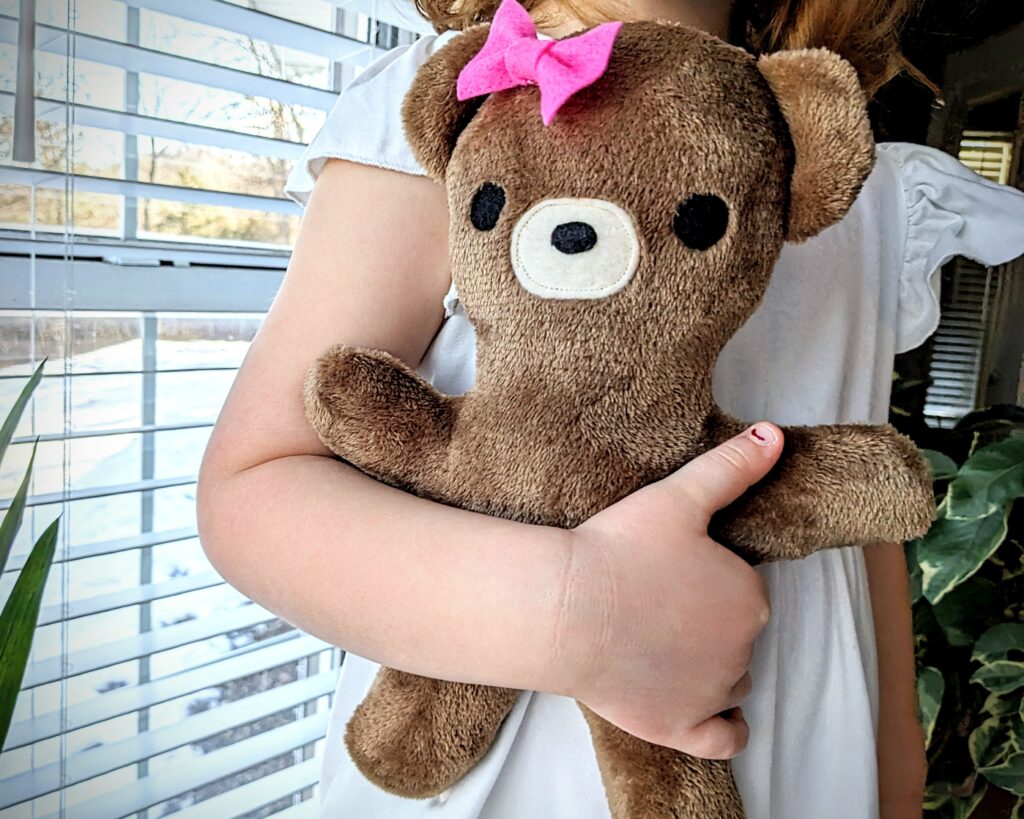
There’s nothing quite like the joy learning to sew a snuggly teddy bear with your own hands. Imagine the excitement on your child’s face when they hug a plushie you made just for them! Sewing a teddy bear isn’t just a project; it’s a way to create something truly special. In this article, I’ll walk you through the process of making a teddy bear plushie, sharing tips and insights I’ve learned over the years. If you’re ready to dive in, let’s get started!
Why Sew Your Own Teddy Bear Plushie?
Emotional Value
There’s something special and unique about a handmade toy. Unlike store-bought bears, a handmade teddy carries the warmth of your effort and creativity. Whether it’s a gift for your child, a keepsake for a loved one, or just a fun project for yourself, the personal touch makes it truly special.
Creative Freedom
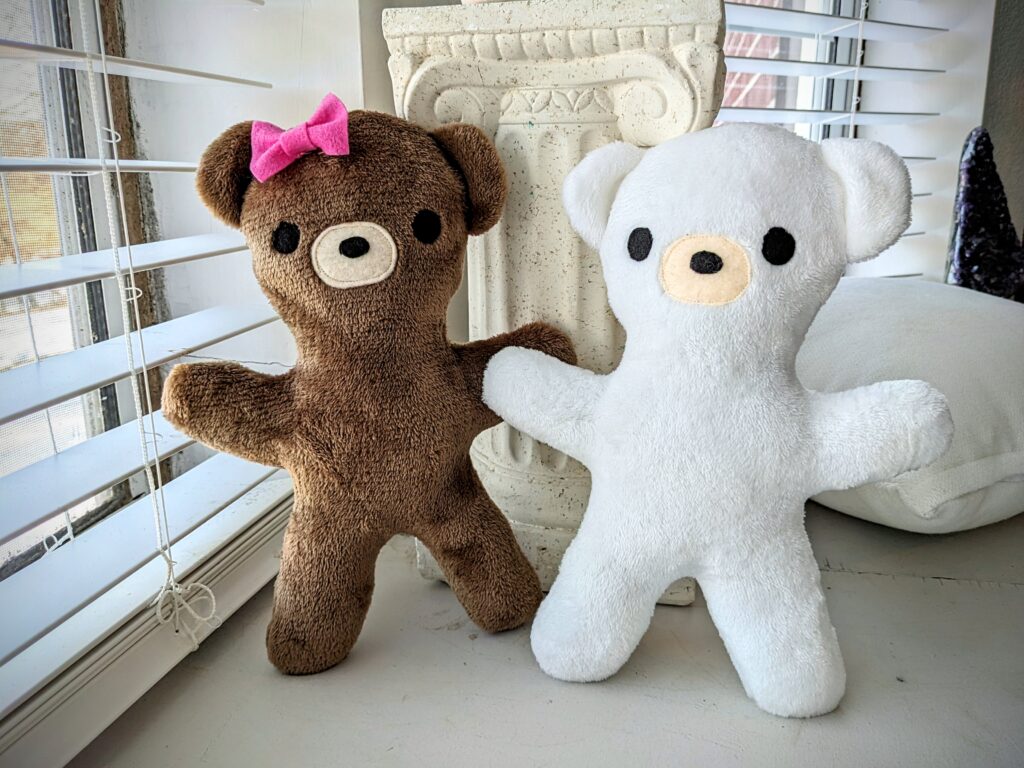
When you make your own teddy bear, you’re in control. You can choose the fabrics, colors, and embellishments to match your vision. Want a classic brown bear with a bow tie? Or maybe a pastel bear for a nursery? The possibilities are endless!
Skill Development
Sewing a teddy bear is an excellent way to improve your sewing skills. You’ll get practice with curves, stuffing, and hand-finishing techniques like the ladder stitch. Plus, it’s a satisfying project to complete!
Tools and Materials Needed
Before you get started, gather your supplies. Here’s what you’ll need:
Basic Tools
- 3/8 yard of plush fabric
- Black felt (for the eyes and nose)
- Cream felt (for the snout)
- Matching thread (for fabric, felt and rickrack)
- Poly fil
- Needle for hand sewing
- Sewing pins or quilting clips
- Scissors
- Turning tool (optional)
- Marking tool
- Jersey or stretch sewing machine needle
The Teddy Bear Sewing Process
While I’ll give an overview of the steps, the full detailed pattern and instructions are available for purchase at the end of this article.
Step 1: Preparing the Pattern
The first step is to prepare your pattern. Print the pieces, tape or glue them together, cut them out, and transfer them onto your fabric. Make sure to align the pattern pieces with the grain of the fabric for the best results.
- Tip: Use fabric chalk or a washable marker to outline the pattern pieces. (This is especially useful for the felt face pieces!)
Step 2: Adding Features
The first part of adding the face is to attach the nose to the snout by sewing them together using the placement guide from the pattern. Then you’ll attach the snout and eyes to one of the bear body pieces by sewing them on as well.

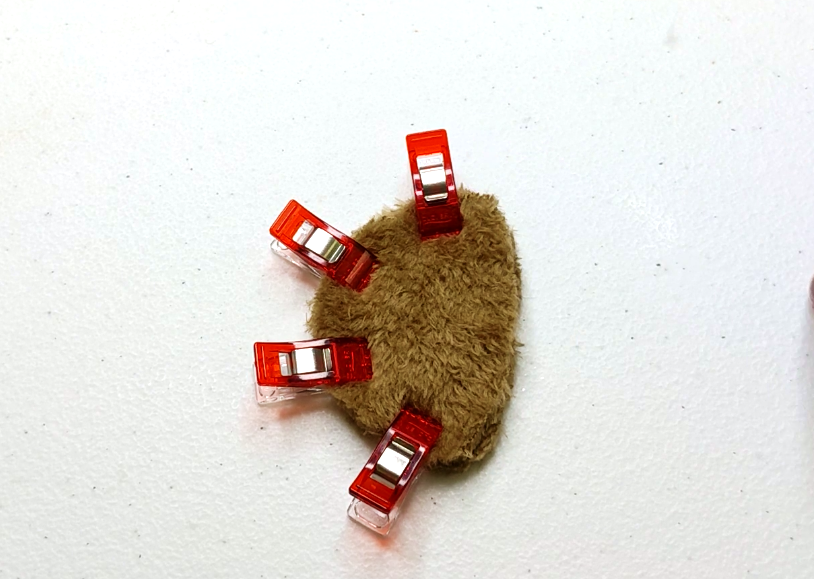
Step 3 sewing the ears
You will have four ear pieces that you are working with. You will start by working with two of them. Sew them together on the curved edge, then turn it so the seams are on the inside. Repeat with the remaining ear pieces. Then you will place them on the same bear body piece that you attached the face to. Use the pattern guide to ensure proper alignment.
Step 4: Sewing the Body
Sew the main pieces bear body pieces together. Pin the fabric pieces right sides together and sew along the edges, leaving a small opening for stuffing. Turn the bear right side out through the remaining gap in the seam allowance.
- Pro Tip: Use a smaller stitch length for durability and smooth curves. Go slow around tight corners to avoid puckering.
Step 5: Stuffing and Finishing
Carefully stuff the bear with polyfill, ensuring even distribution to maintain its shape. Start with the limbs, then stuff the head and lastly the body. Once stuffed, close the opening using a ladder stitch for an invisible seam.
- Tip: The more you stuff the bear, the more firm it will be. If you want it soft and cuddly, don’t over stuff it.

Tips for Success
Be Patient
Sewing curves and small pieces can be challenging, especially if you’re new to plushie-making. Take your time, and don’t be afraid to redo a seam if it doesn’t look right.
Test First
If you’re unsure about a new technique, practice on scrap fabric before sewing your bear. It’s a great way to build confidence and avoid mistakes.
Get Creative
One of my favorite things about sewing teddy bears is experimenting with embellishments. Add bows, embroidery, or even tiny clothes to make your bear stand out.
Why This Pattern is Perfect for You
This pattern is designed with busy moms in mind. It’s easy to follow, even for experienced beginners, and includes step-by-step instructions to guide you through the process. You can customize it to suit your child’s preferences, making it a truly special project.
Where to Get the Pattern
Ready to get started? You can purchase the pattern here: https://jenniemasterson.etsy.com/listing/1846327236/bear-plushie-sewing-pattern-teddy-bear
and make your own soft and snuggly teddy bear today. Trust me, your family will cherish it for years to come! Thank you so much for reading. Good luck and happy sewing!