How to make easy hair bows
Having a hair bow template is so useful. Bows are adorable on little girls and are perfect for any occasion. Making your own hair bows means that you get to choose how they look. That means that depending on the colors you use, you can even customize them to fit a holiday theme! Crafting your own hair bows saves you money compared to buying them at a boutique and you still end up with a cute hair accessory! Plus making your own bows is a really easy and satisfying DIY project.
This post has a free SVG and PDF template, as well as a “how to, step by step” tutorial so you can make your own gorgeous bows by hand or with a Cricut cut machine. Since these are no sew bows, anyone can make them and they come together very fast.

*This post may contain affiliate links.
Get the Files Here
Click on the pink button above to download the hair bow files for free.
*These files are for personal and commercial (up to 50 times) use only.
If you’re interested in more faux leather projects, check out these faux leather earrings, or this wallet pattern.
There are three bow sizes. Small, medium and large. The small measures about two and a half inches wide, the medium about three and a half inches and the large about four and a half inches.
Supplies for Stacked Hair Bow
- Faux leather, glitter canvas, or felt.
- Hot glue gun
- Hot glue
- Alligator clips
- Cut machine OR Scissors
- Clips or fabric marker (PDF version only)
Don’t forget the free SVG and template! (Listed above.)
Also, if you are looking for more hair accessories, check out this free scrunchie sewing pattern or these fun butterfly hair bows!
Here is a video tutorial to make these hair clips with in case videos are more your thing.
SVG Cutting Instructions
Load the bow SVG into your cut machine software. select the material type and send it to cut.

Load the bow material onto your cutting mat and feed it into the machine. Cut the SVG.
Remember that if you are using faux leather, put the top (pretty) side face down on the mat and mirror the image in the cut machine software.

Pull the bow pieces off the mat and they are ready to assemble.

PDF Cutting Instructions
Print the PDF and cut out the pattern. Once the bow pattern is cut you can pin it to the bow material and cut it out. If you are using faux leather make sure to use clips, not pins. Pins will leave permanent holes in your faux leather.

Another method you can use is to the trace hair bow pattern onto the backside of the material with a fabric pen. You will then be able to cut it out using the outline made with the fabric pen. I use a disappearing fabric ink so that if there are any markings left over, they won’t stick around.


Assembling the Hair Bow
Take the bottom bow piece and put some hot glue on the middle of the back side.

Fold both sides over so the ends meet in the middle sitting in the hot glue (not overlapping.) Let it cool down.


Repeat with the top bow piece.

Place a bit of hot glue on the center of the bottom bow piece front side.
Tip: Hot glue needs a rough or porous surface to grab onto and sometimes faux leather can be a bit too smooth for the hot glue to create a strong bond. Using a bit of sand paper or scissors to rough up the surface will help the bond be stronger.

Set the top bow piece directly on top of that glue. Your bow pieces will now be stacked and glued together.

Finishing the Bow
Take the center tab and set it flush with the top of the backside middle section of the bow. Clip the alligator clip onto the tab piece so it sits vertically centered on the bow. (See image below.)

Hot glue the tab in that position.


Put some hot glue on the center front of the bow.

Wrap the center tab around to the front and fold it down on top of the glue.

Wrap the remaining bit of the center tab back over to the bows backside. Open the alligator clip and place the center tab inside it.


Put hot glue in between the last bit of the center tab piece and the backside of the bow.


Let the glue cool down and the hair bow is done!

Additional Thoughts
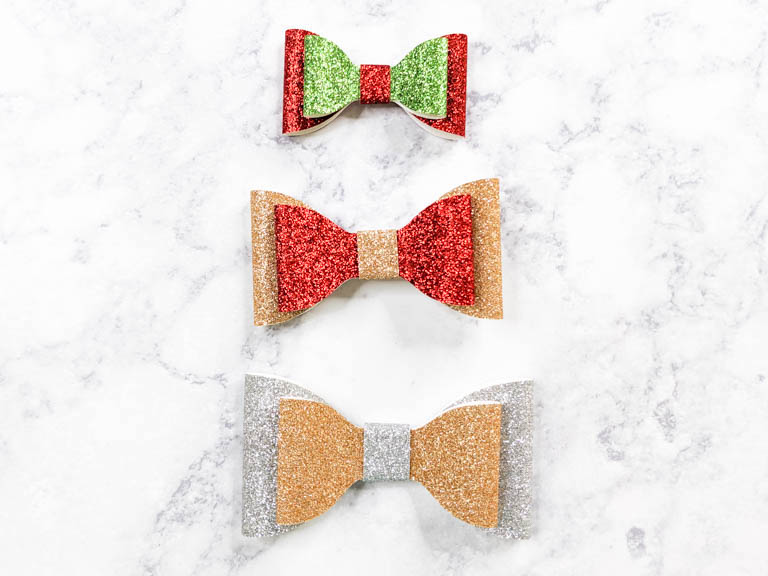
You can make these bows in a variety of materials. Here is what they look like in felt, faux leather, and glitter canvas.

That’s all there is to this bow making process. It’s so simple and quick, you could probably crank several of these out in a day. I hope you enjoy this free pattern and tutorial! If you make these and post to Instagram or Facebook, feel free to tag me. I love to see your creativity! Have fun with these and thank you so much for reading!
Looking for holiday bow options? Check out my bat hair bows here, or my holly bows here. I have lot’s of fun hair clips and accessories!
