Trick or Treat Bag Tutorial
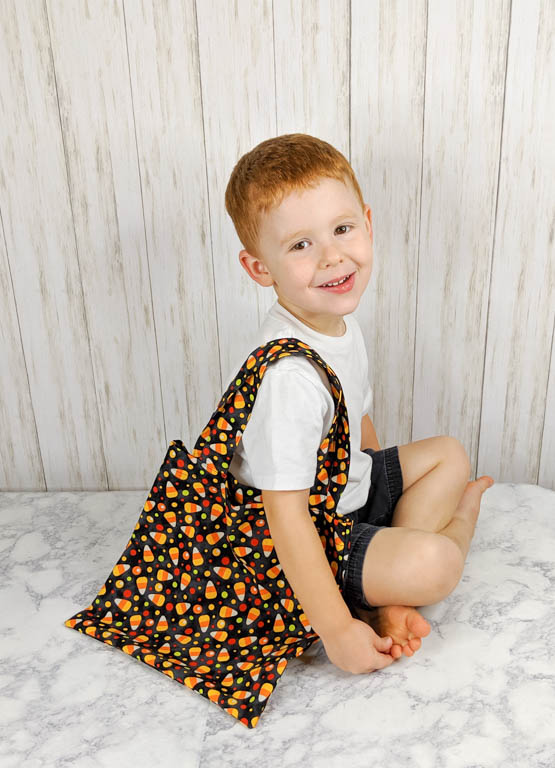
Make your own trick or treat bags this Halloween with this easy pattern! Seriously, we’ve done pillow cases and Wal-Mart bags for years because I just never bothered with an actual trick or treat bag. I finally decided to up our Halloween game and made these trick or treat bags. When we went out with them, my kids got SO many compliments from other moms asking where we got them. It was actually really fun to be able to say “I made them.” They were candy bag envy of the neighborhood.
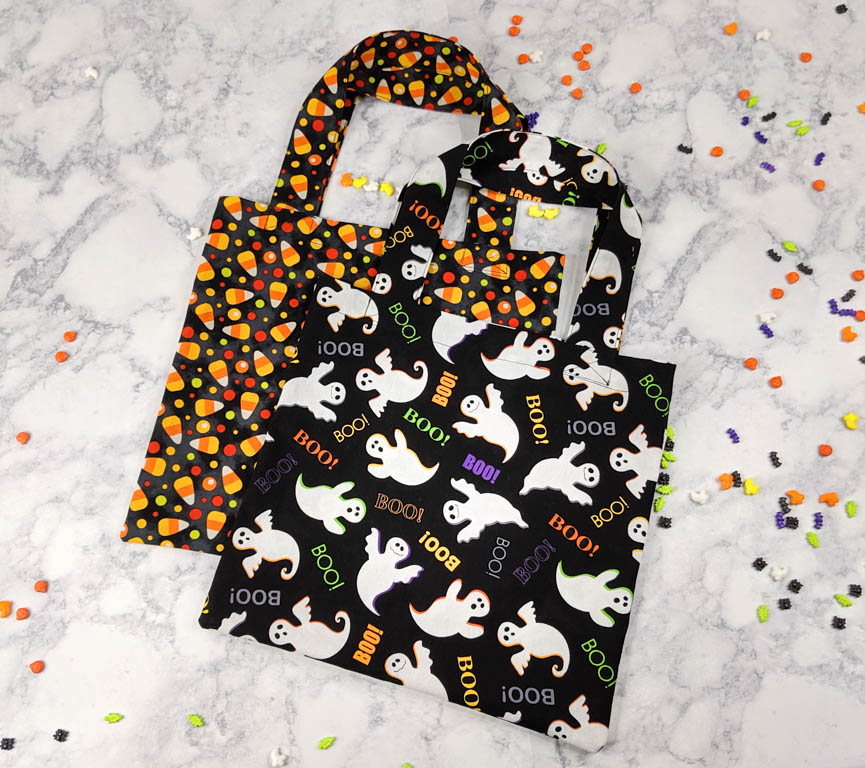
This tote bag pattern can also be made with normal printed fabric instead of Halloween printed fabric for everyday use. They could be used for books, trips, or general toy toting (The latter being my kids’ favorite).
*This post contains affiliate links
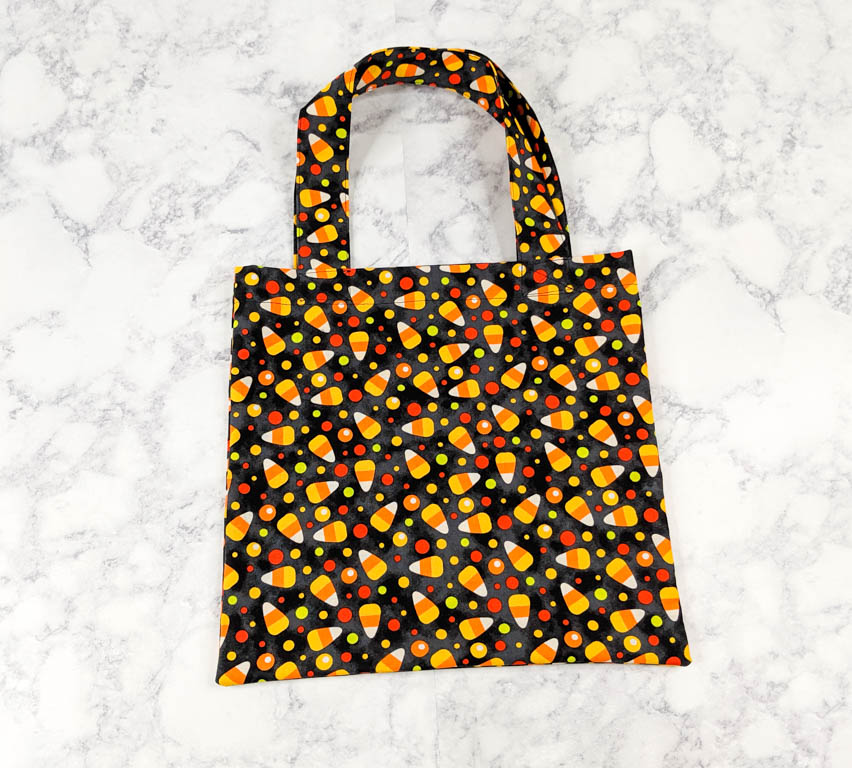
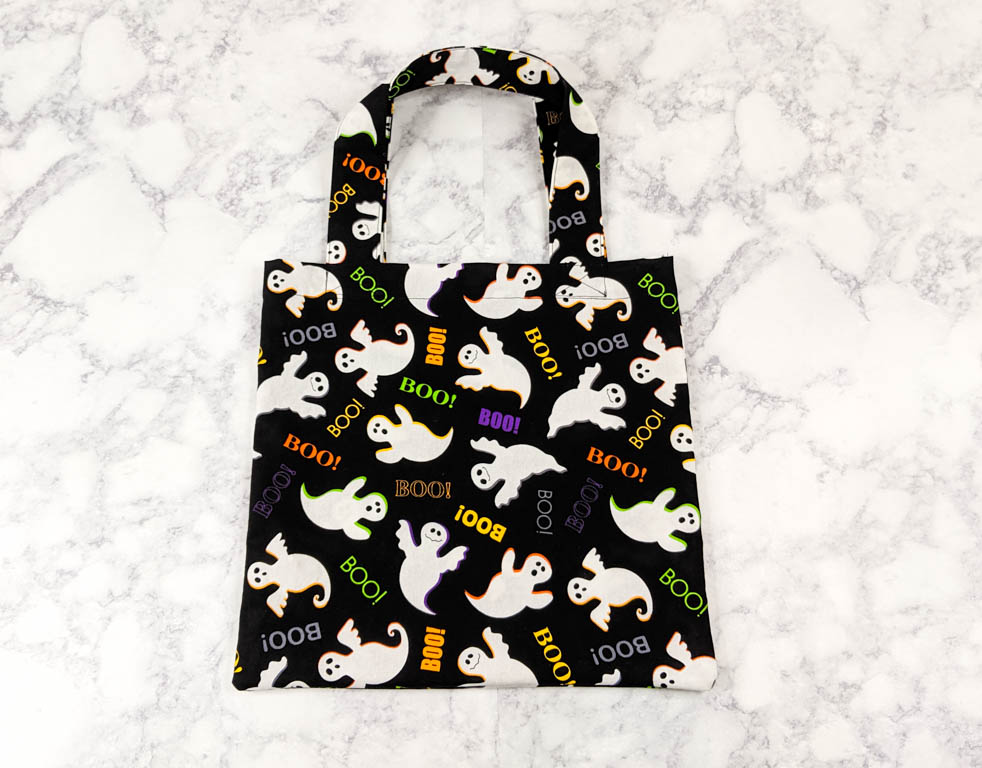
These candy bags are the perfect size for kid hands and have plenty of room for candy collection.
The finished bag measures approximately twelve inches wide by eleven and a half inches tall.
Supplies
- 5/8 Yard of cotton Halloween fabric (based on 43″ wide fabric)
- Thread
- Iron/ironing board
- Pins
- Safety pin or turning tool
- Fabric pen or tailors chalk
- Scissors
For more cool Halloween crafts, go check out the awesome bat hair bows, or this cute candy corn pillow.
Get the Pattern Here
To get the Trick-or-Treat Bag sewing pattern, click the pink button above.
Don’t like the ads? Get an ad free printable version of this tutorial and pattern in my Etsy shop.
Want the whole kit? Get a full kit with all the supplies you need, including pre-cut fabric, to make this bag in my Etsy shop here. (While supplies last.)
*This pattern is for personal and commercial (up to 50 times) use only.
Pattern Assembly Instructions
This is a no trim pattern. Just line up each page to the gray line of the other page and tape or glue it together.
Sewing Prep
Prewash and iron the fabric before cutting to eliminate any wrinkles or folds.
Cut out two of each of the pattern pieces in the fabric. Transfer the strap placement markings from the pattern to the fabric using your fabric pen or tailors chalk. Markings should go on the right side of the fabric. (The pretty side.)

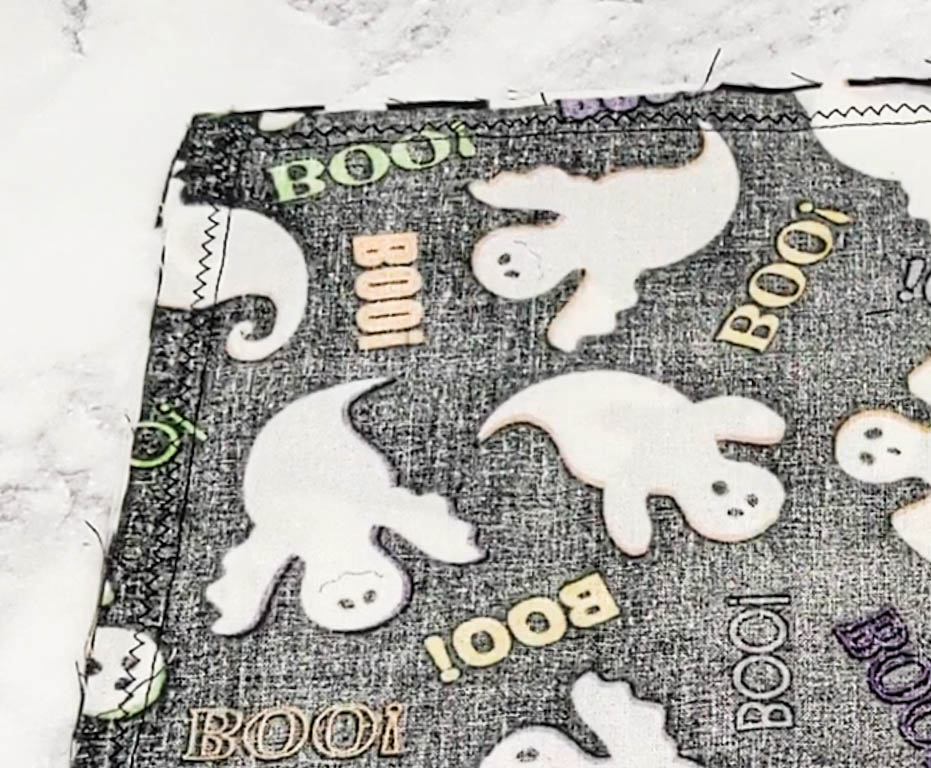
Fold the top of the bag, wrong side to wrong side, down a quarter inch and iron it in place.
Fold the top of the bag over again one inch this time and iron it in place keeping the quarter inch folded under the one inch fold. Pin in place. Repeat these steps with the other bag piece.


Sewing the Bag Pieces
*Note: Don’t forget to backstitch at the start and stop of each seam and trim threads as you go.
Edge stitch the one inch fold in place. Repeat these steps on the second bag piece.

Set the bag pieces aside and pull out the strap pieces.
Sewing the Strap Pieces
Fold the strap piece in half right sides together keeping it long. Pin in place and take it to the sewing machine.

Sew down the long side of the strap fabric using a half an inch seam allowance, creating a tube.

Turn the strap piece right side out. You can use a safety pin to do this, or a turning tool.

Iron the strap down with the seam on one side. Repeat these steps for the second strap piece.

Attaching the Straps to the Bag
Place the bottom of the strap piece on top of the markings you transferred from the pattern. Pin in place and take it to the sewing machine.

Sew around the bottom of the strap piece making a rectangle and attaching it to the bag. Sew an X through the center of the rectangle for added support.

Repeat on other end of the strap and then repeat with the remaining strap piece. Make sure the straps don’t get twisted as you pin them to the bag.
Sewing the Bag Sides Together
Lay one bag piece on top of the other with right sides together. keep the straps out of the way and pin the three remaining raw edges in place. (The raw edges here are the sides and bottom of the bag.) Take it to the sewing machine.

Sew around the three remaining raw edges of the bag using a half an inch seam allowance.
To keep the fabric from unraveling too much, sew a zig zag stitch around the same three edges you just sewed. Sew it in the seam allowance, close to the first seam you made. If you have a serger, you could also serge these edges.
Finishing the Bag
Clip the corners of the seam allowance and trim the seam allowance down. (Don’t cut through your stitches!)


Turn the bag right side out and it is ready to be used!
Additional Trick or Treat Bag Ideas
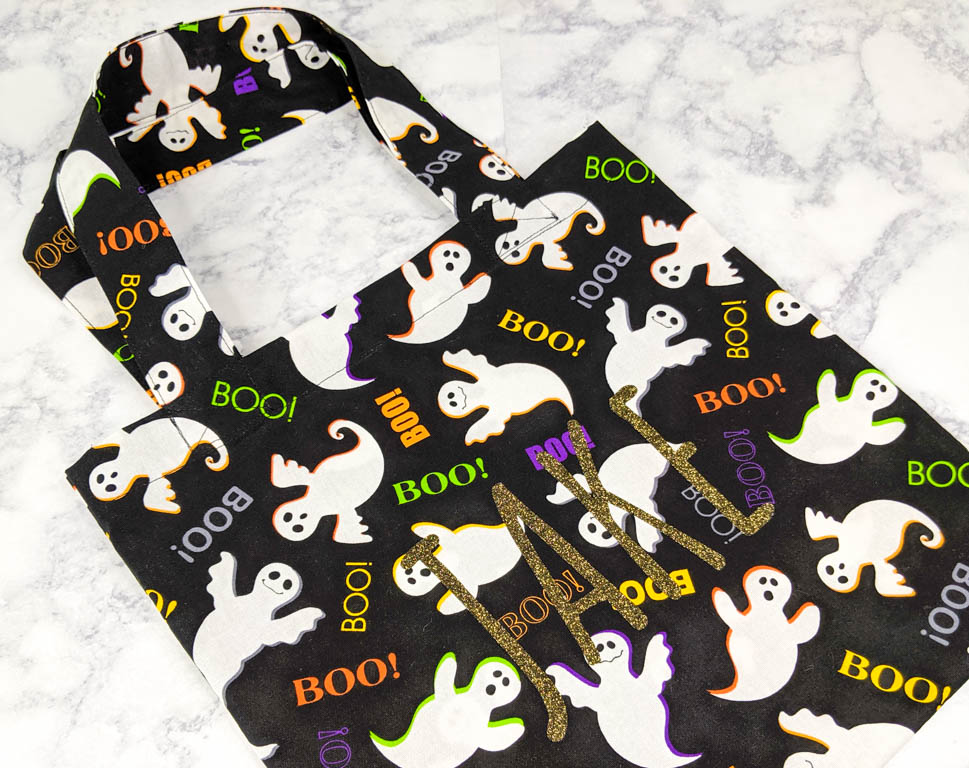
Adding a name to the bag can give it a nice personal touch. In fact, my kids asked me to put their names on them so they would remember who’s is who’s next year. (My six year old thought of that before I did!) If you have a cut machine, you can cut their name out in some heat transfer vinyl and iron it to the bag. If you don’t have a cut machine, you could get some fabric paint and stencils to paint their names onto the bags.
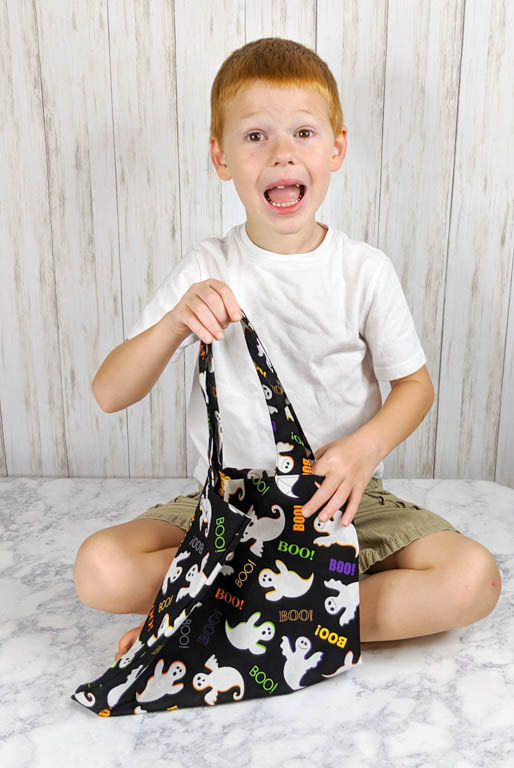
Now that your candy bag is all ready to go your kid will be the envy of the trick-or-treaters on the block! I hope you have a happy Halloween and enjoy the free sewing pattern. Thank you for reading!
